22 October 2014, Wednesday .
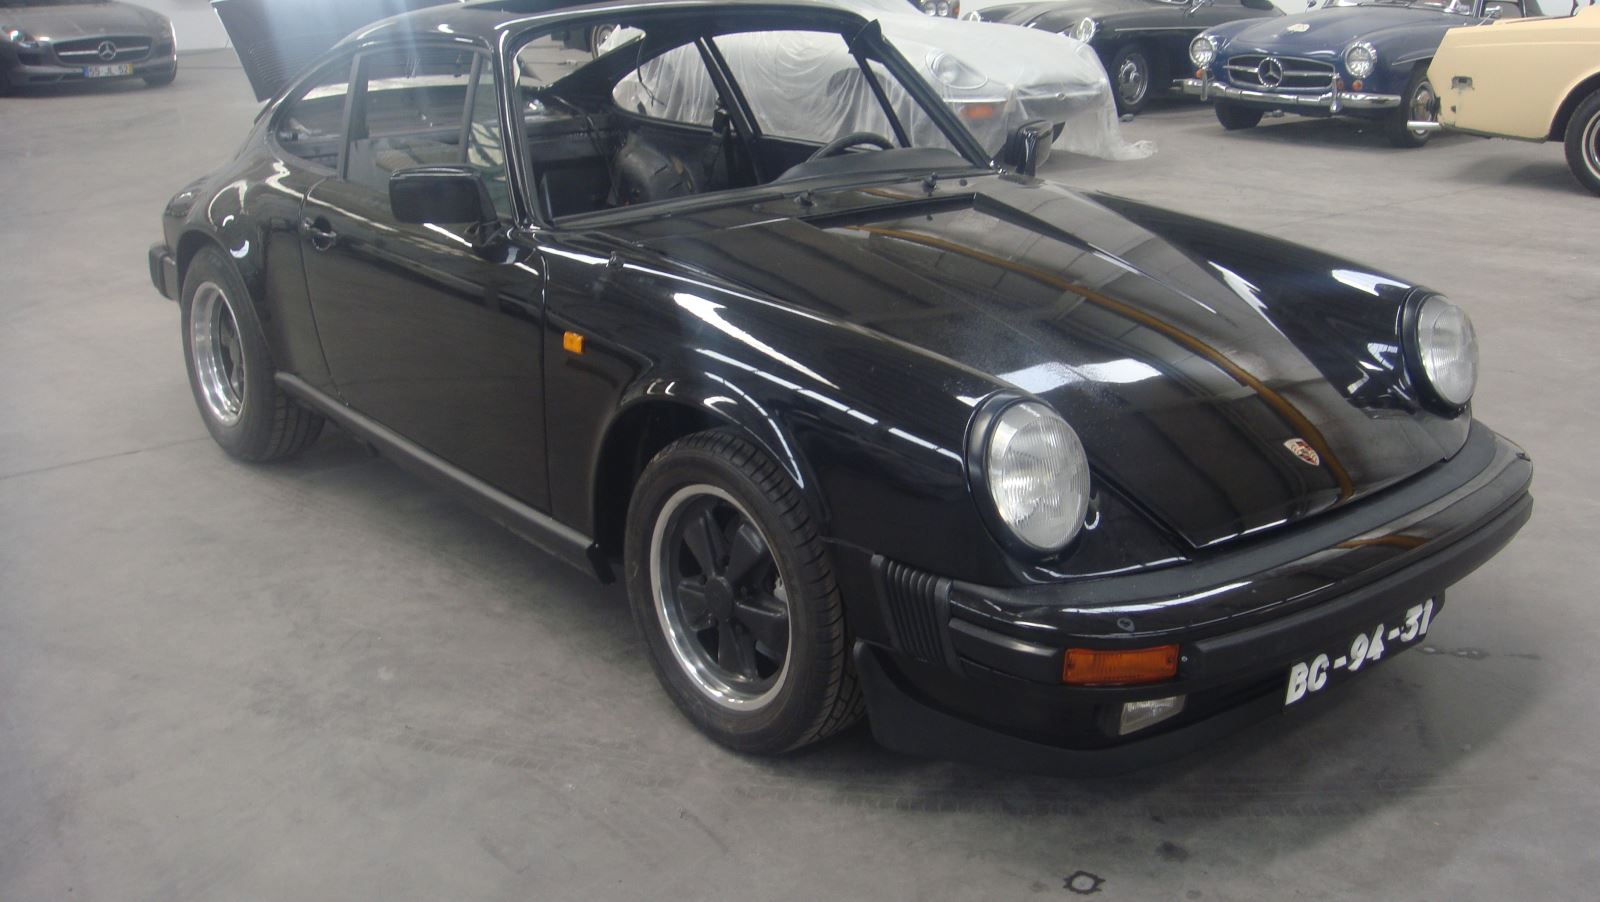
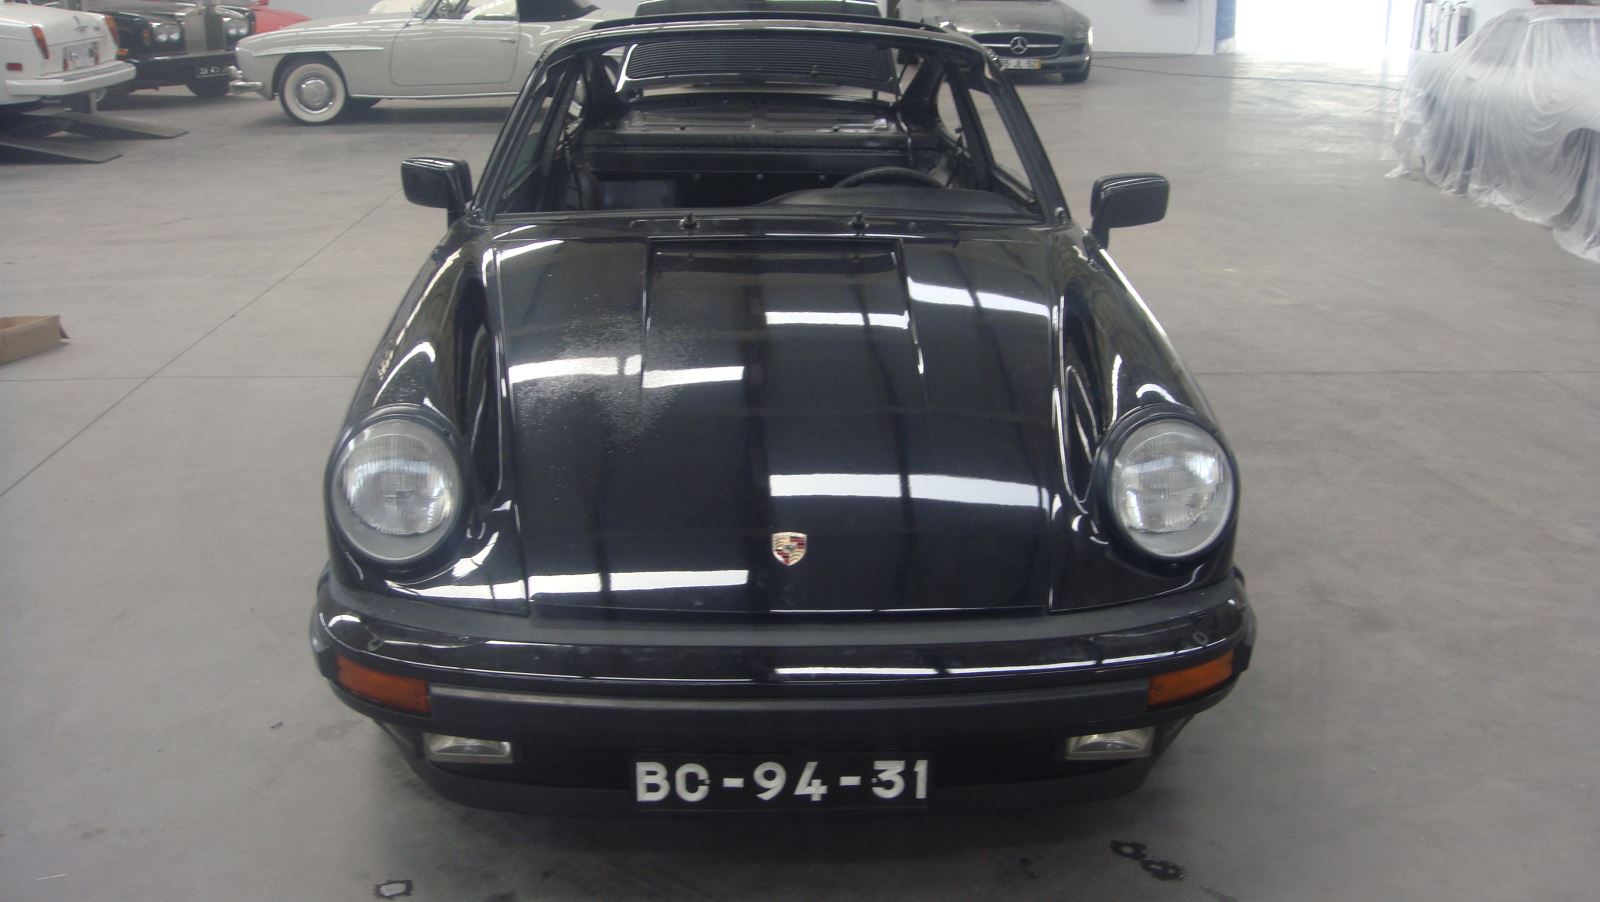
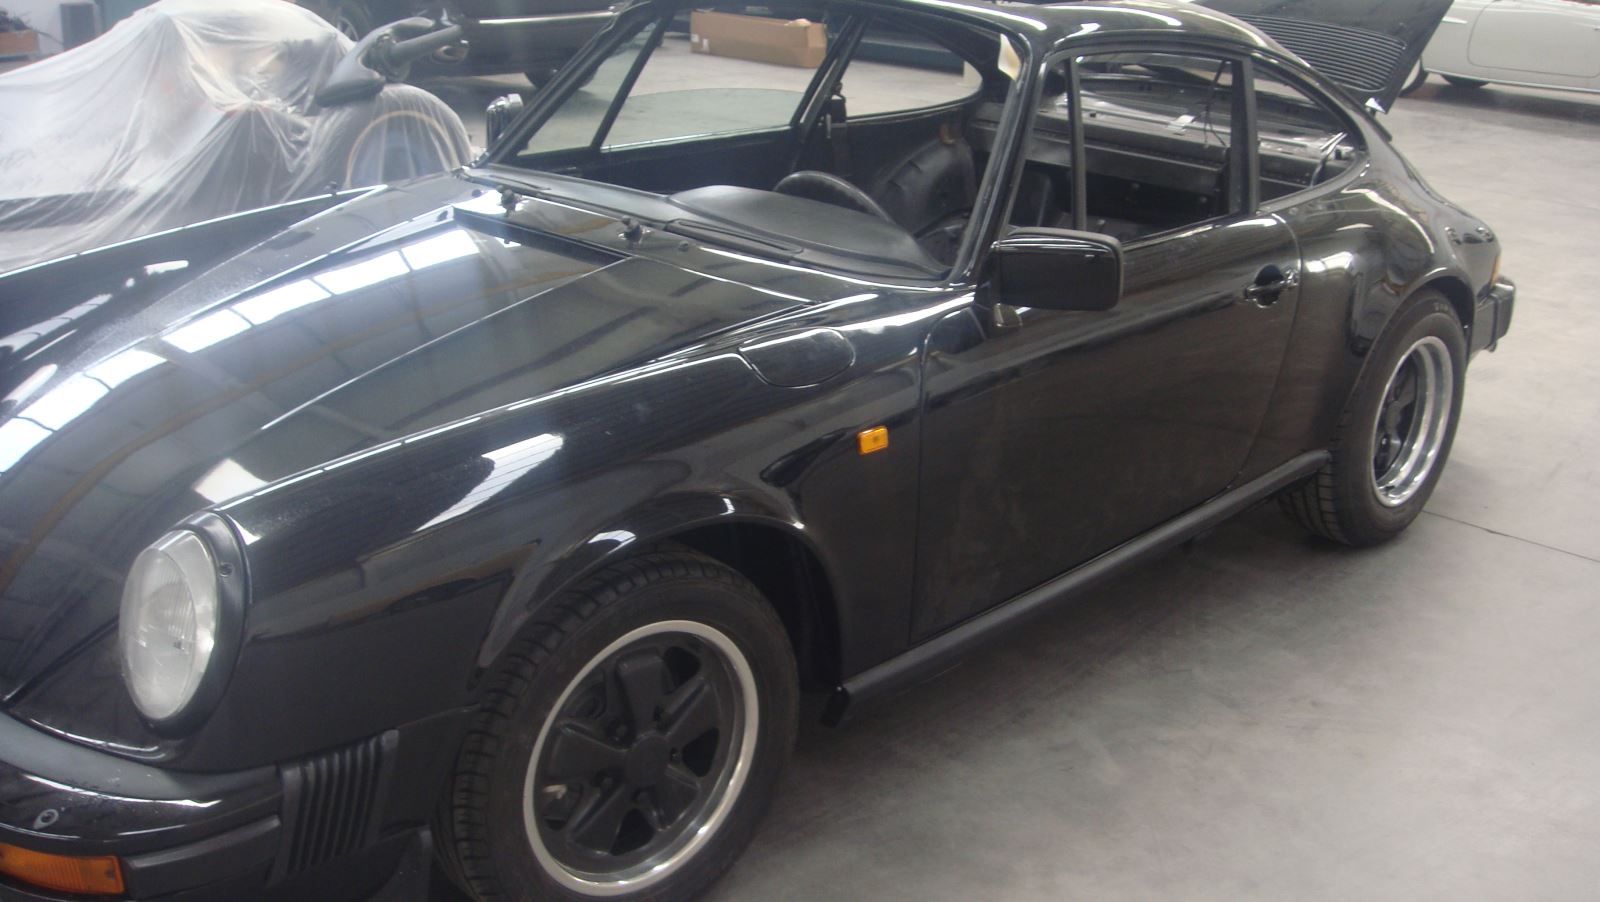
Restoring a 1970 Porsche 911 T with Zenith Carburetors

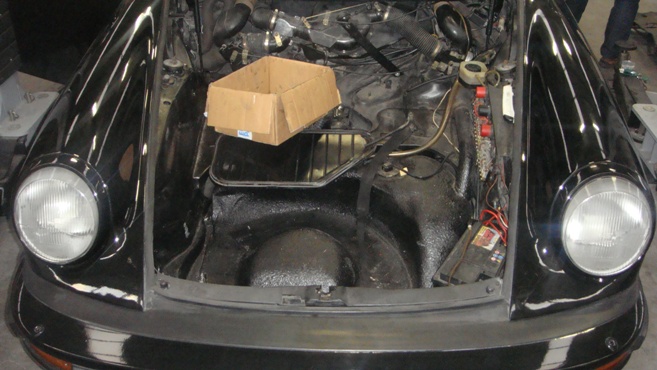
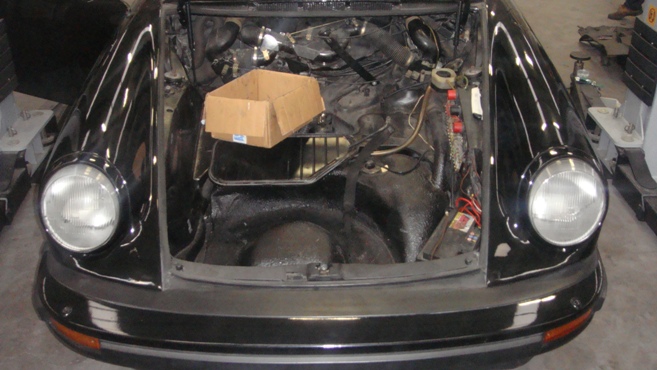
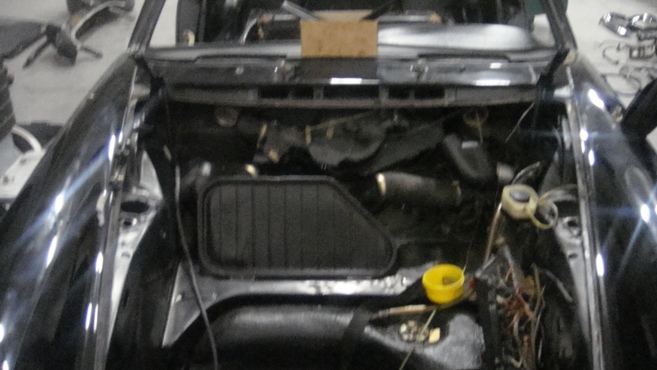
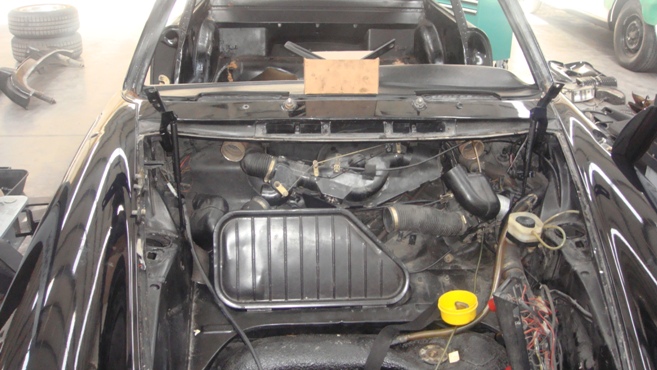
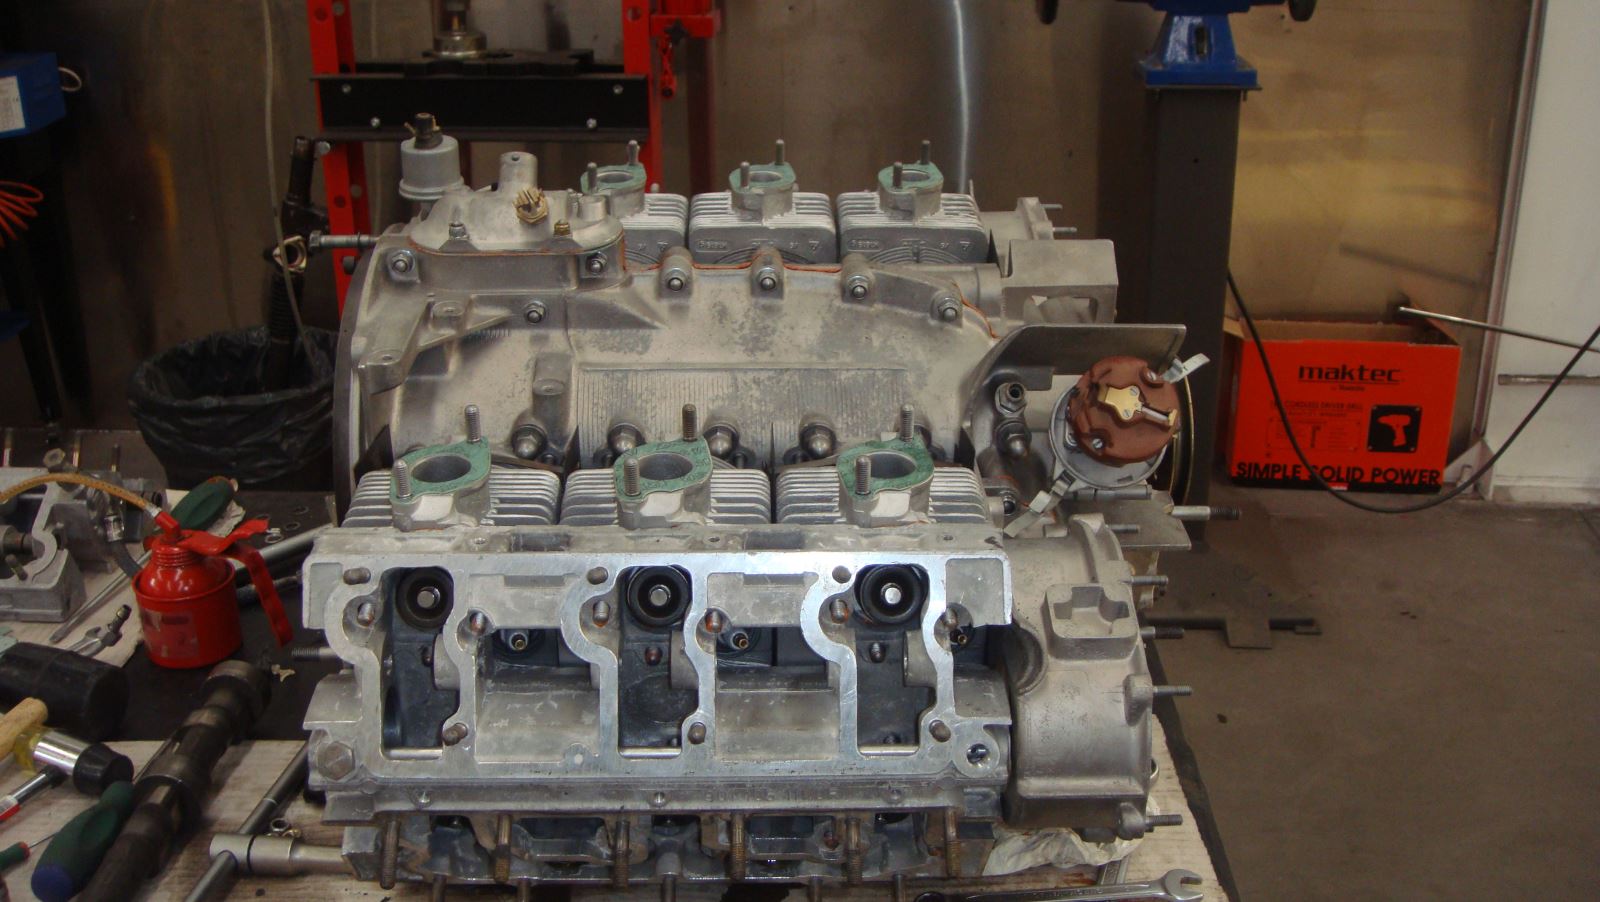
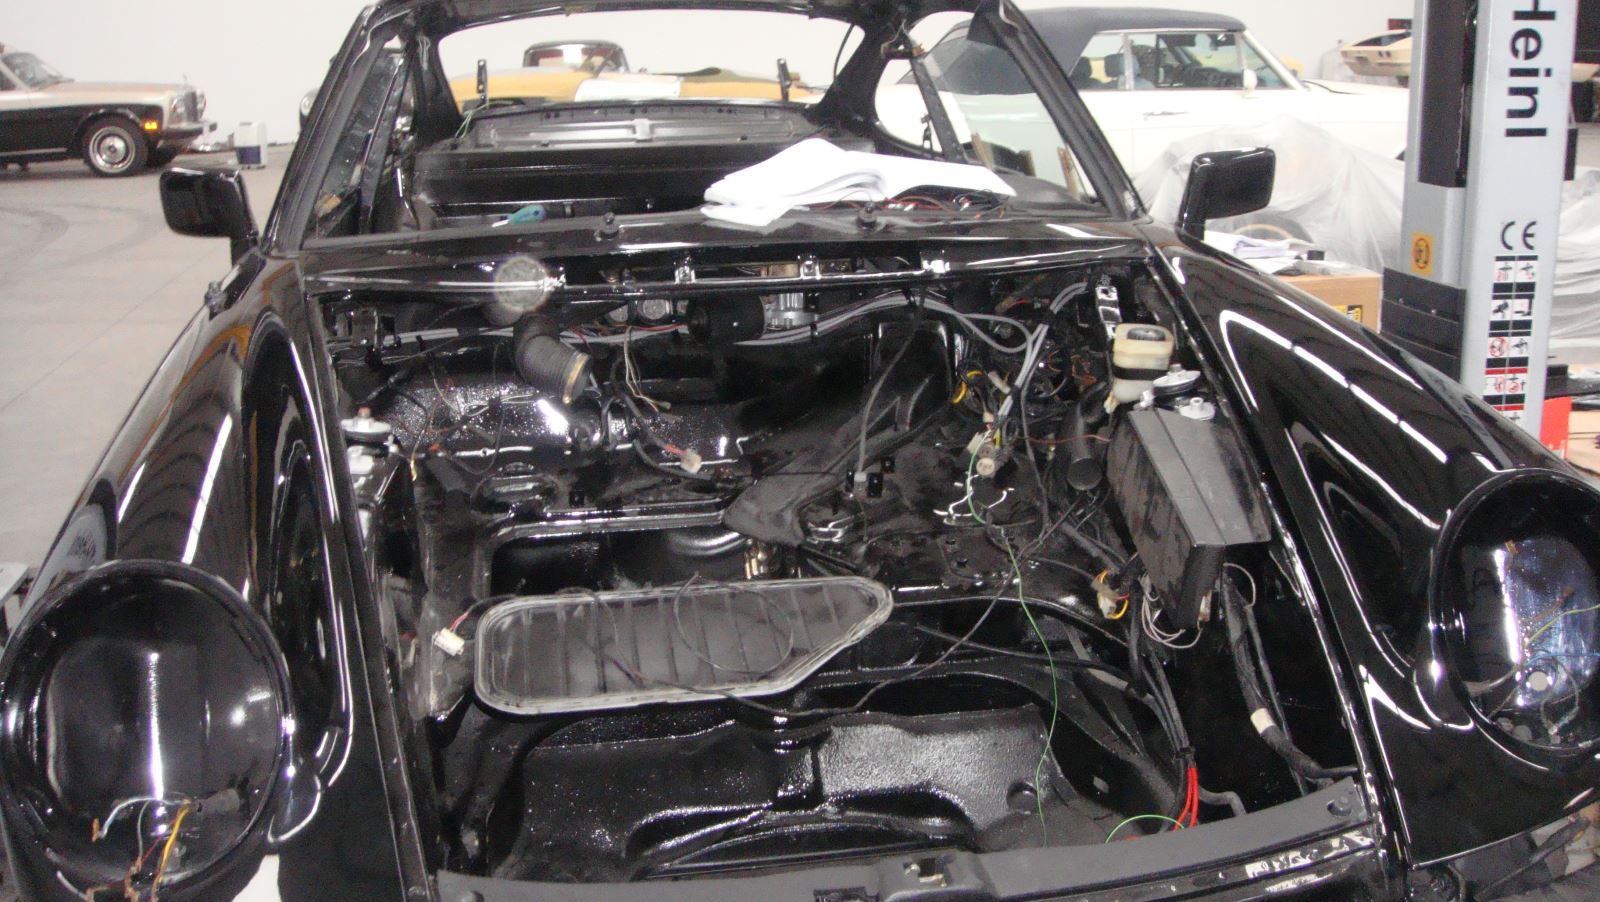
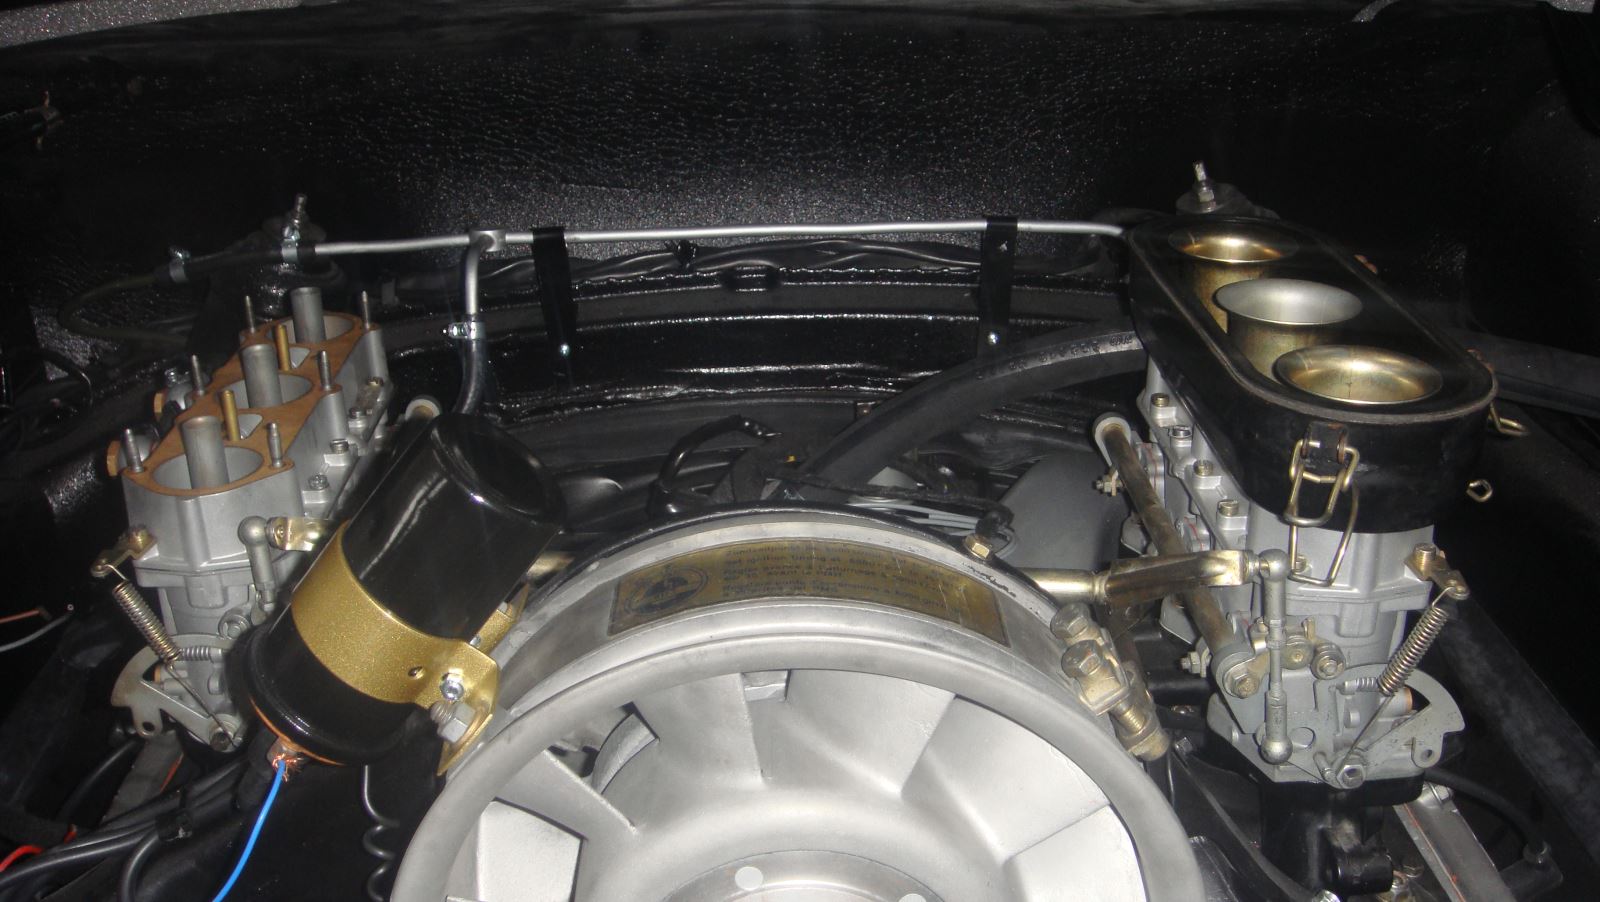
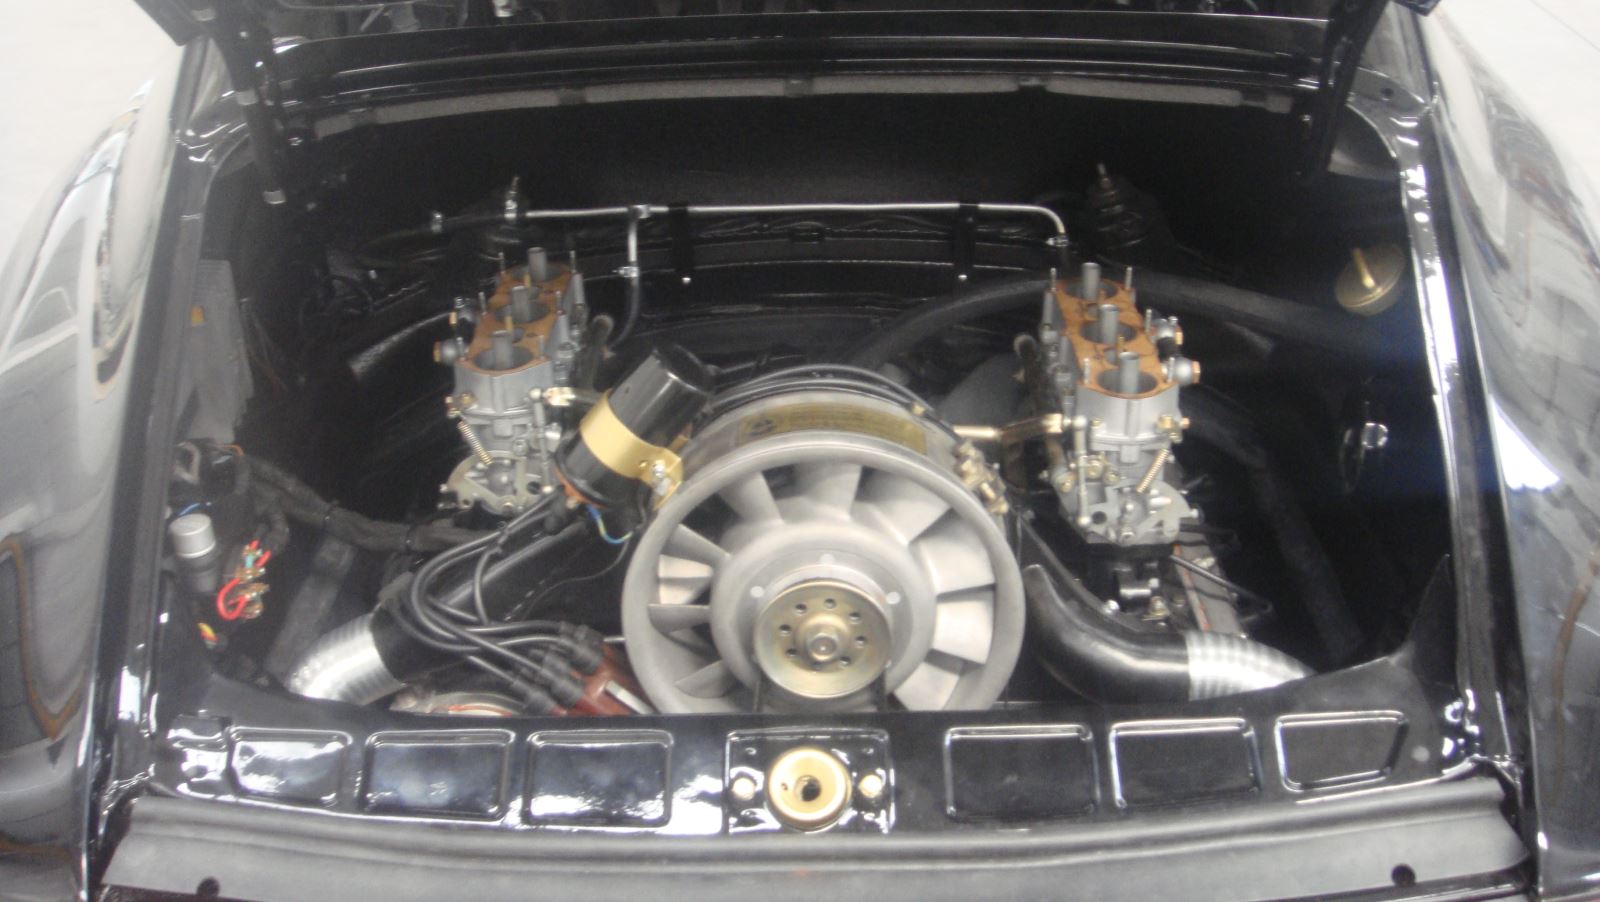
The engine as you see, for a 1970 car is ok
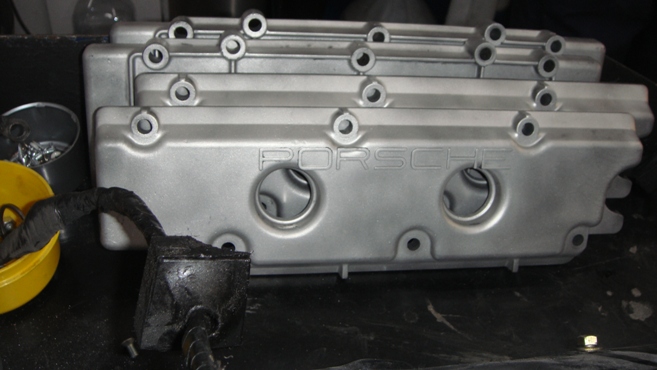
The original stickers are there. but the electric instalation was mixed

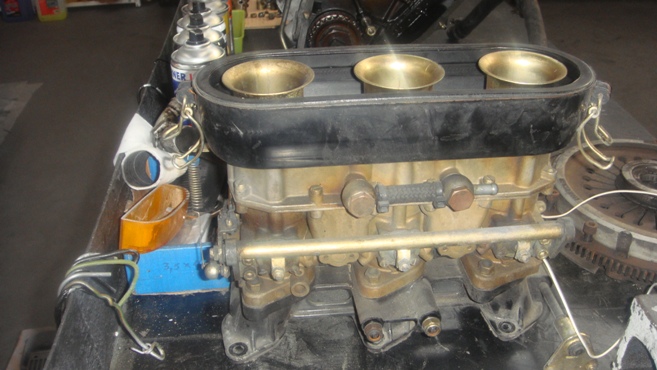
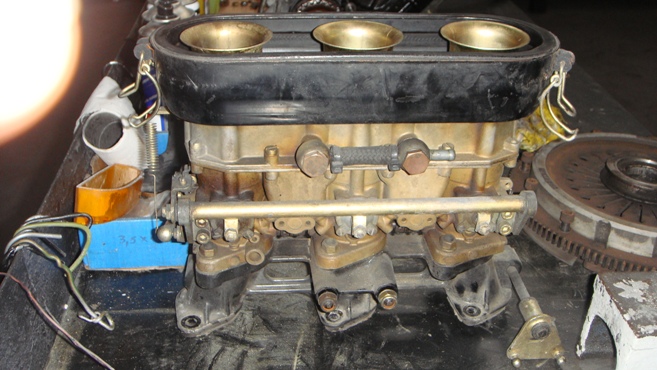
The Zenith Carburetor from the car
Restoring one of the Zenith Carburetor
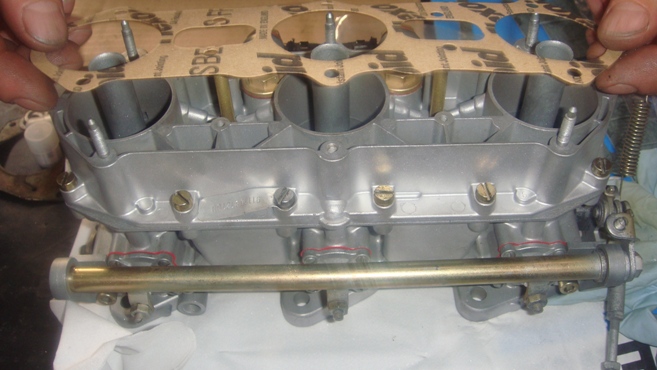
New gaskets in the Zenith
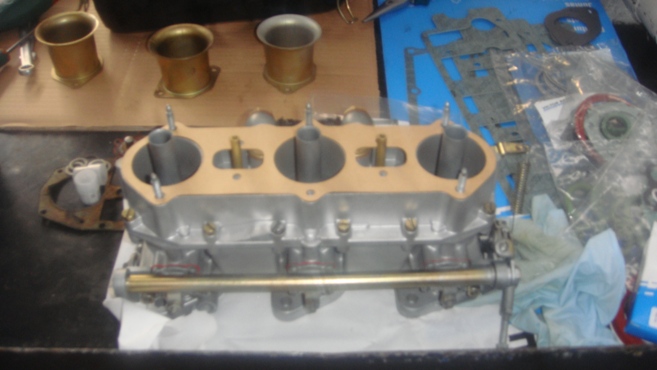
Almost finished
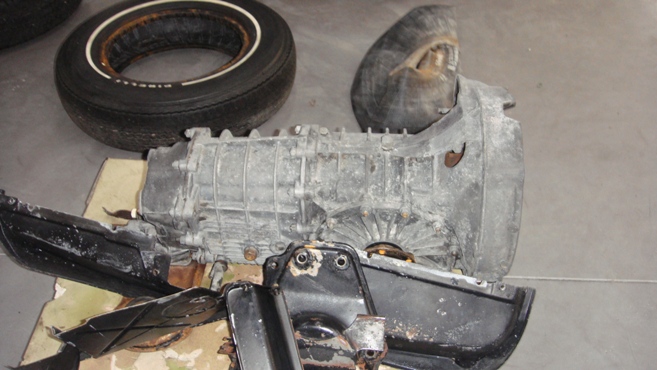
The gearbox from the car
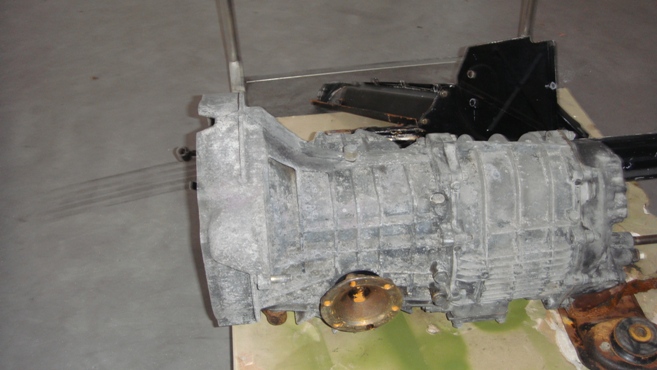
Another lookd from the gearbox after cleaned up
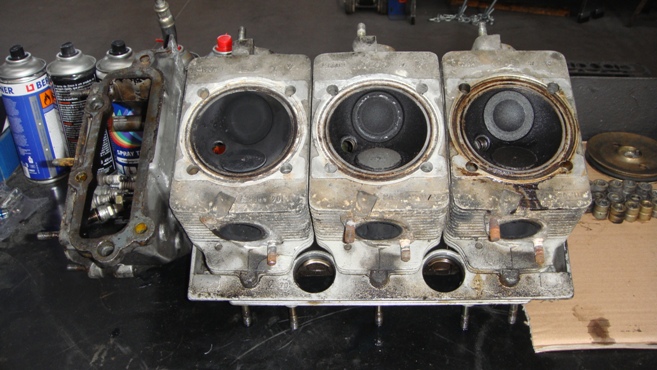
The pistons
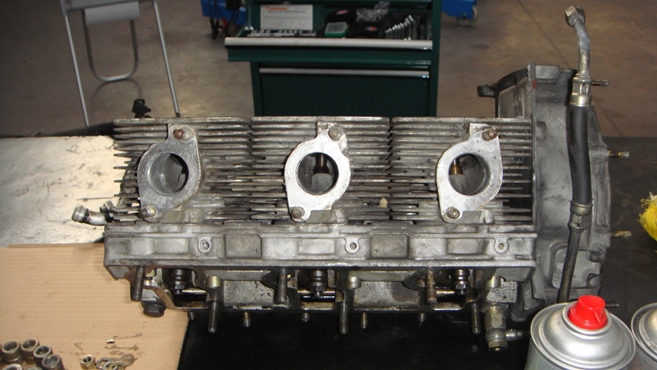
The engine seems to be ok
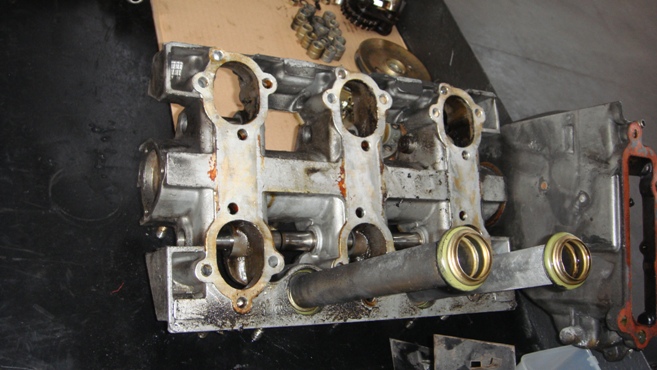
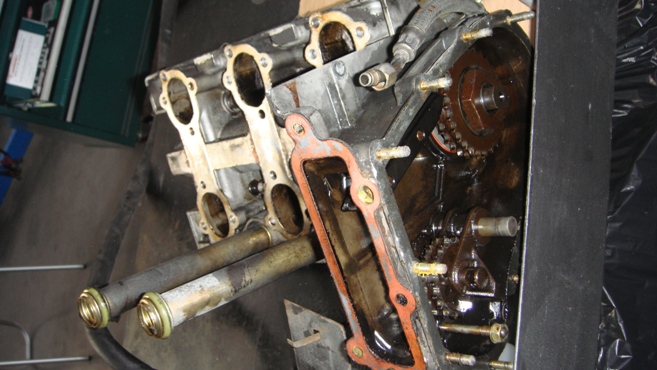
Begin to clean the engine parts

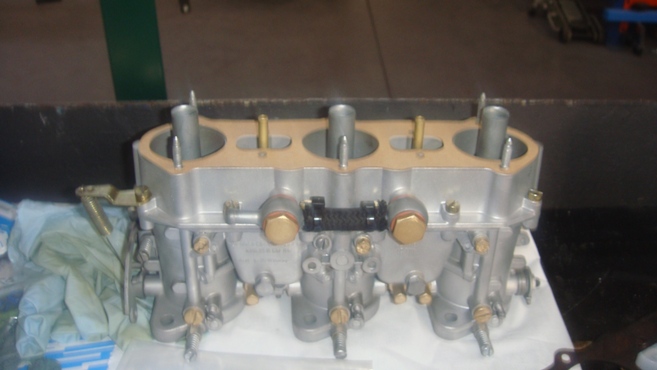
One Zenith finished
Second Zenith to repair. You can now compare with the other one. quite a difference
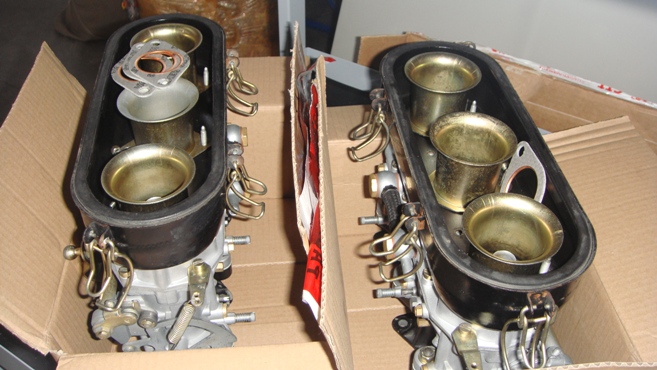
Both ready and wainting to be assembly in the engine.
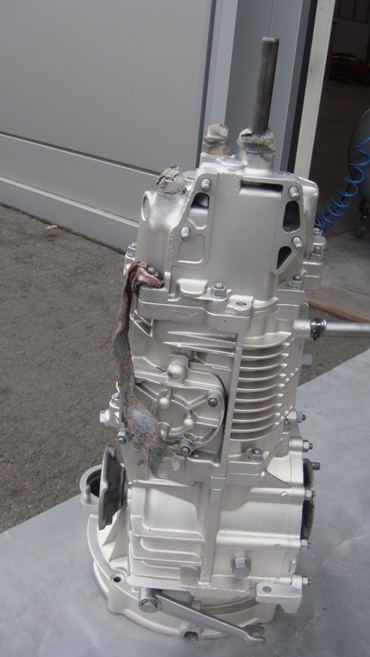
Gearbox clean
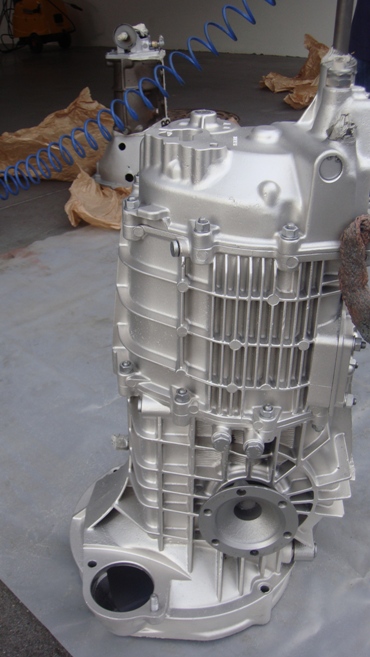
Another look for the aluminium gearbox
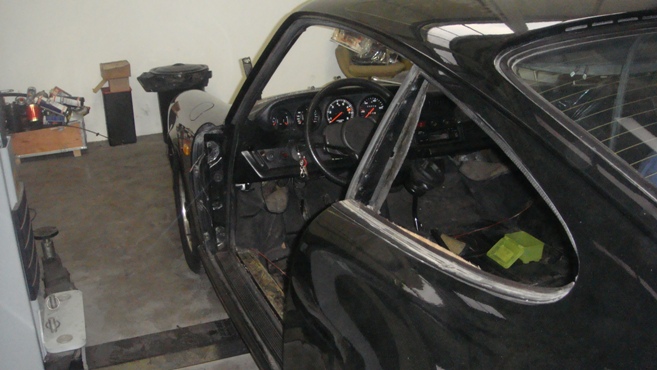
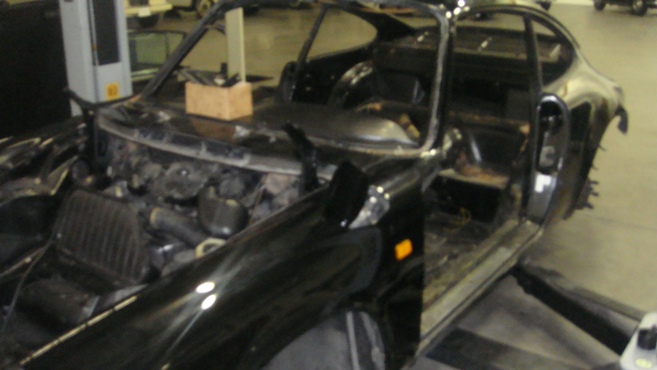
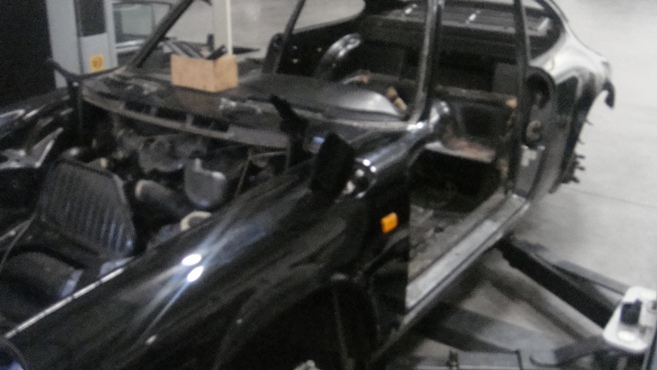
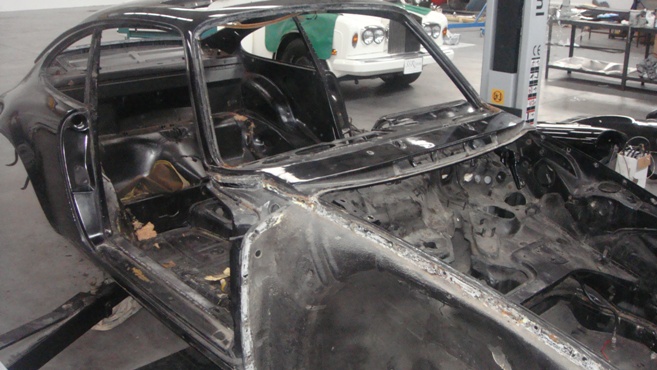
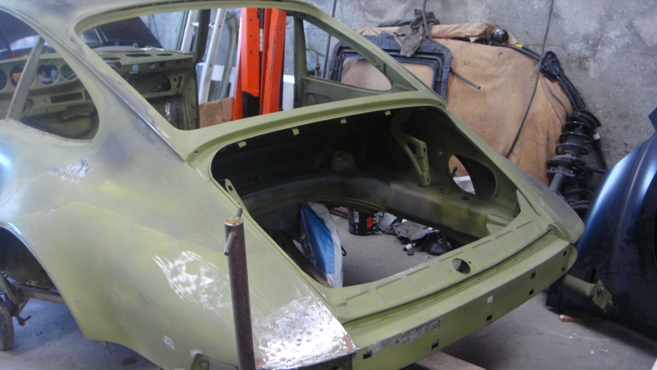
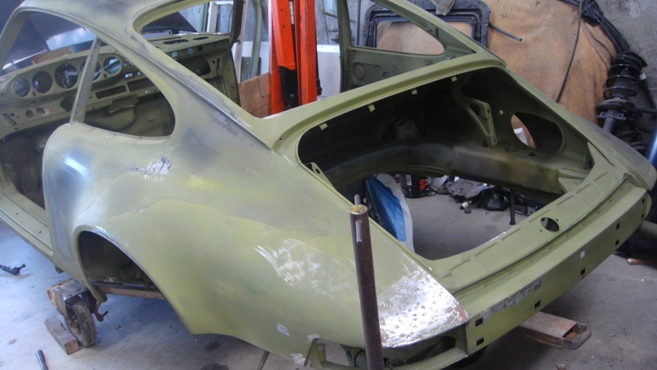
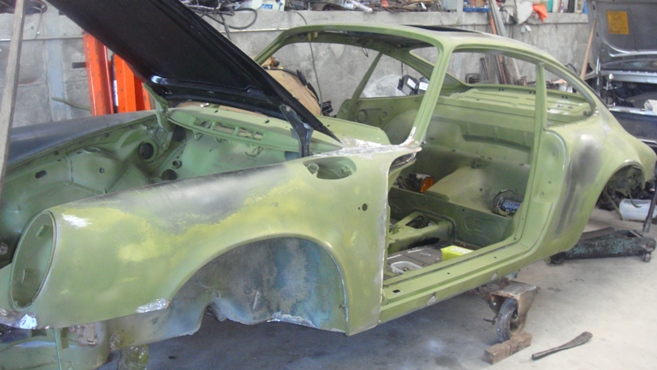
Dismantle the rear
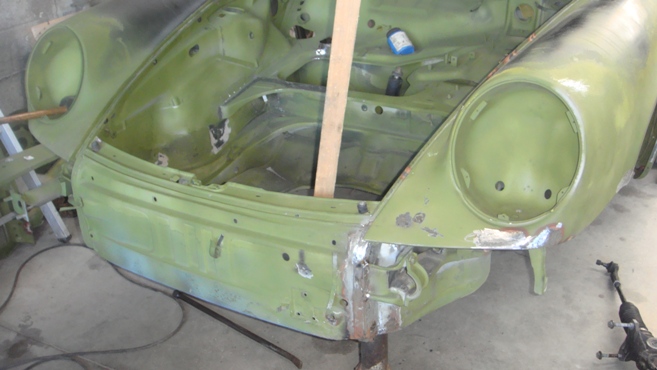
Dismantle the front
Another picture from the front
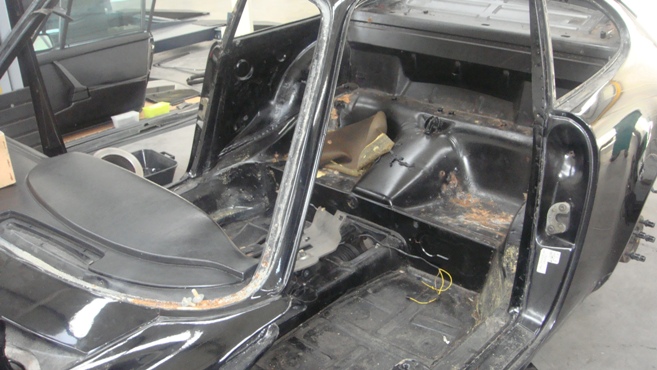
Dismantle the doors
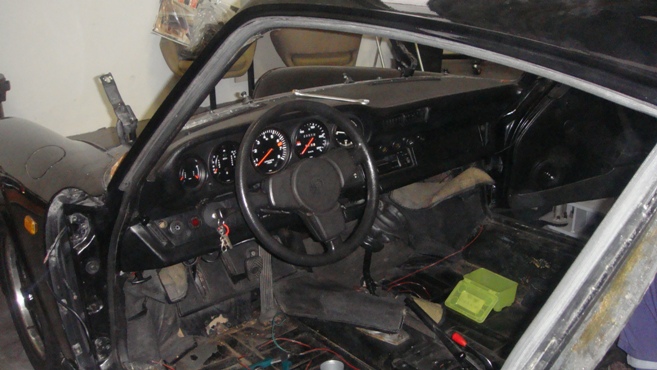
Dismantle the drivers side

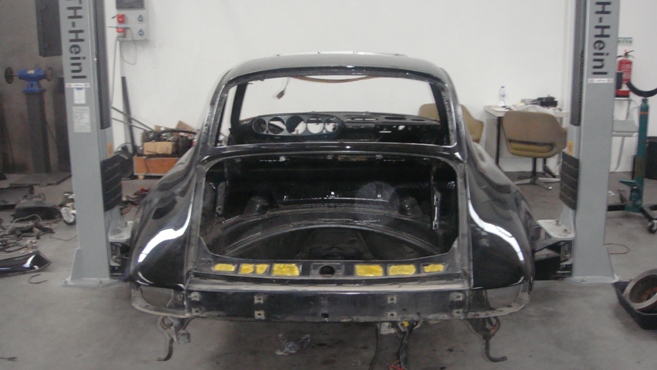
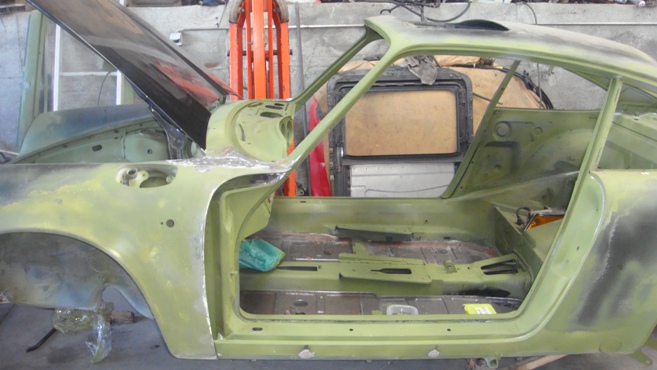
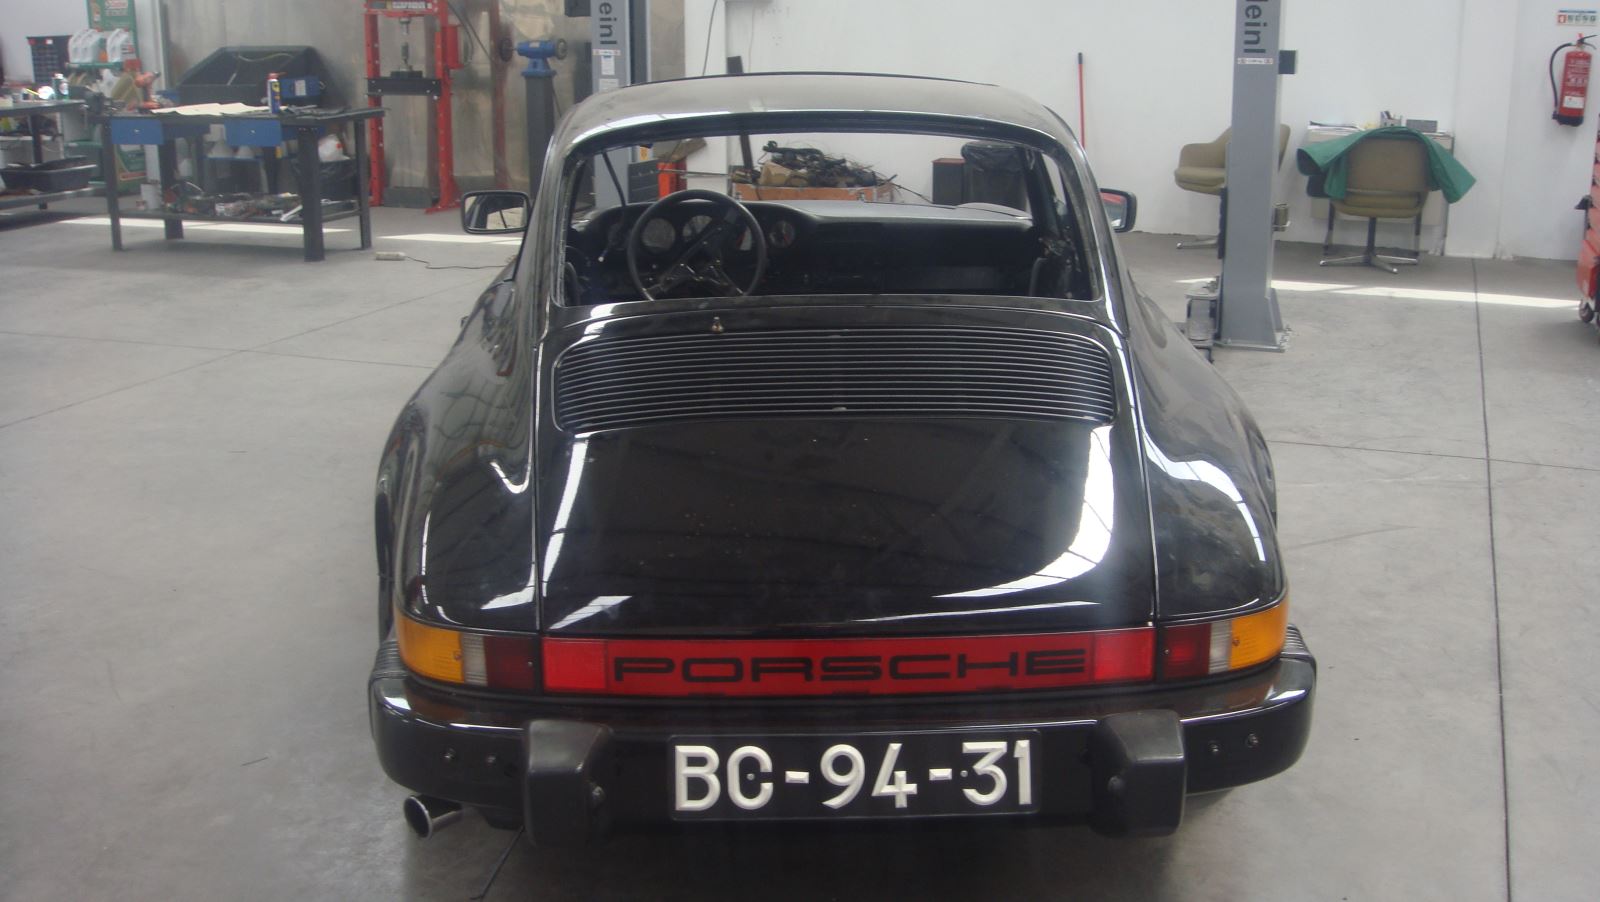
Rear dismantled
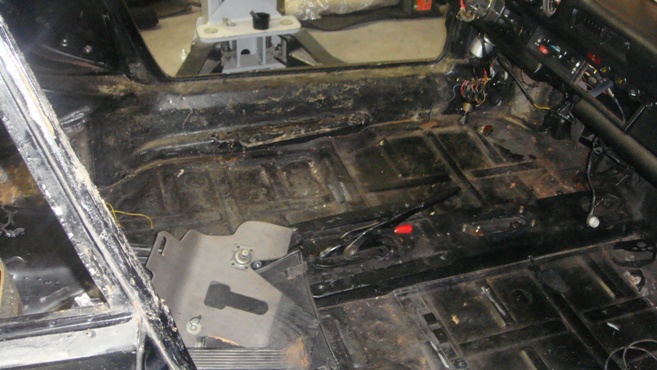
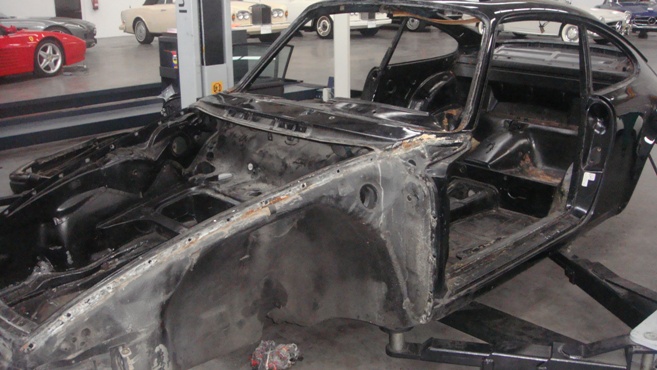
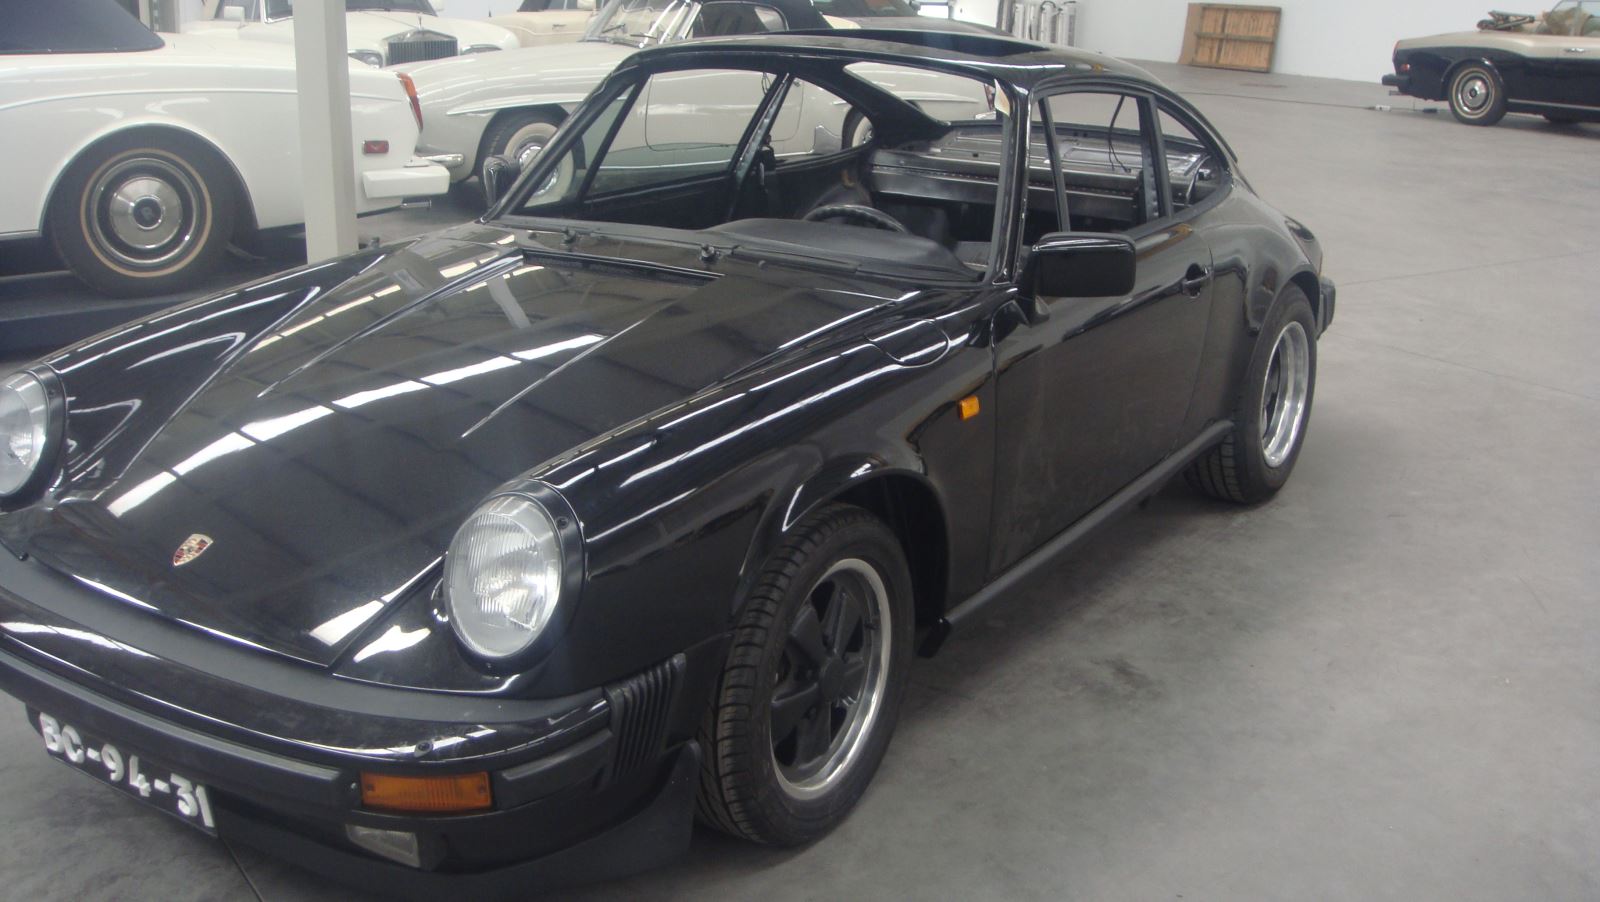
Inside almost complete dismatled
Another picture
Lot of mparts to dismantle
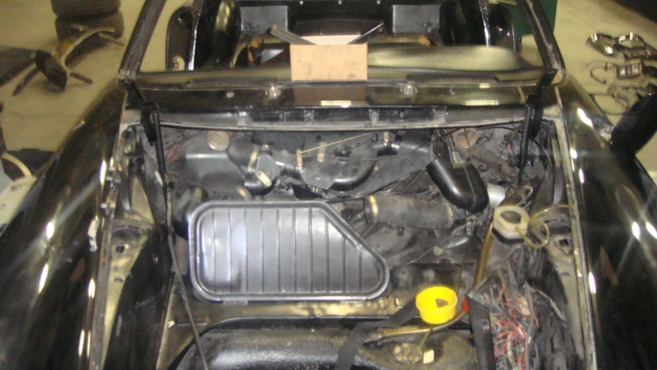
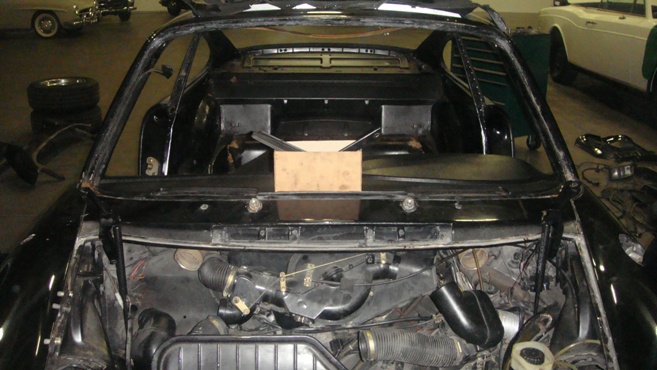
Luggage compartment
Another picture
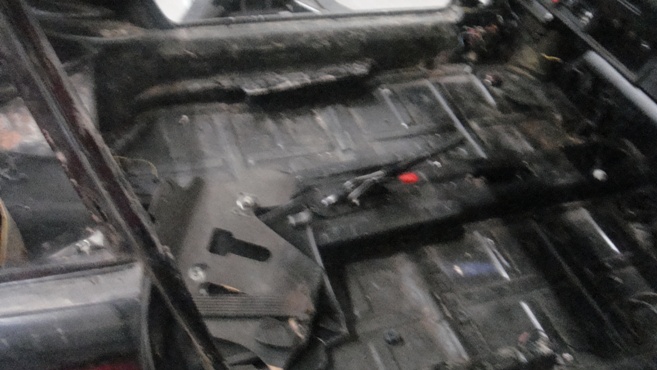
Still a lot of pieces to came out
Another picture

Original stickers
Working in the wires
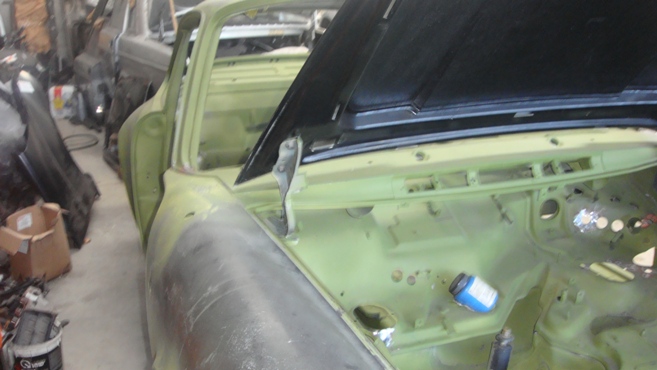
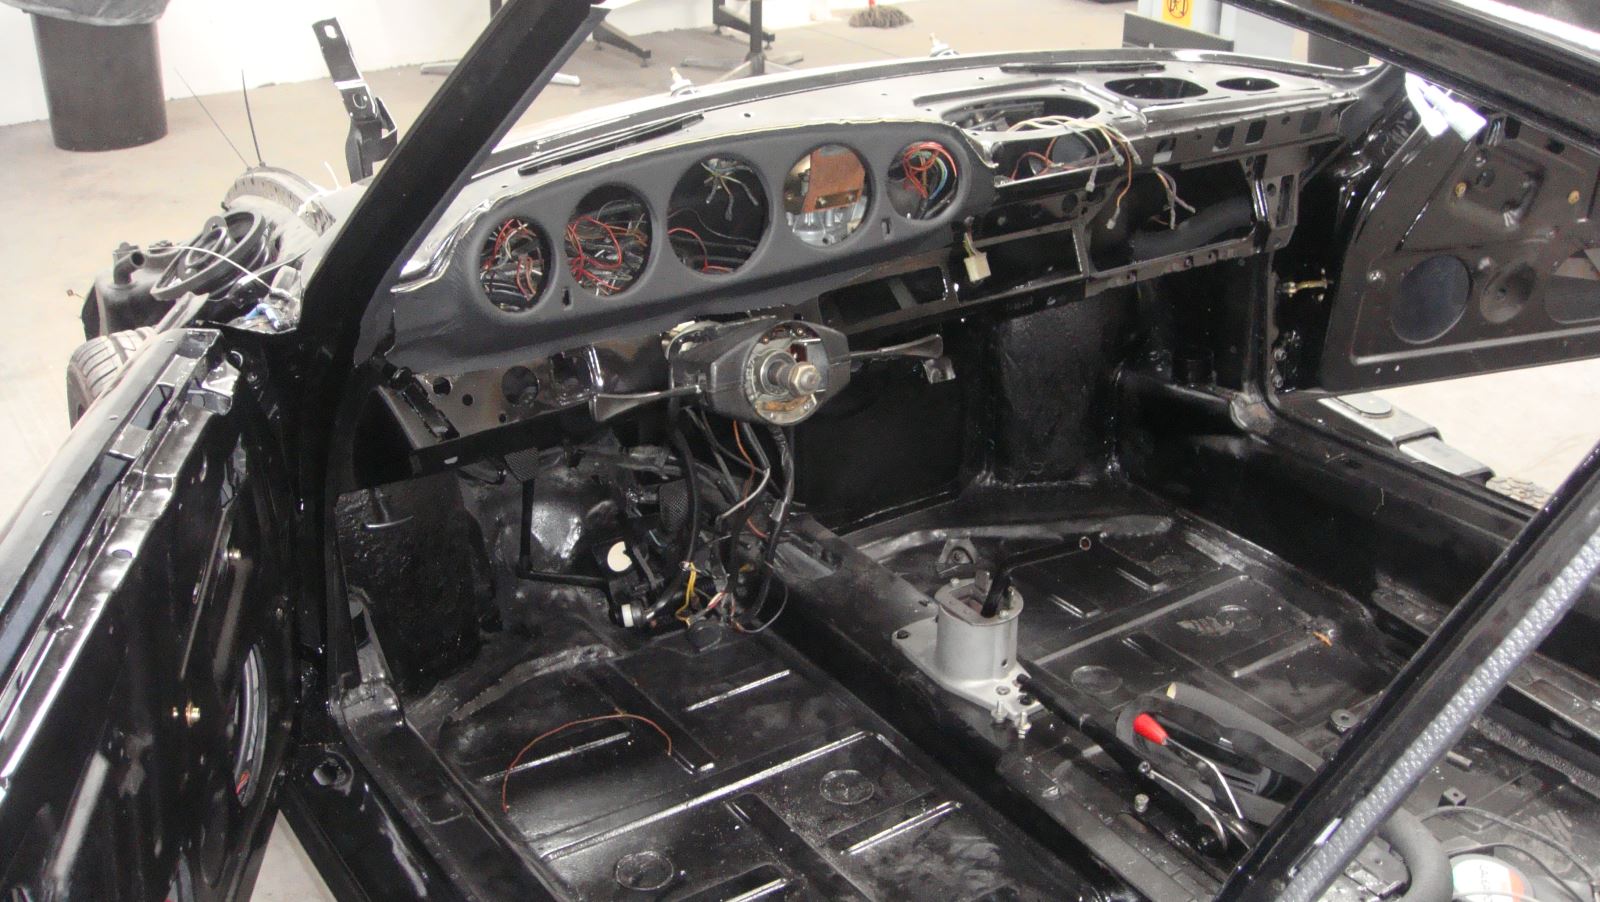
Only missing the dashboard
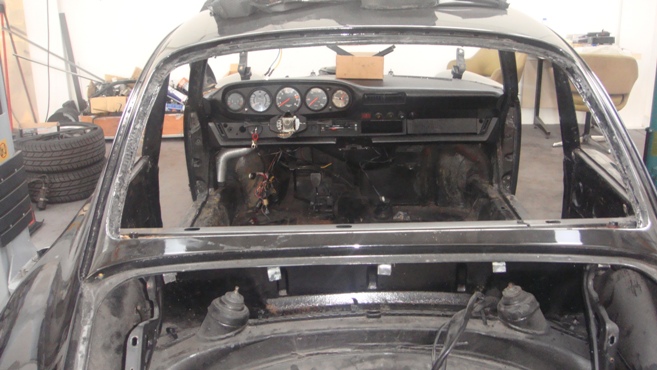
Preparing to dismantle the dashboard
Almost done
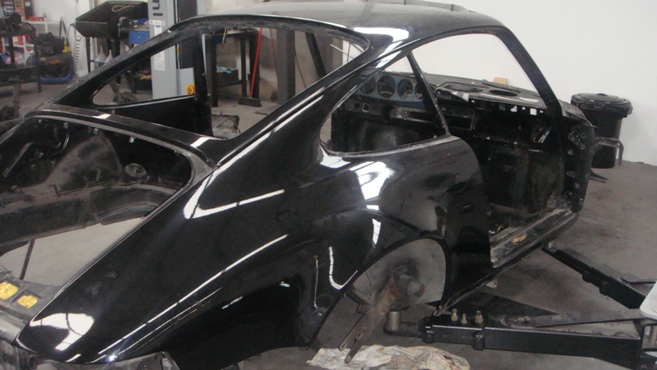
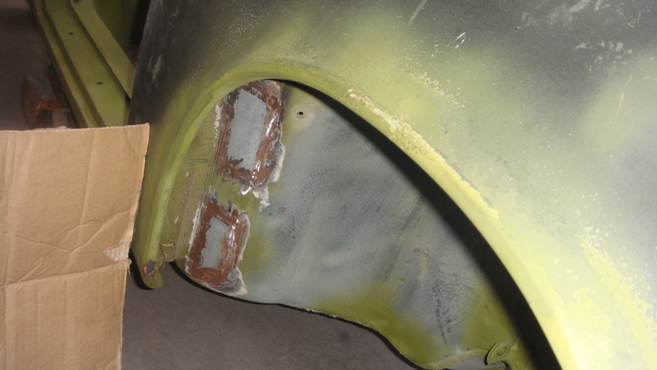
The front wings already out
Another picture
And a picture from the other side
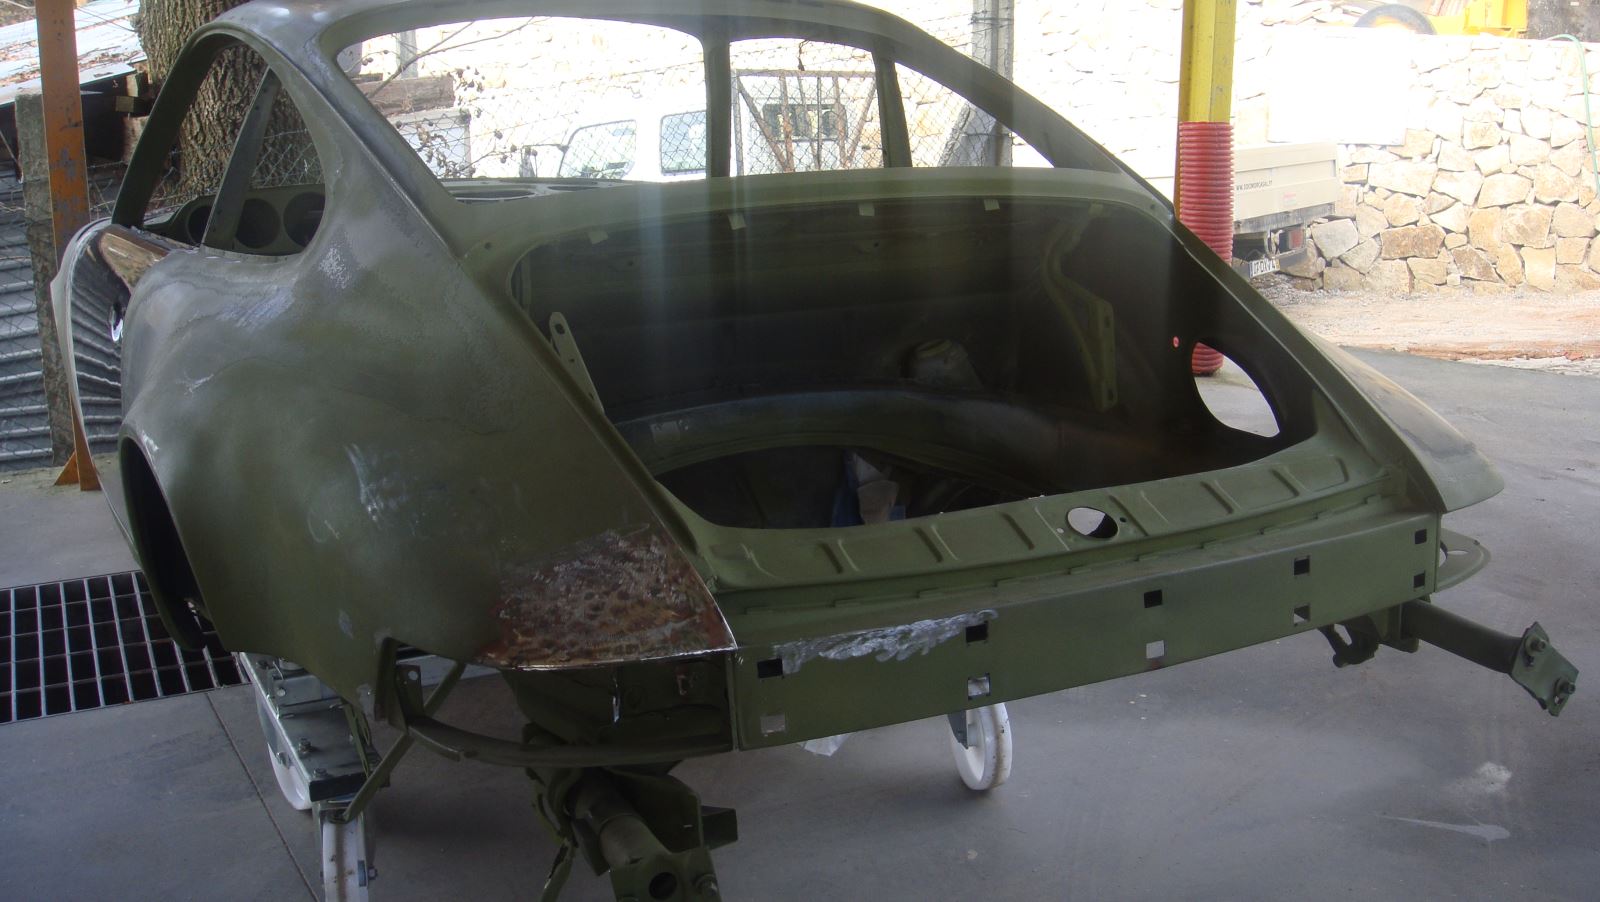
After the sand blast
Another picture
Almost no rust, only small details
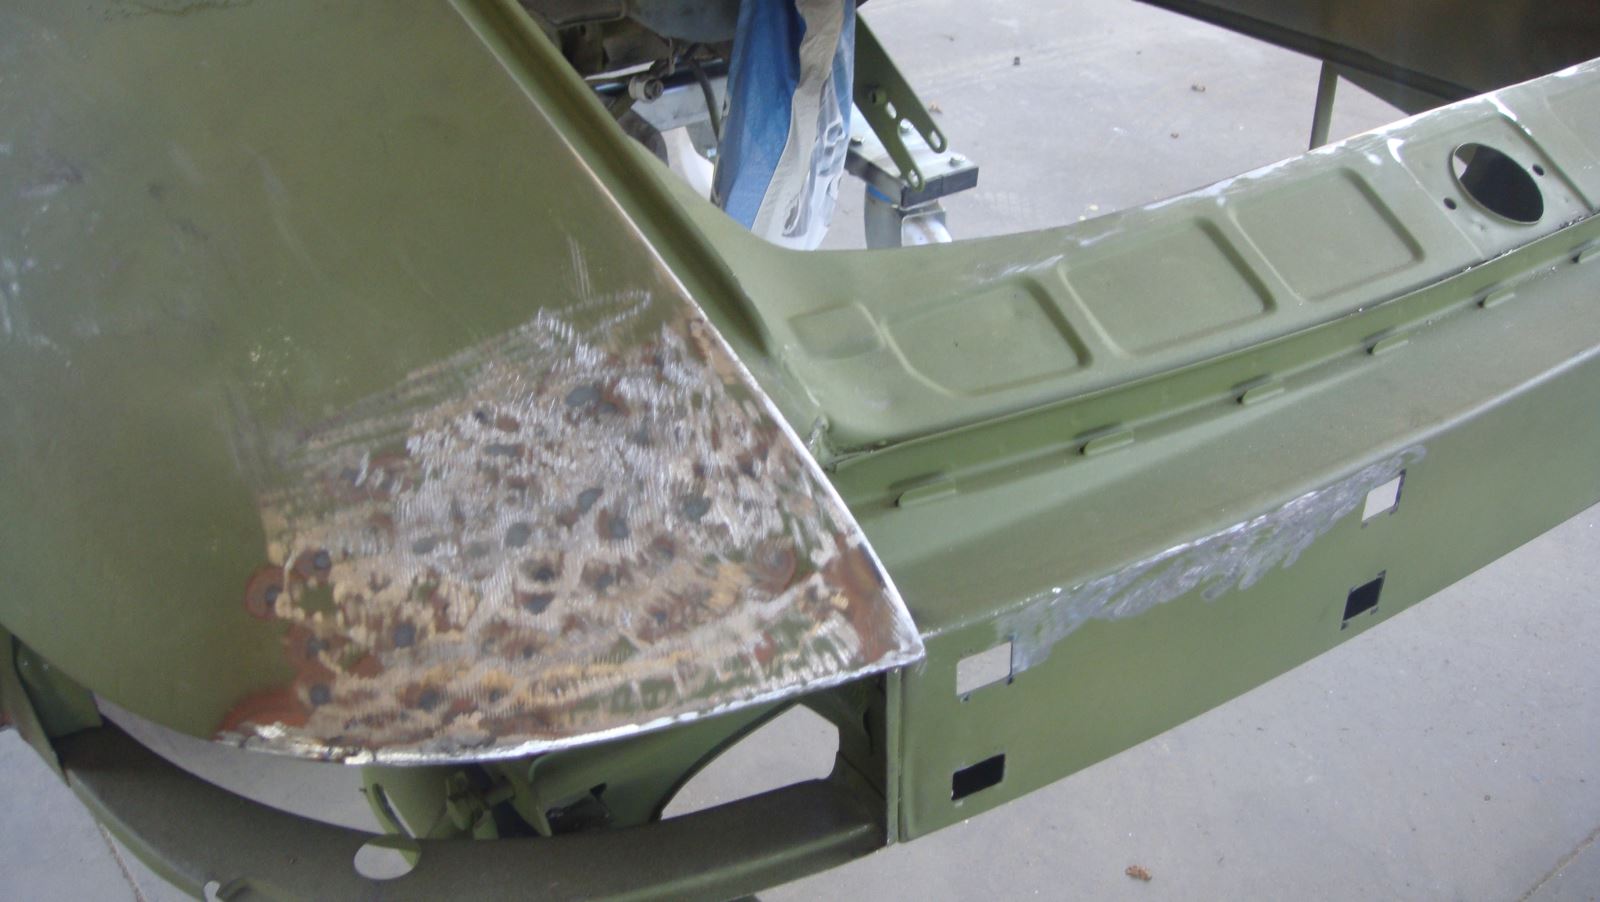
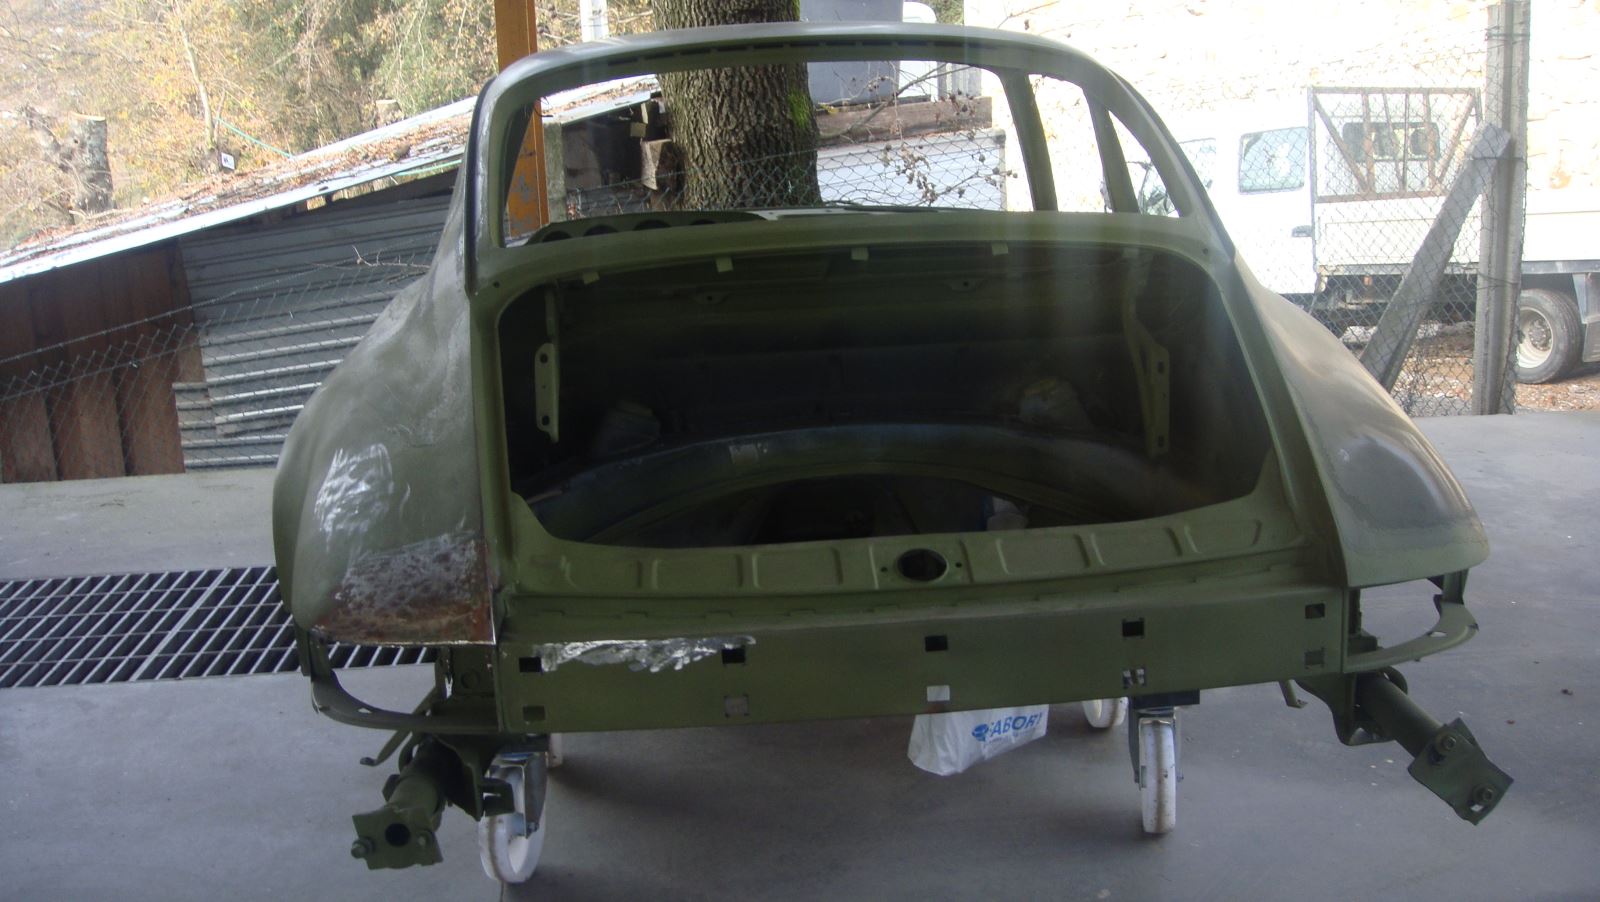
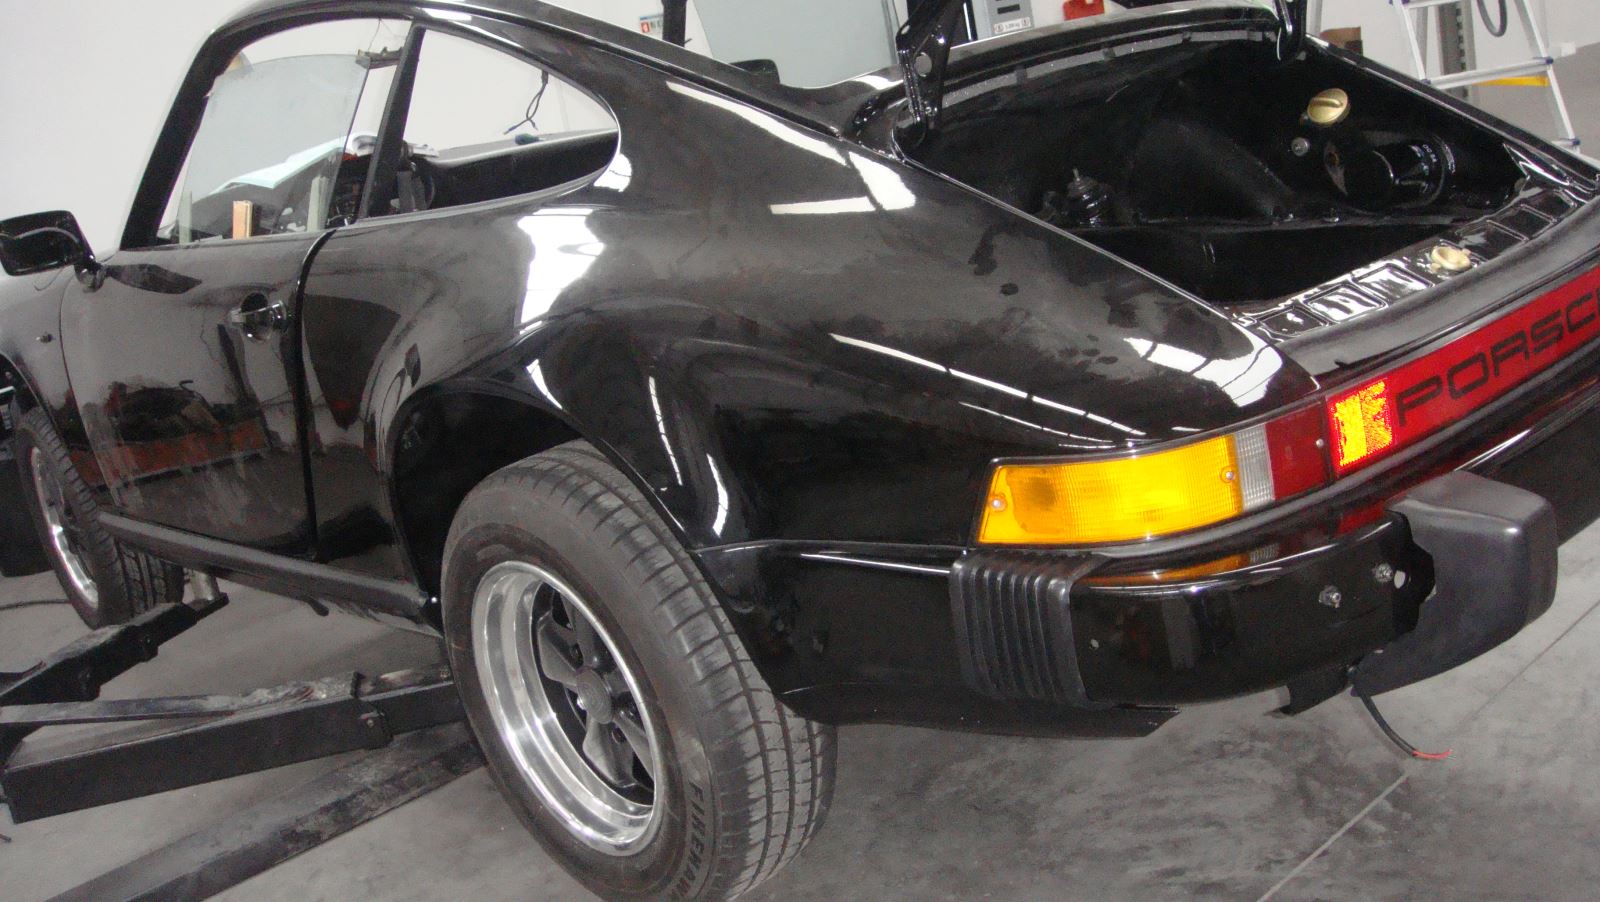
Rear almost ready
The rear was almost ok. not so much to do
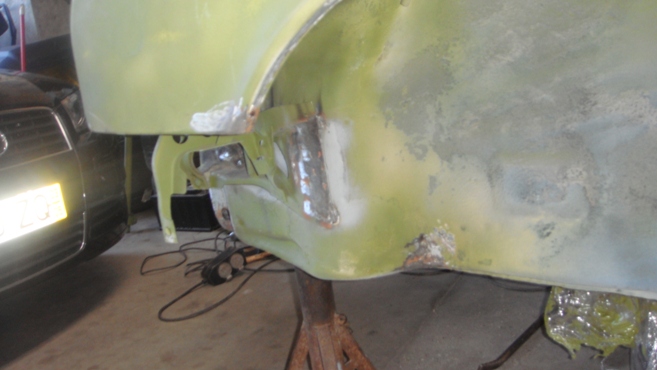
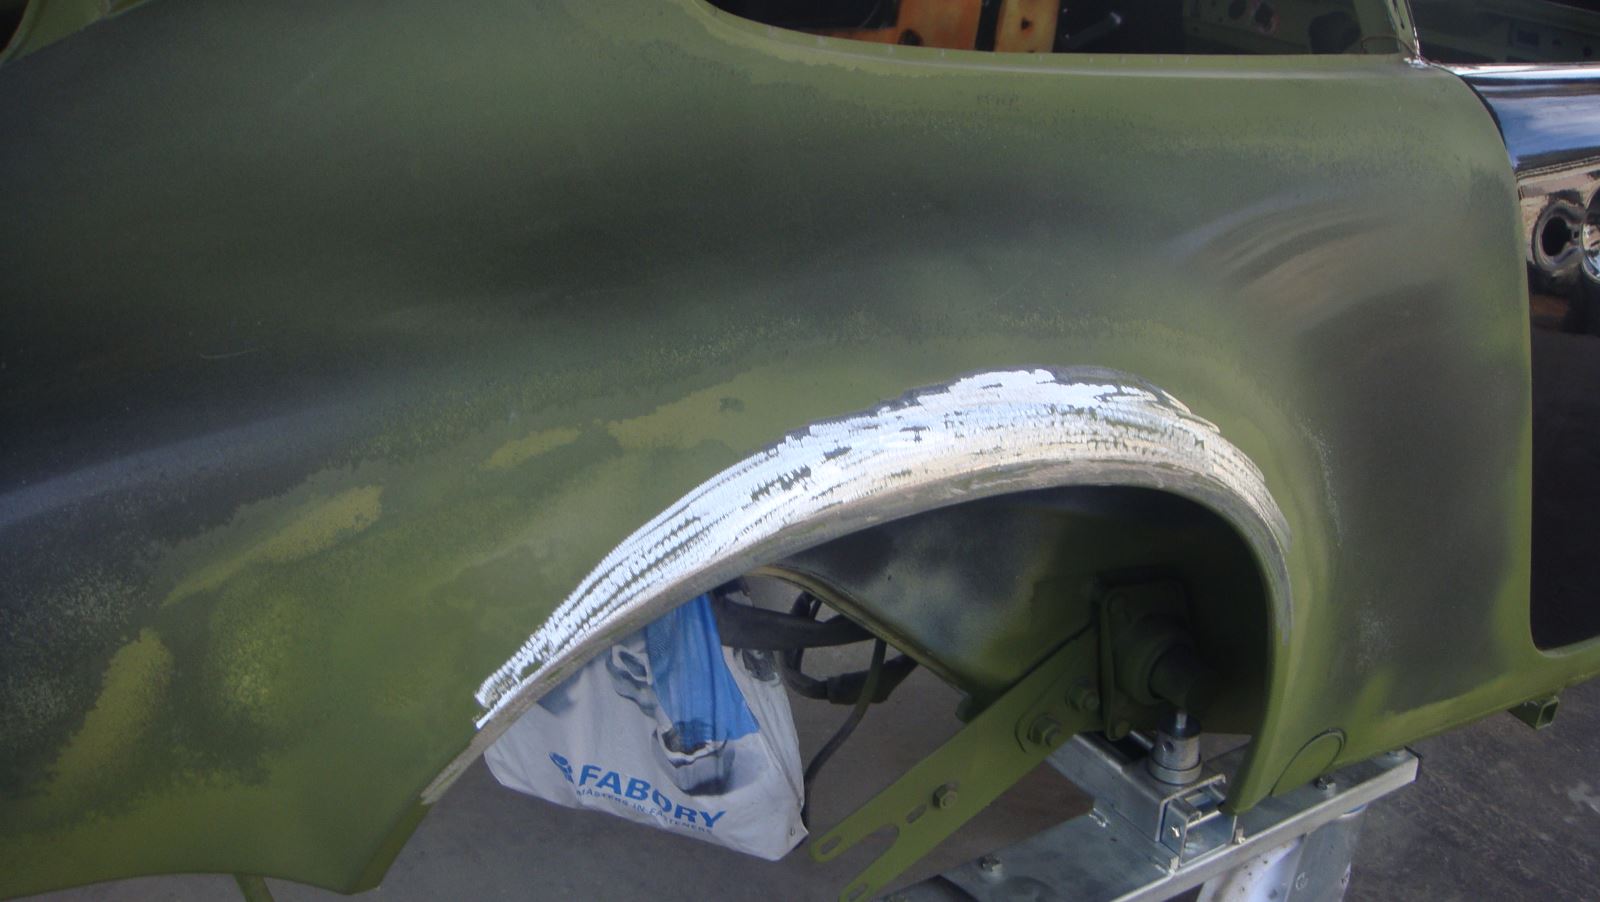
Front need a little more work. Small parts
Testing the parts to fit
Some of the work done
Small but importatnt parts to restore
As you can see there is always work to do
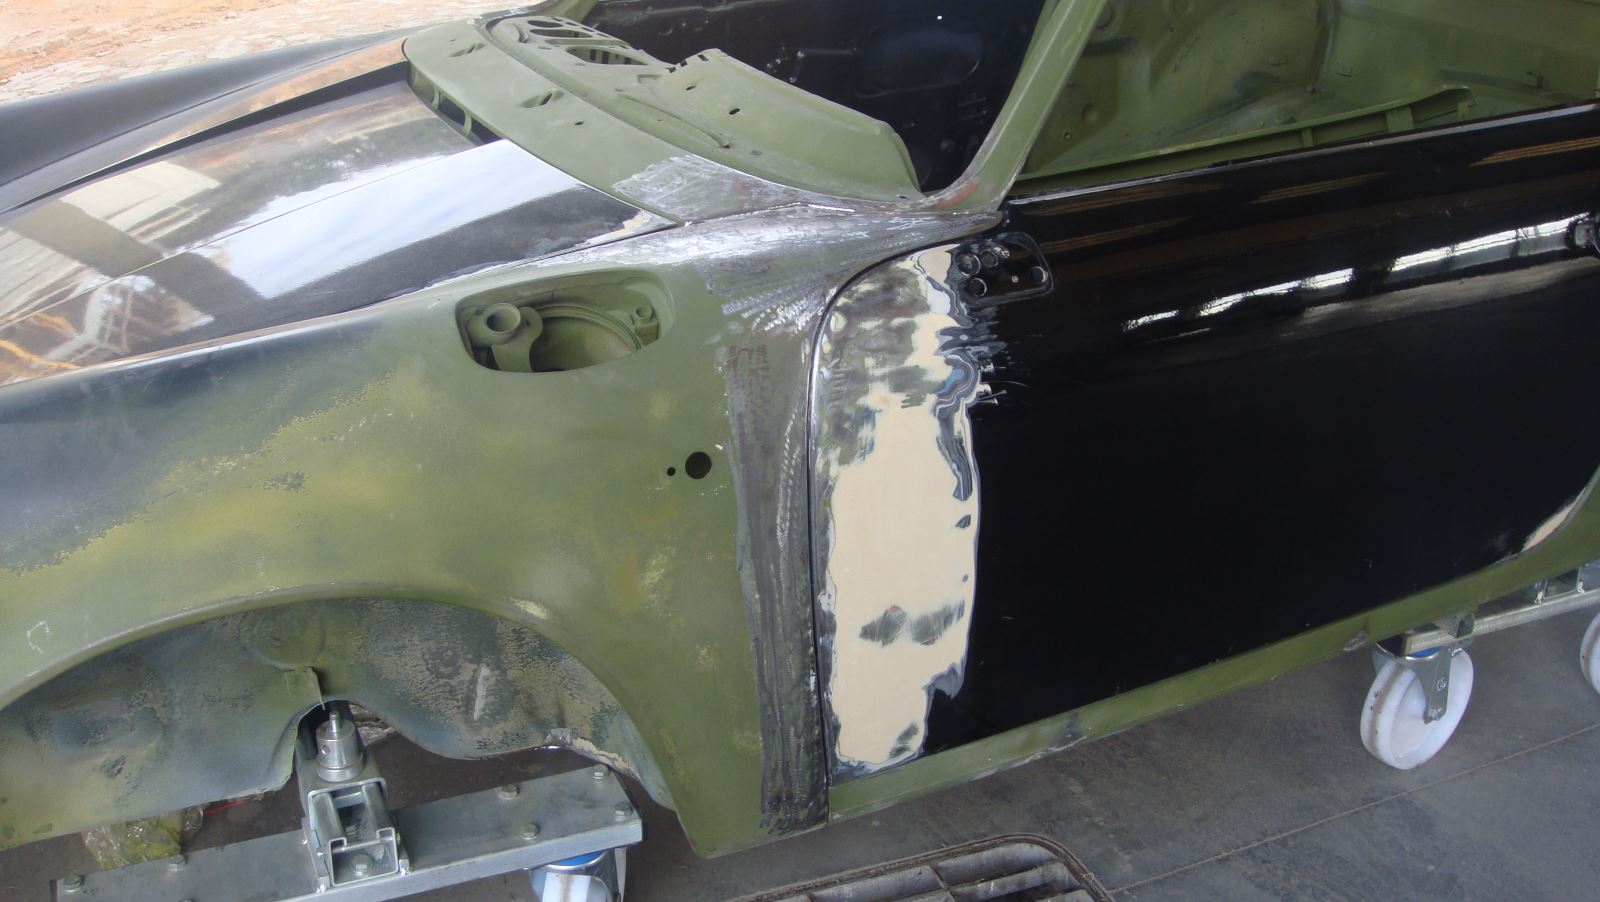
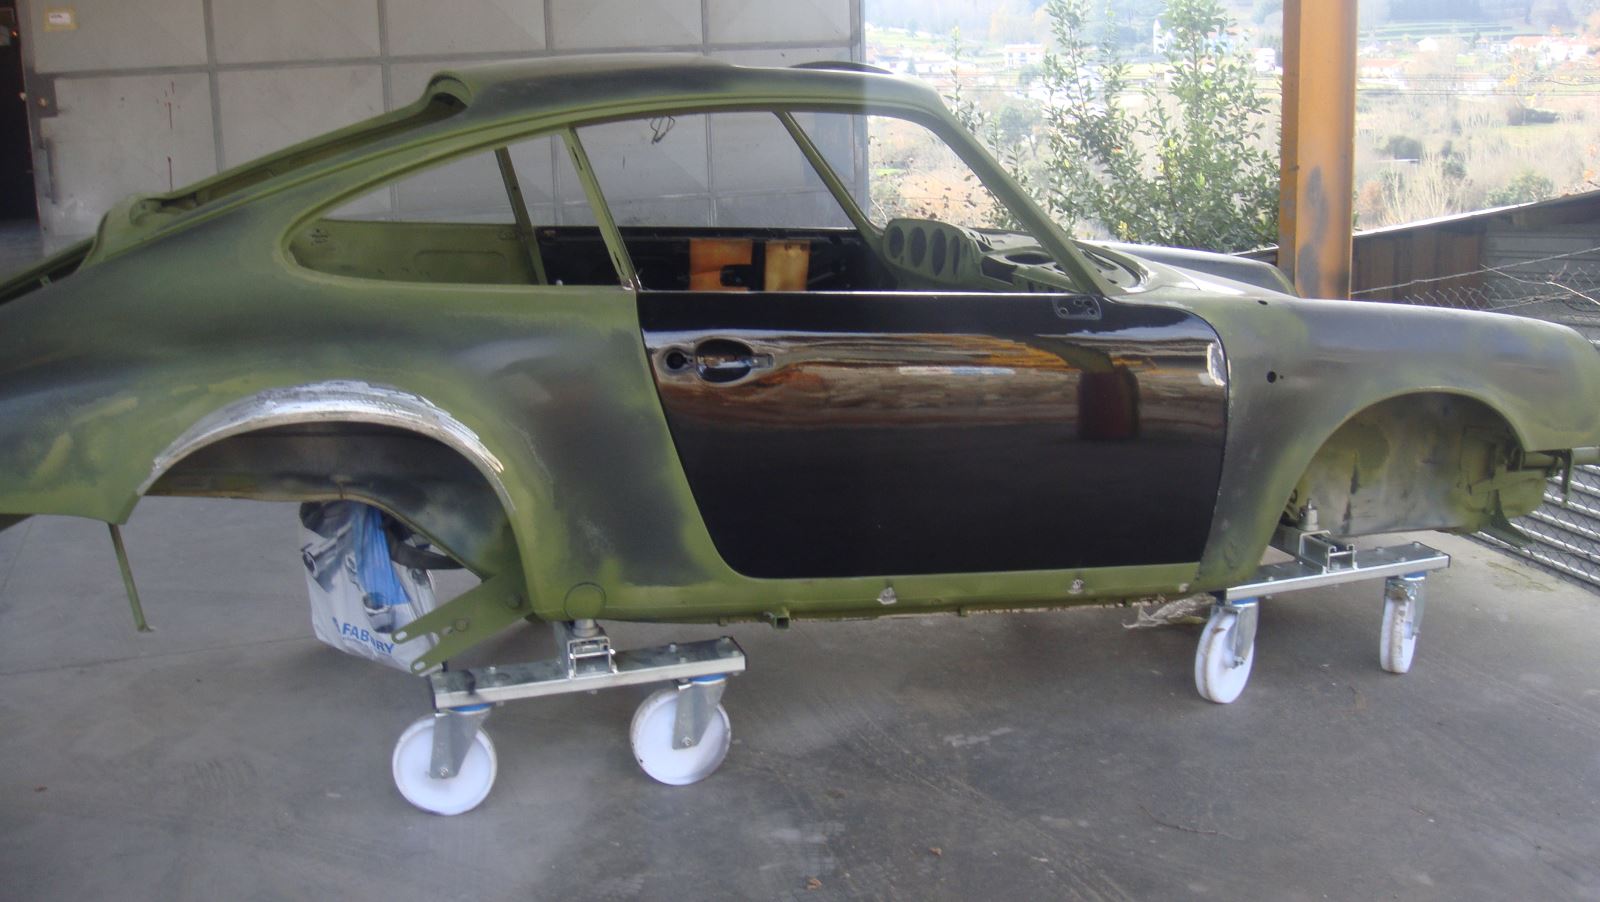
Tryng bonet and then doors before go to the paint.
Almost ready for the paint
Small works
Adjusting the doors
.JPG)
Adjusting the front
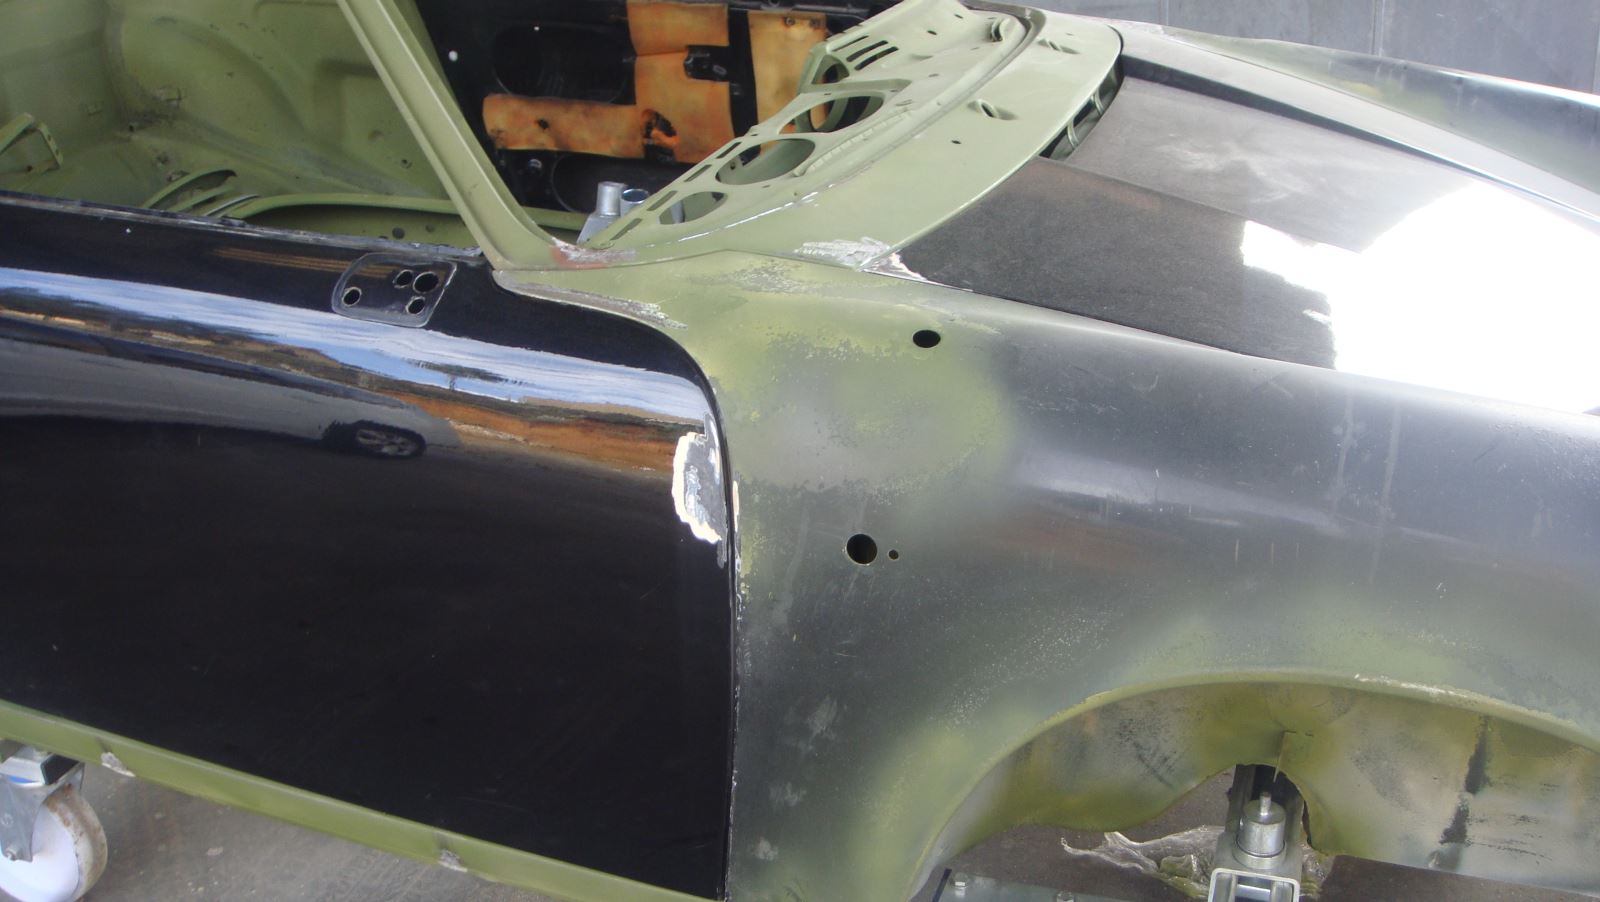
Adjusting doors right side
Small reparation in the rear
Almost ready
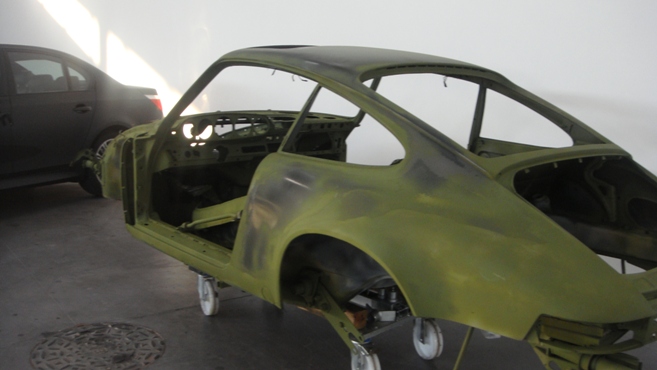
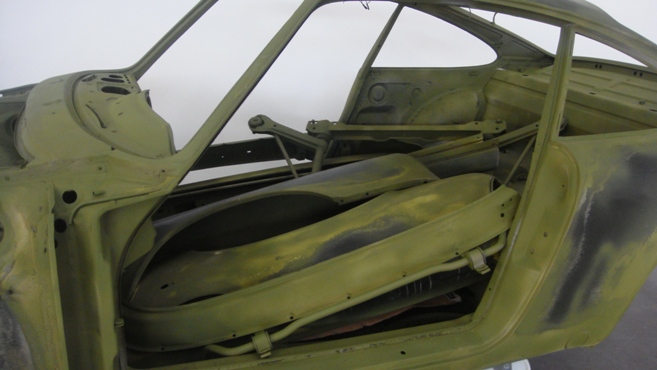
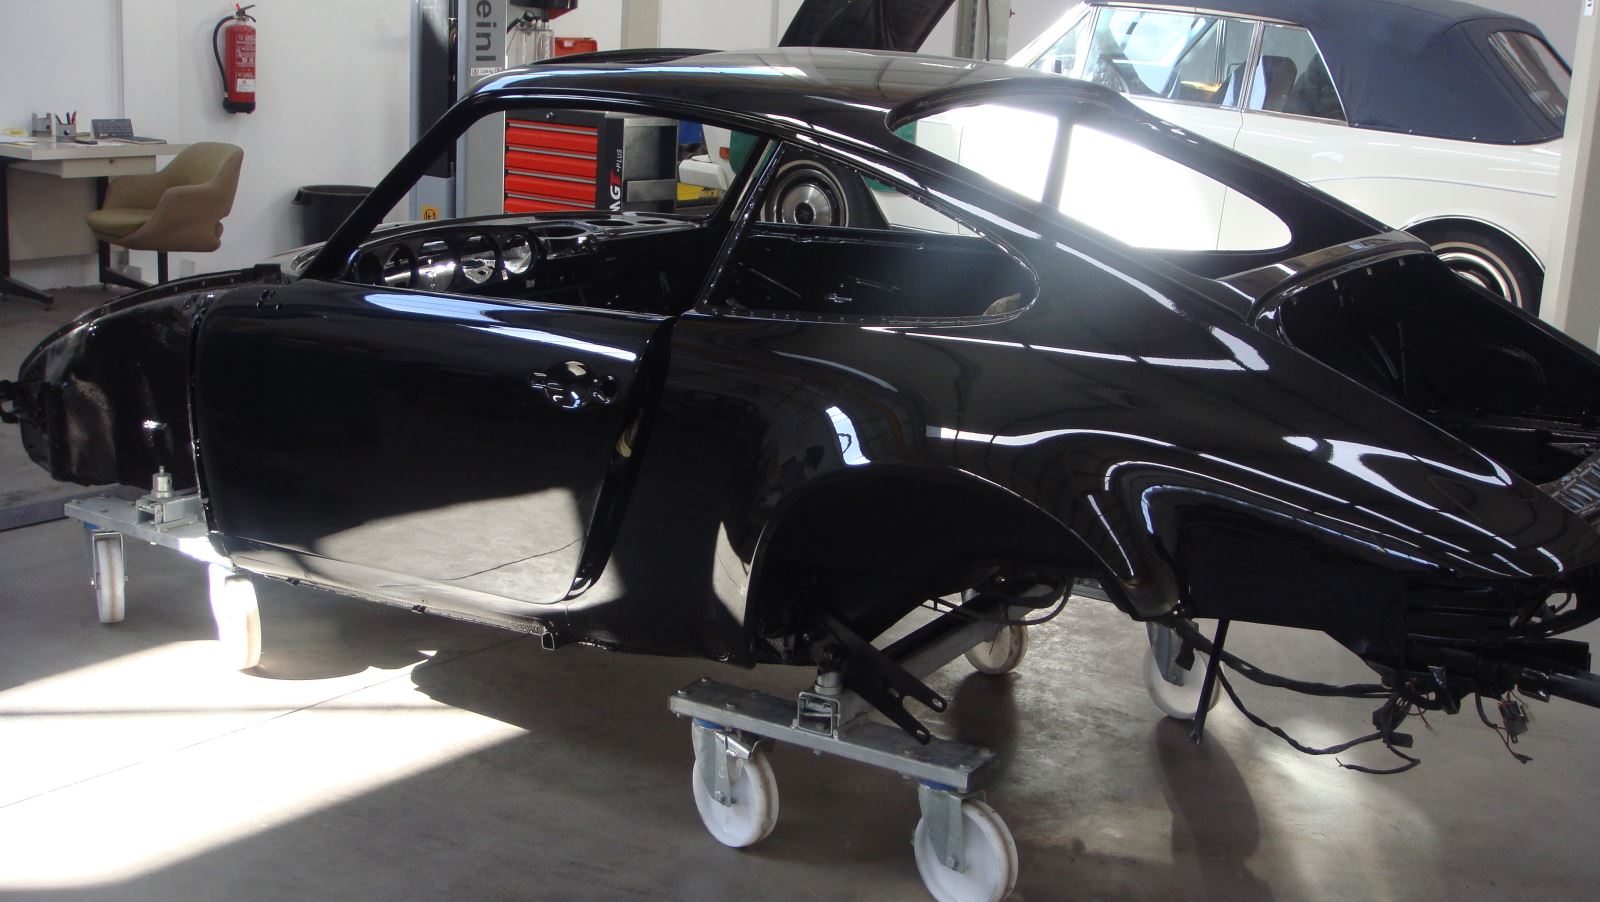
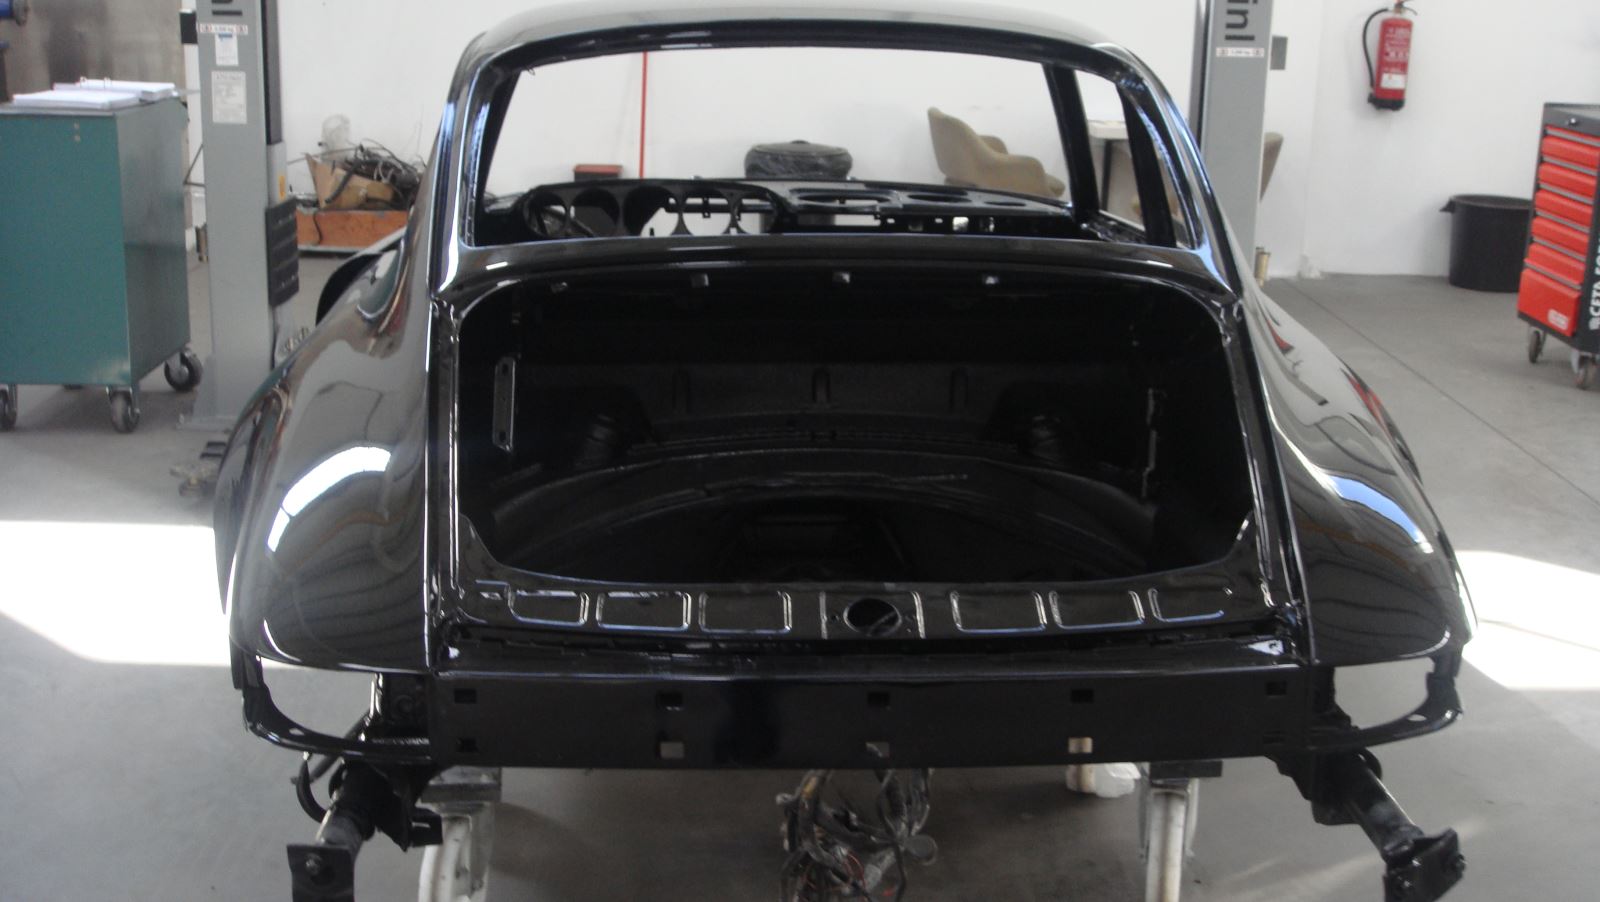
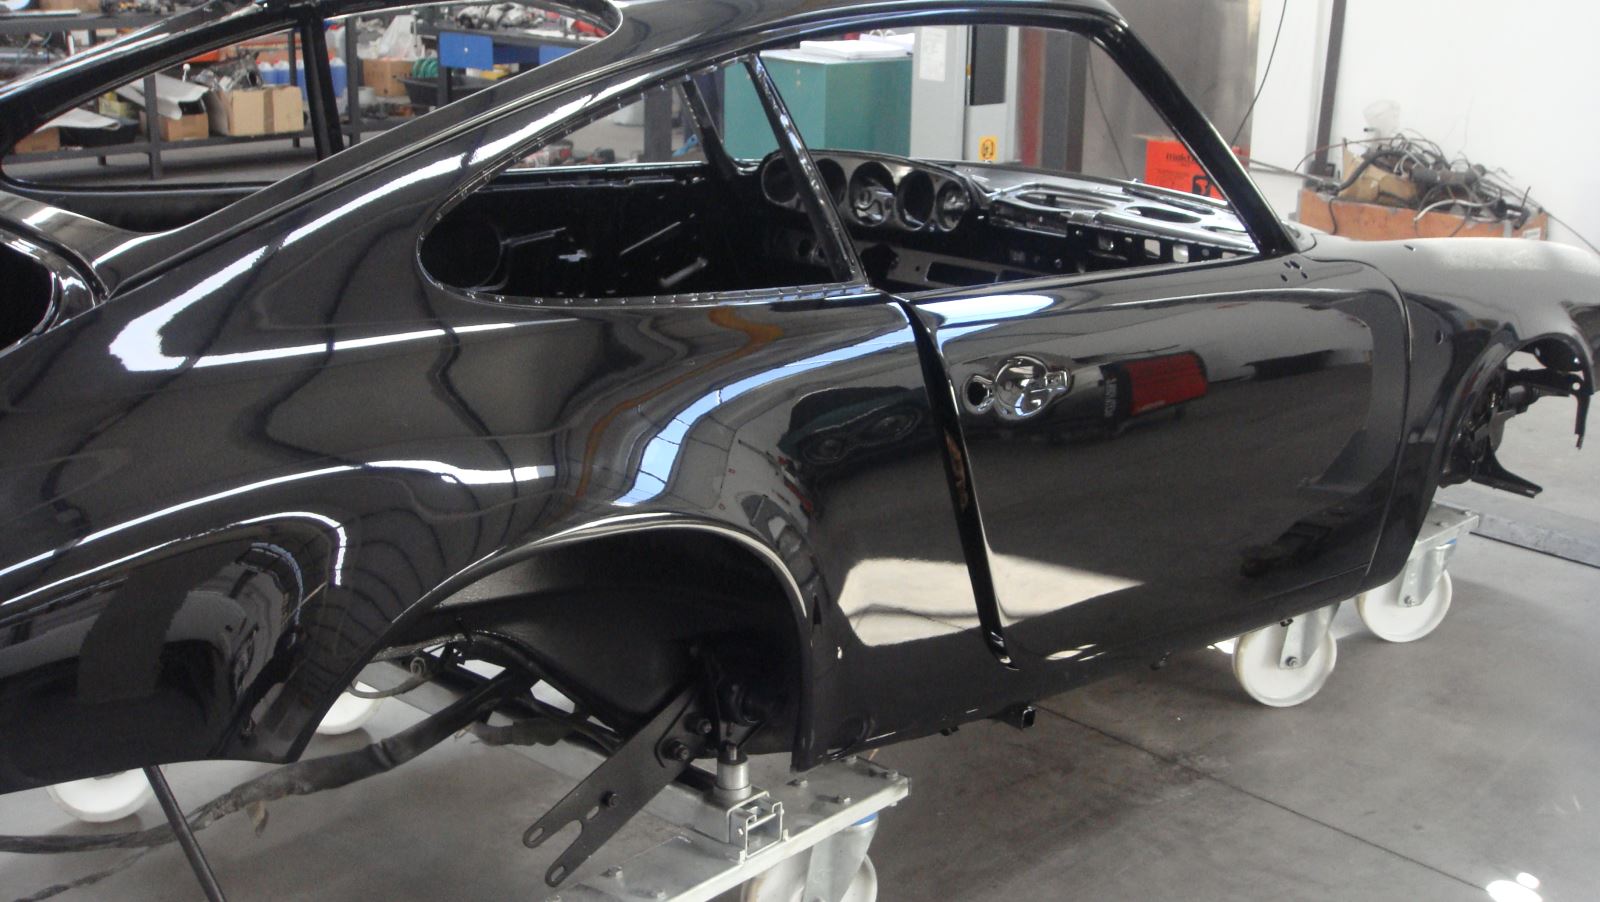
ready for paint
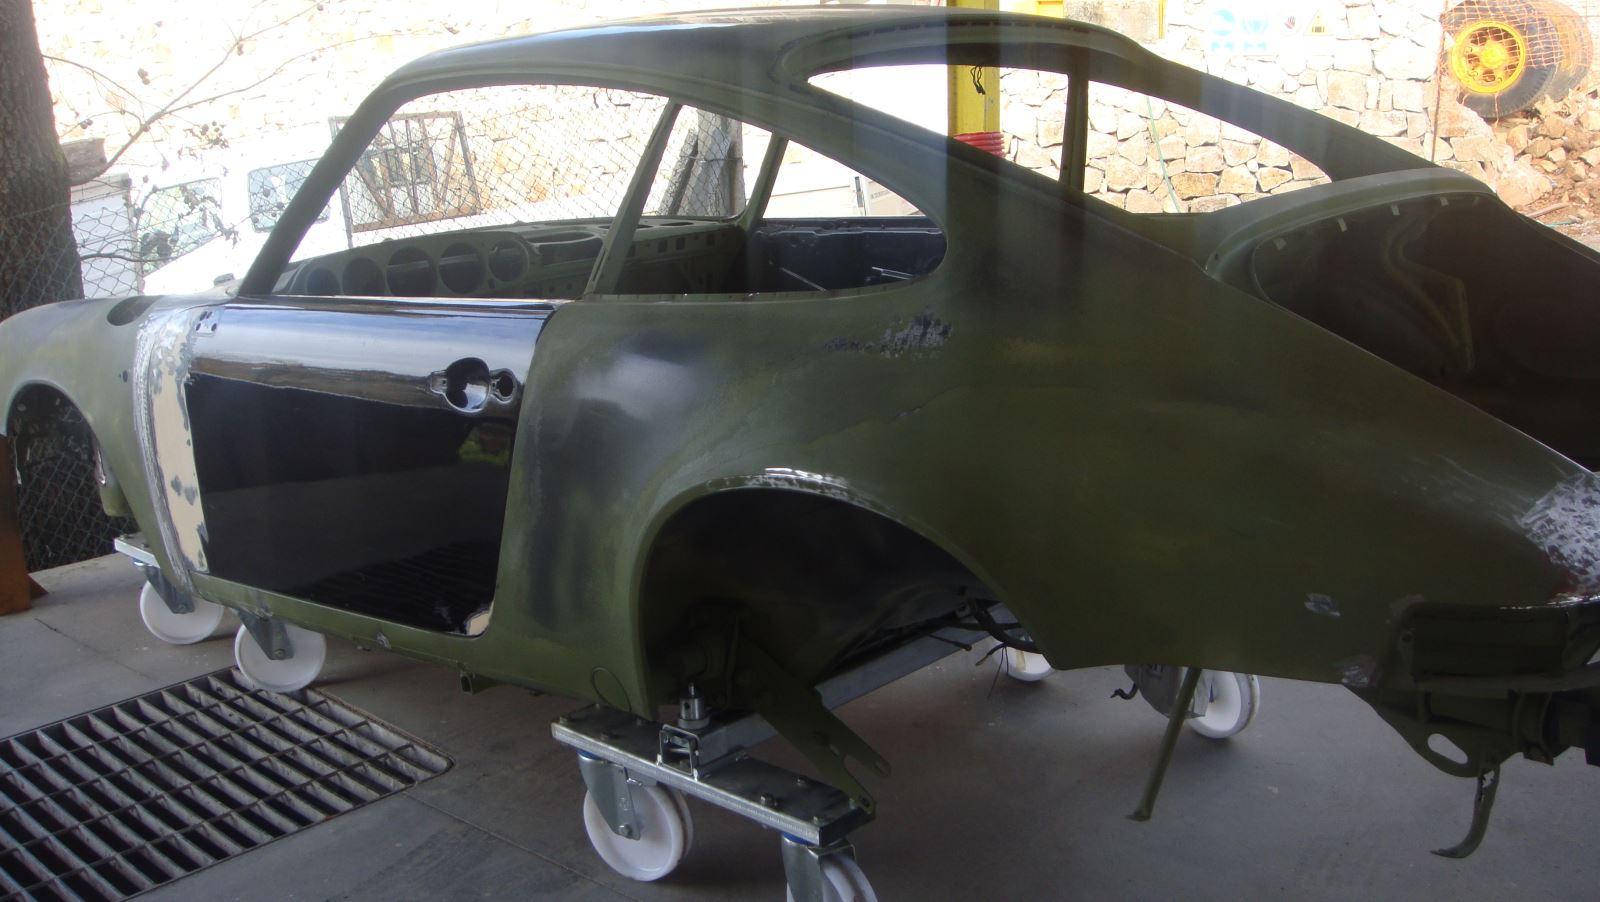
Ready for paint
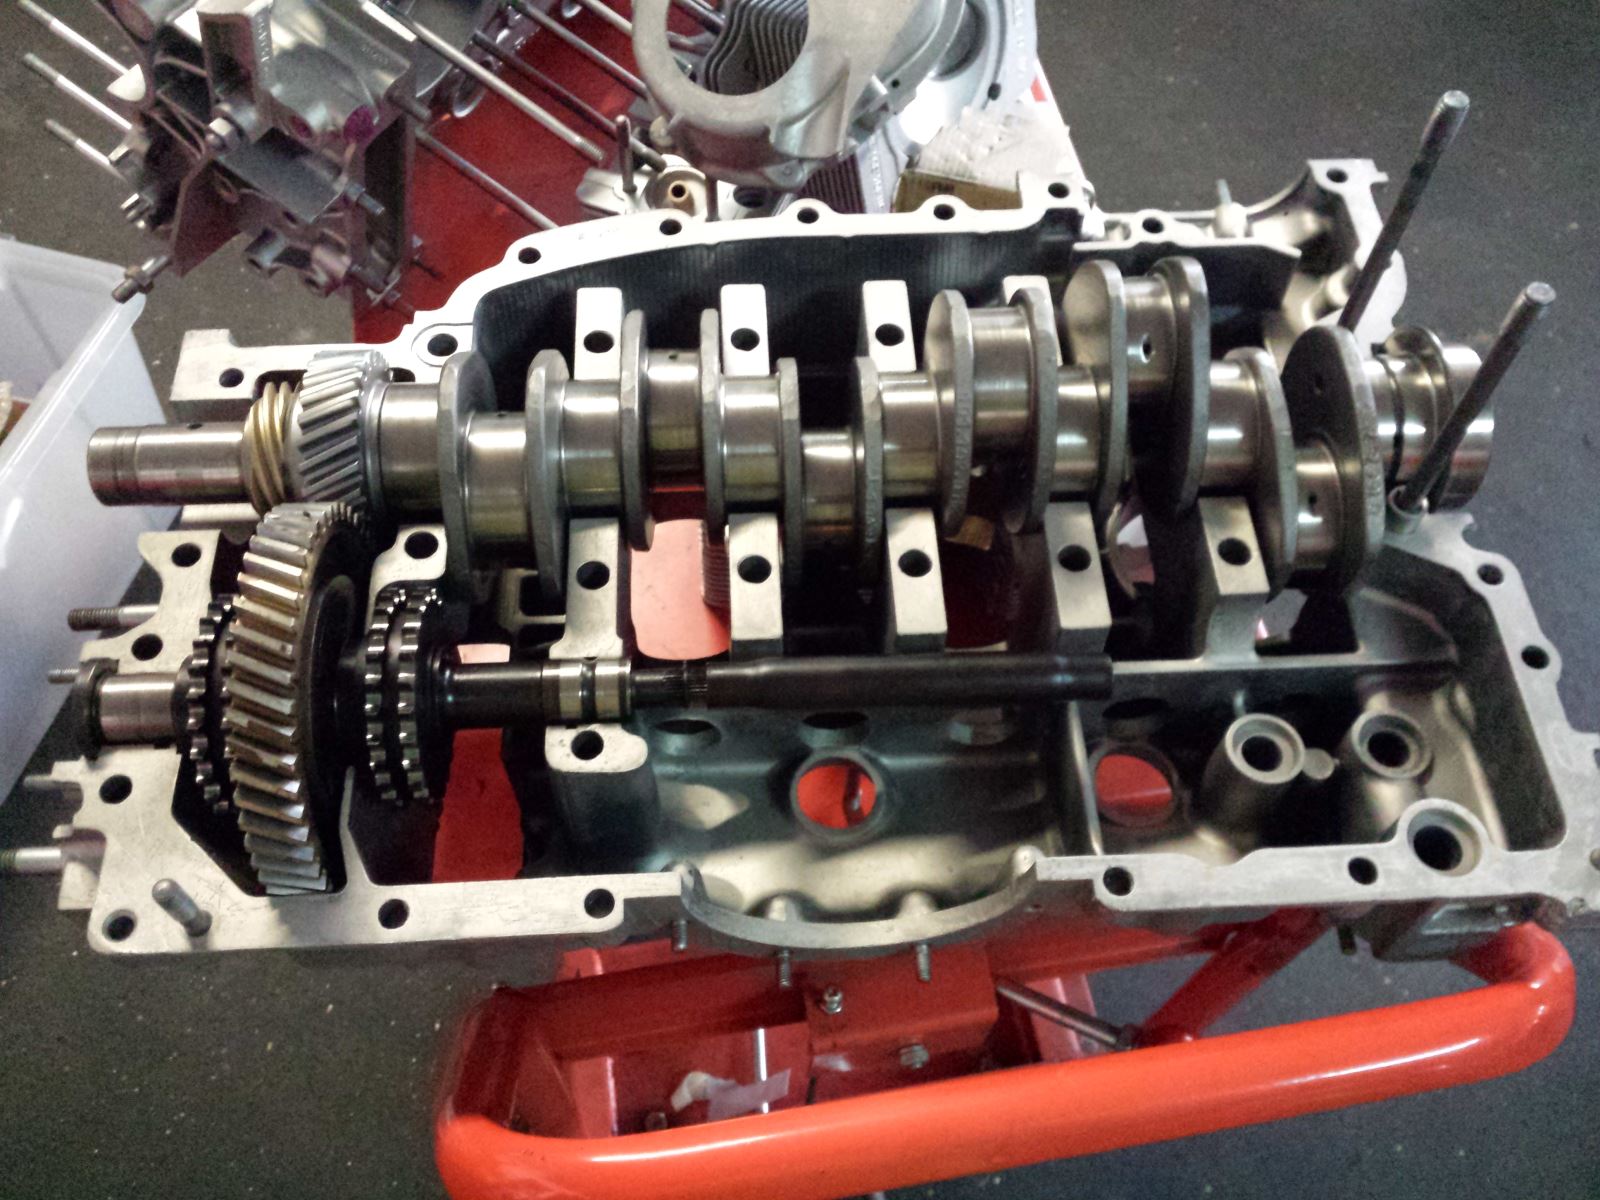
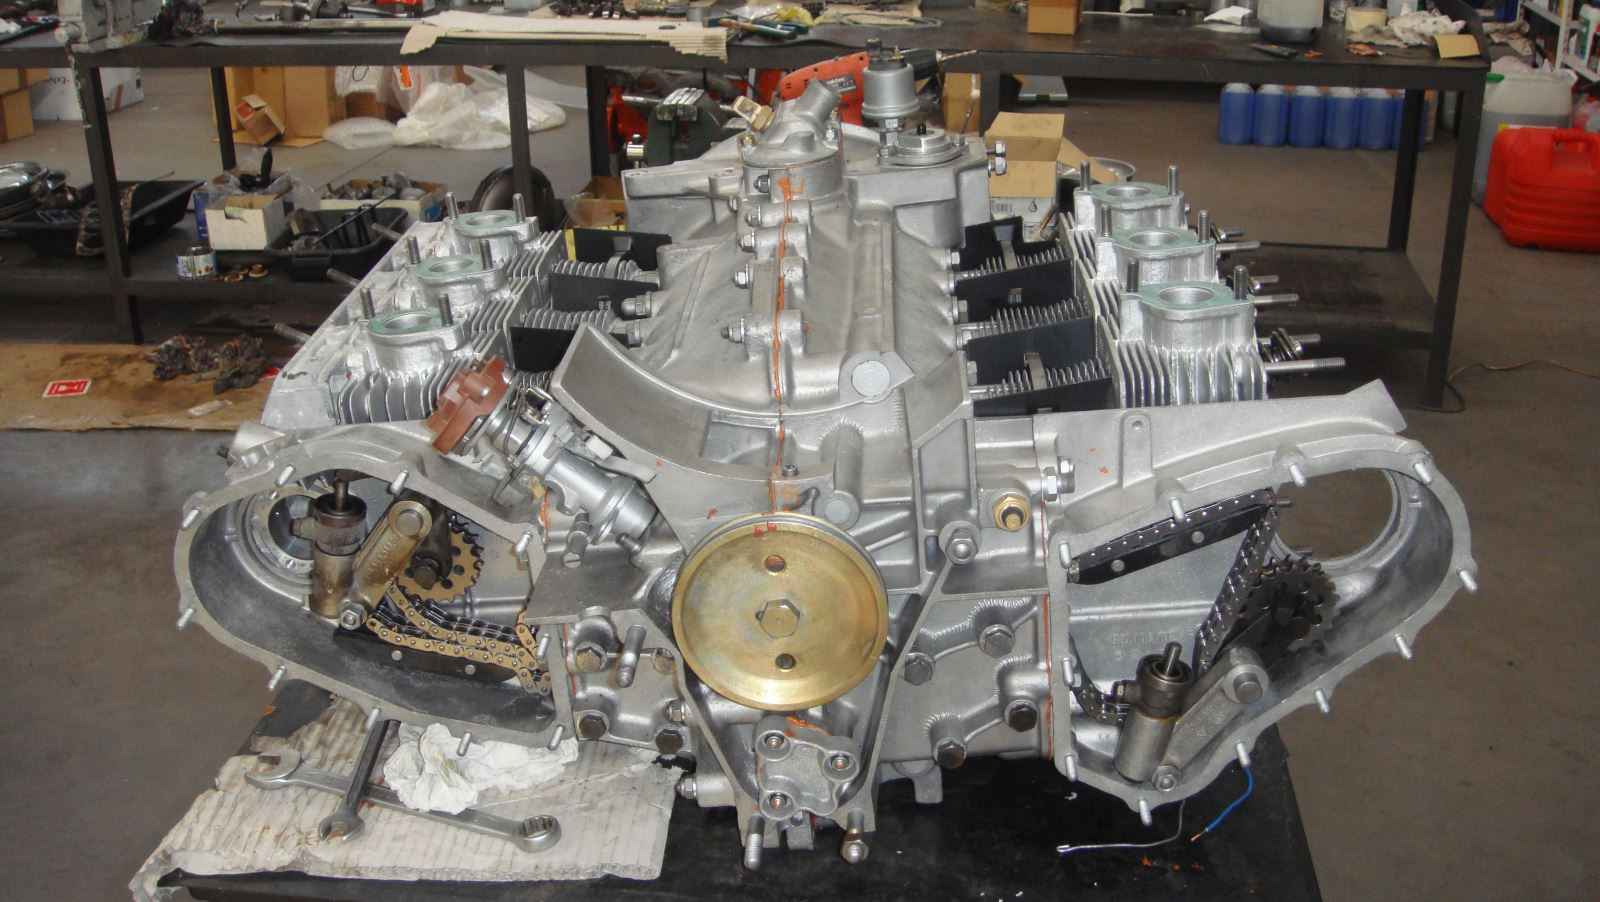
Rebuid the engine
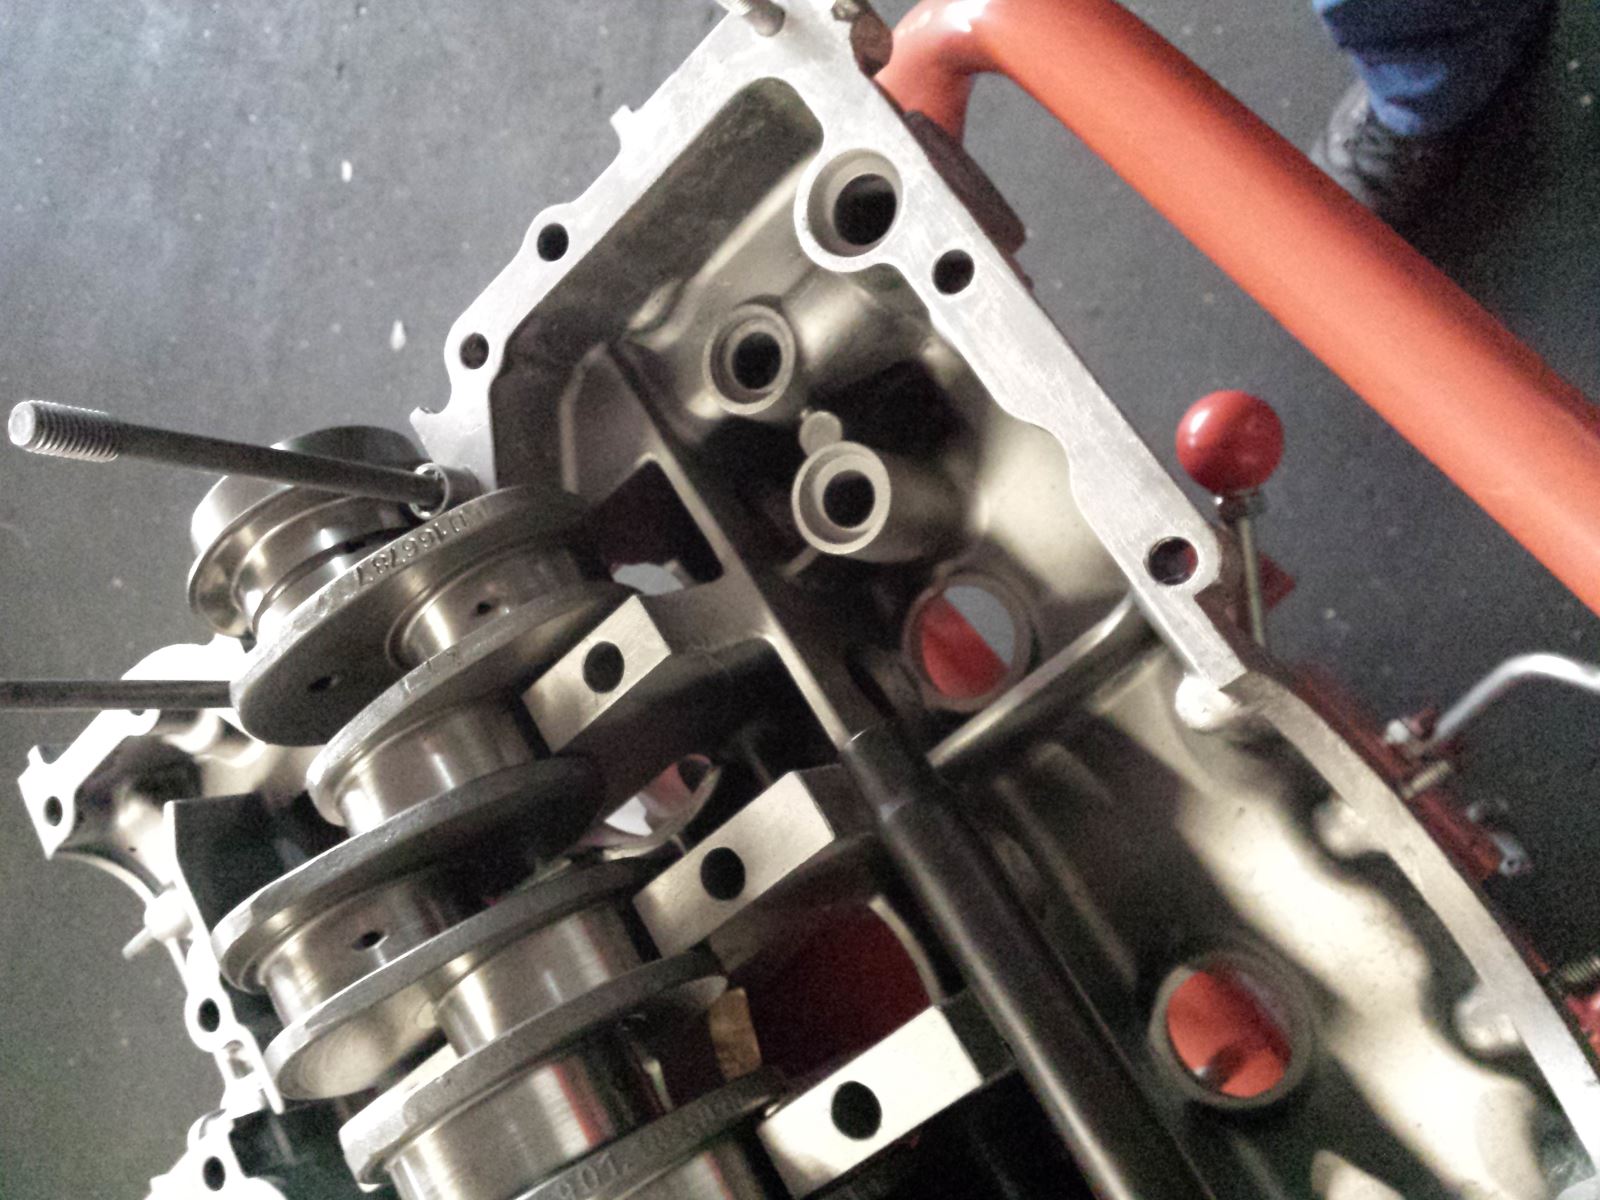
New bearings
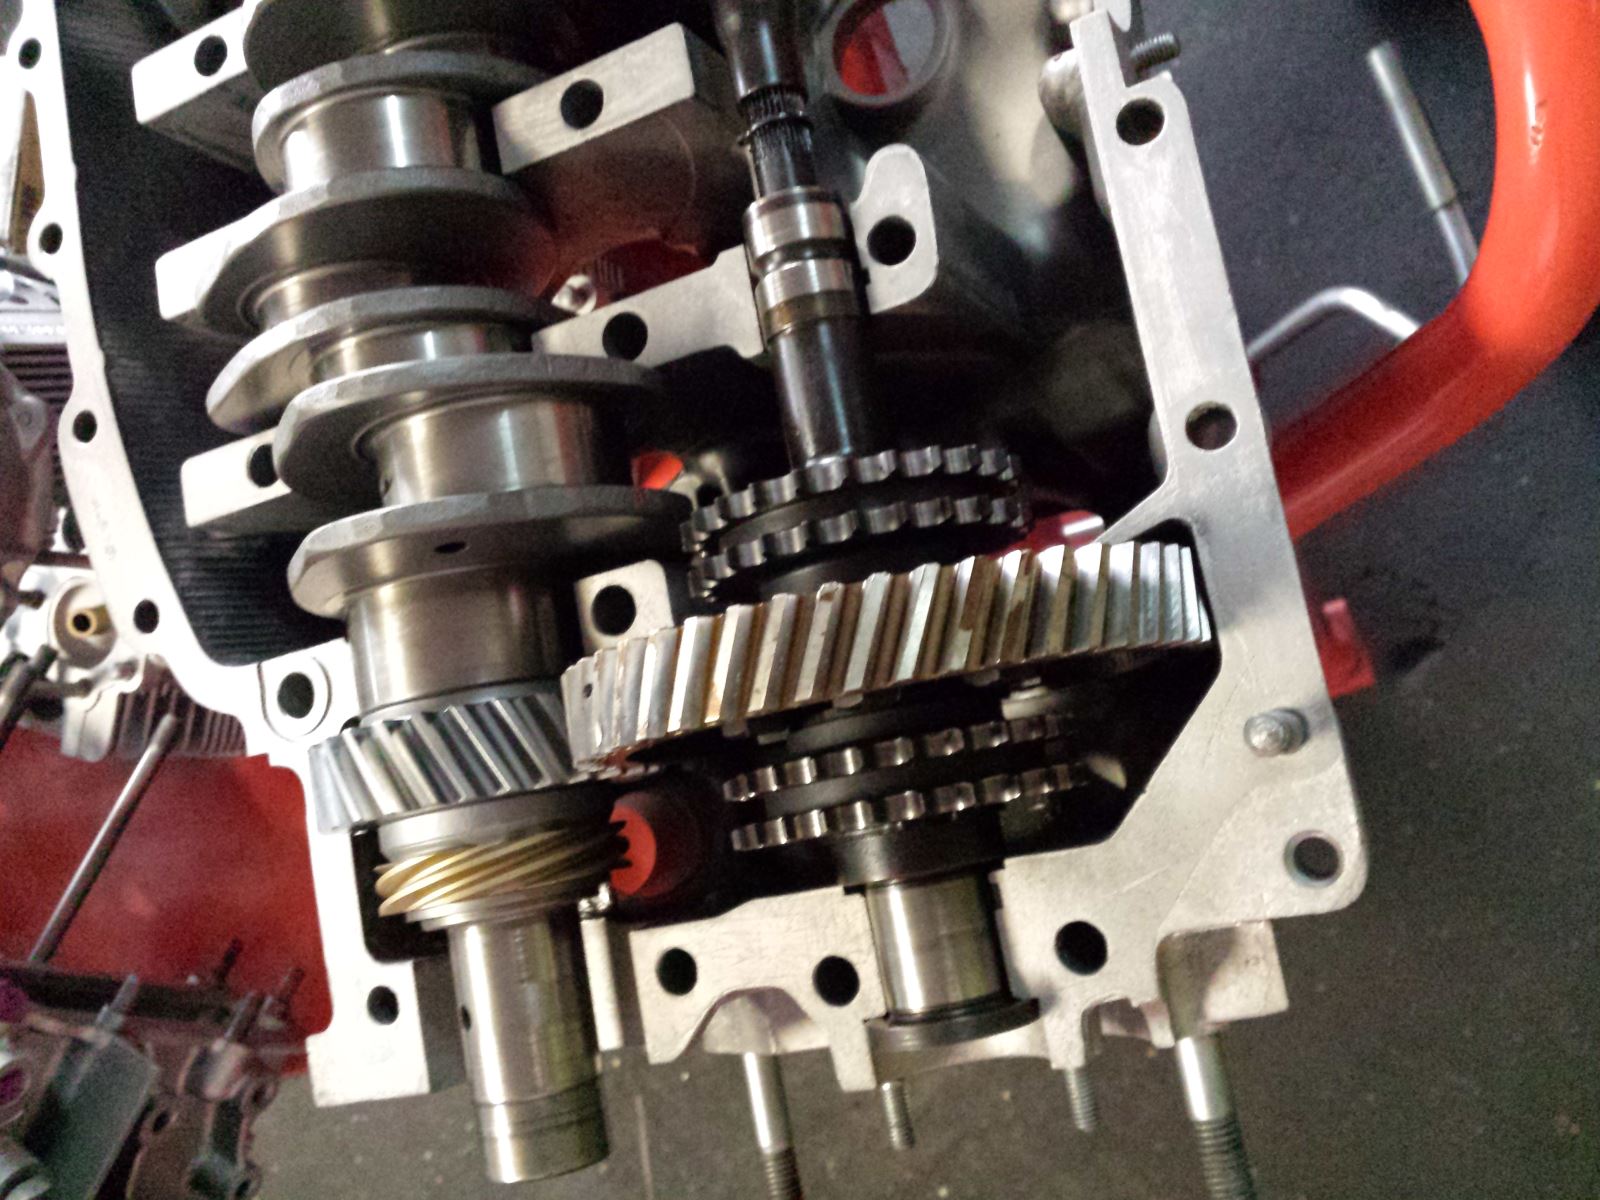
New chains
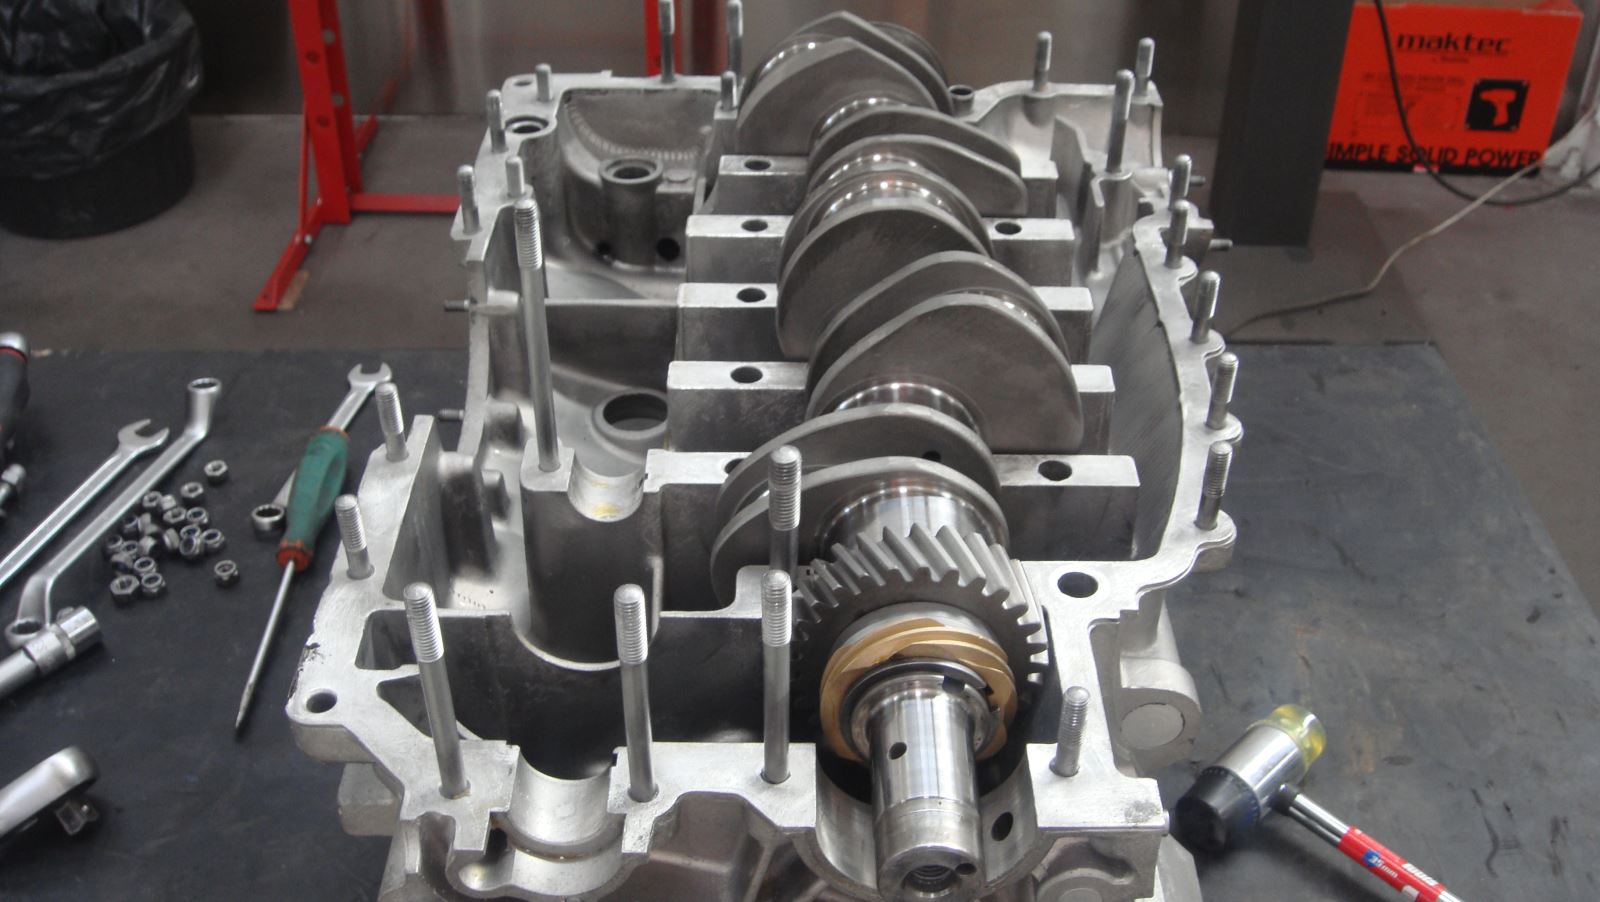
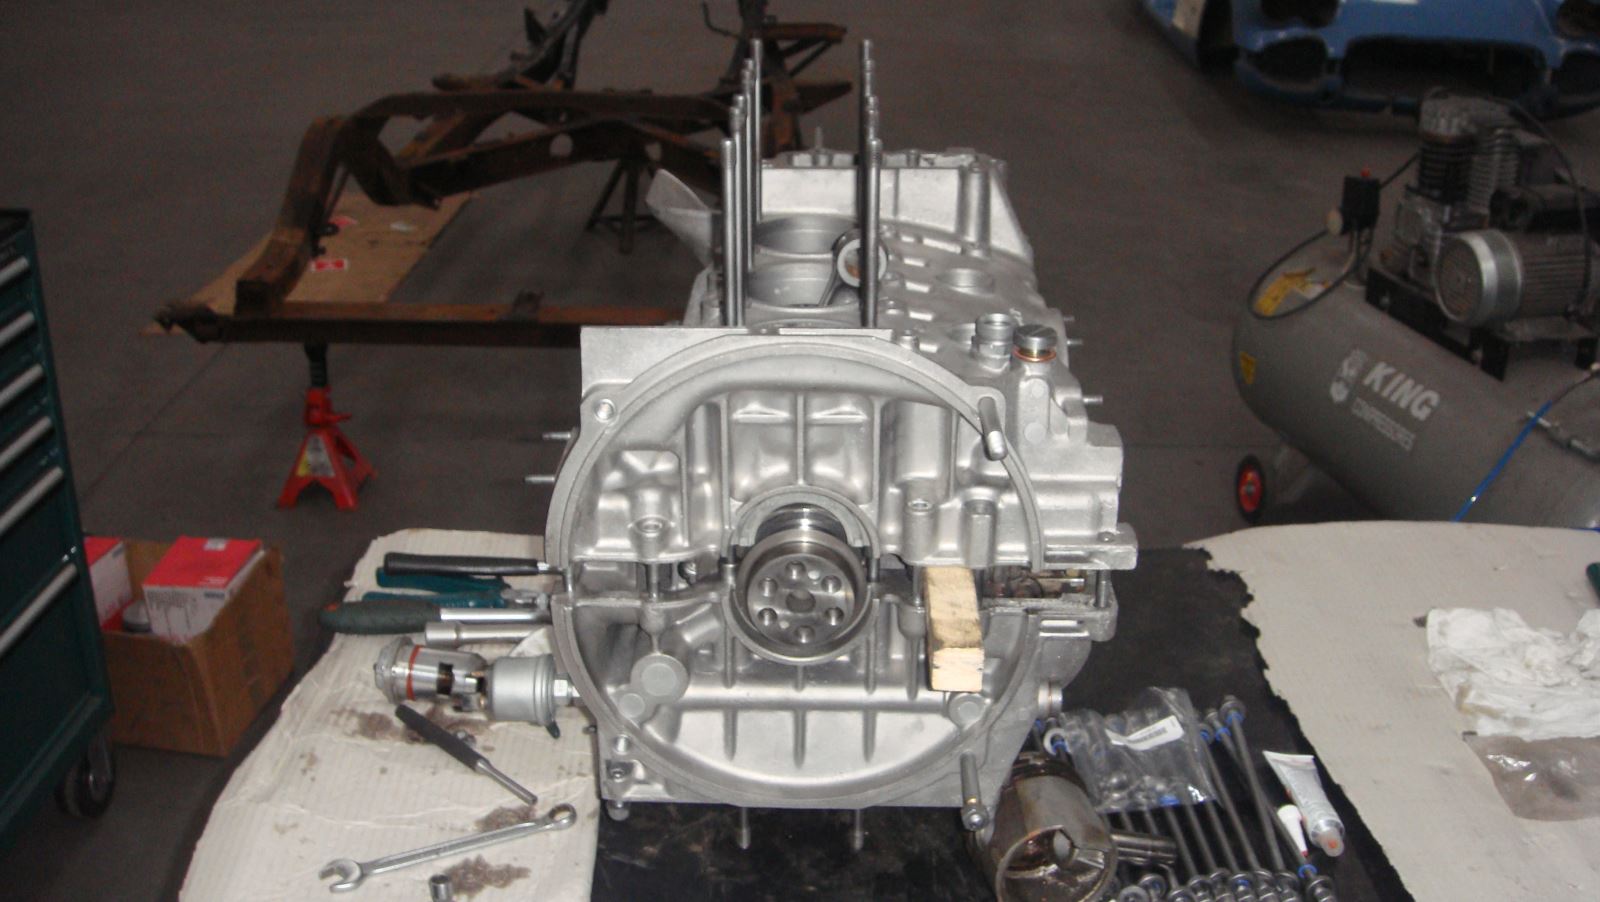
Preparing to assembly the engine
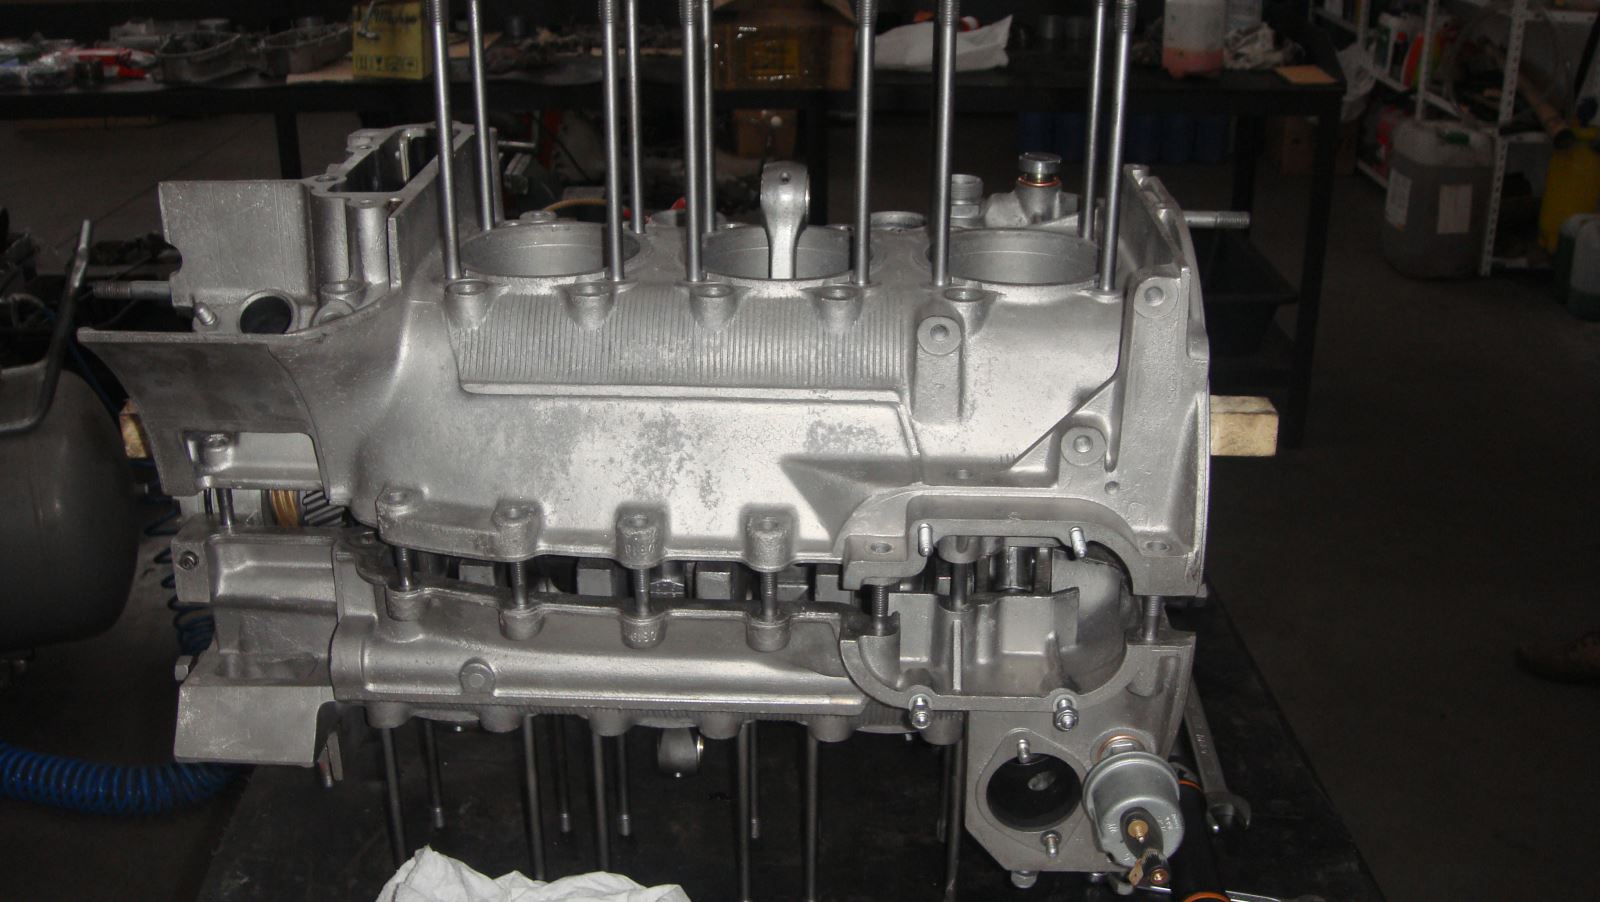
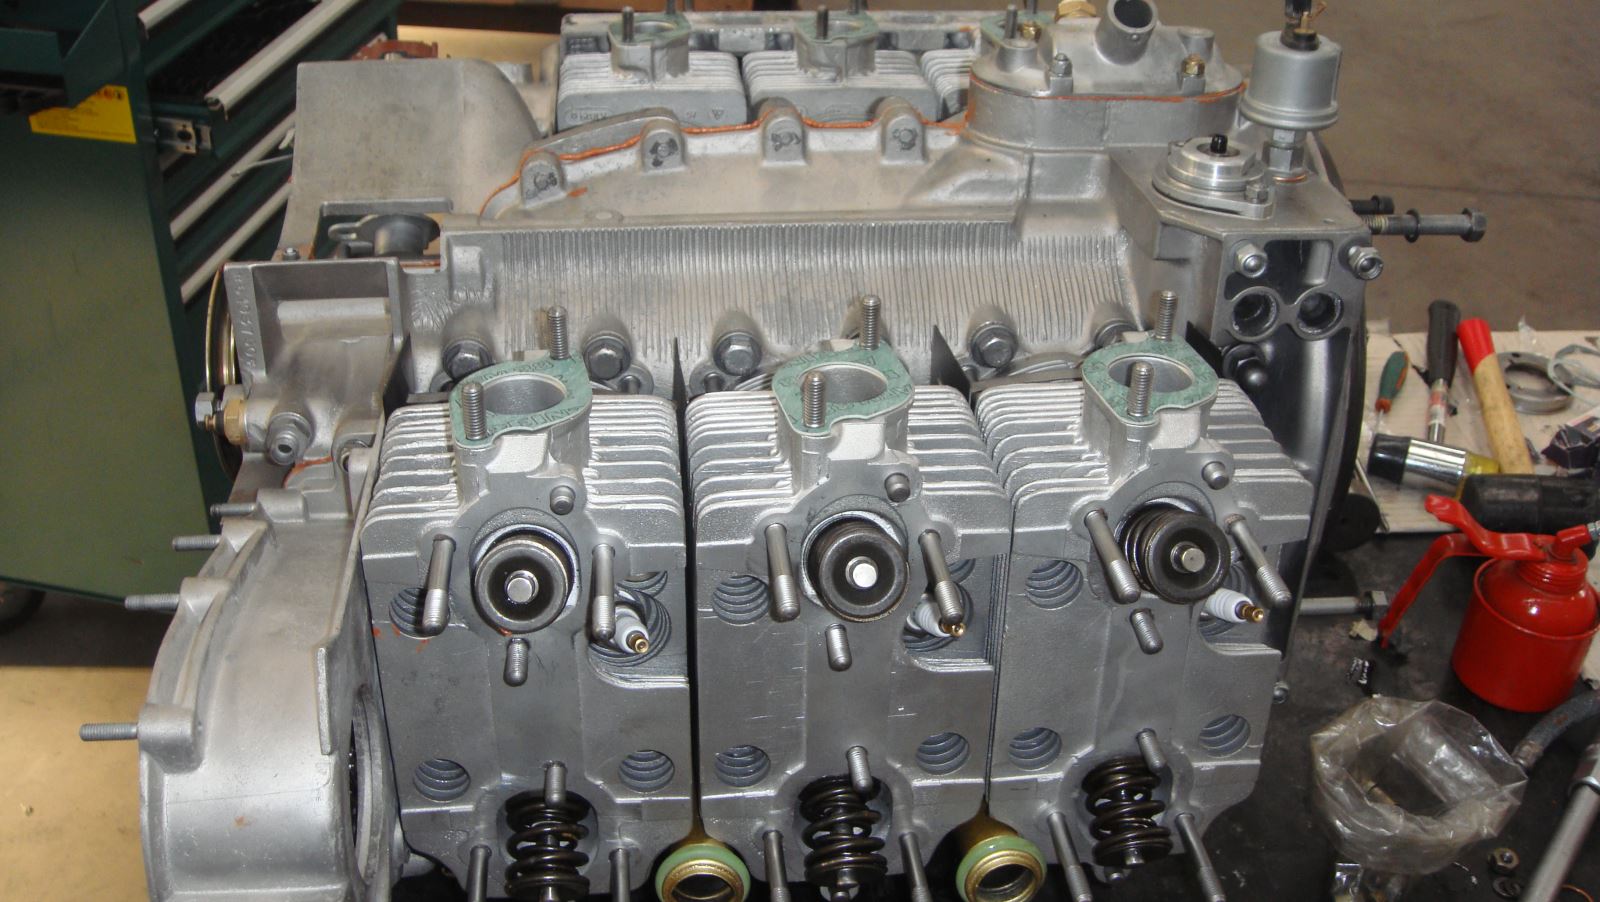
Assembly of teh engine has begin
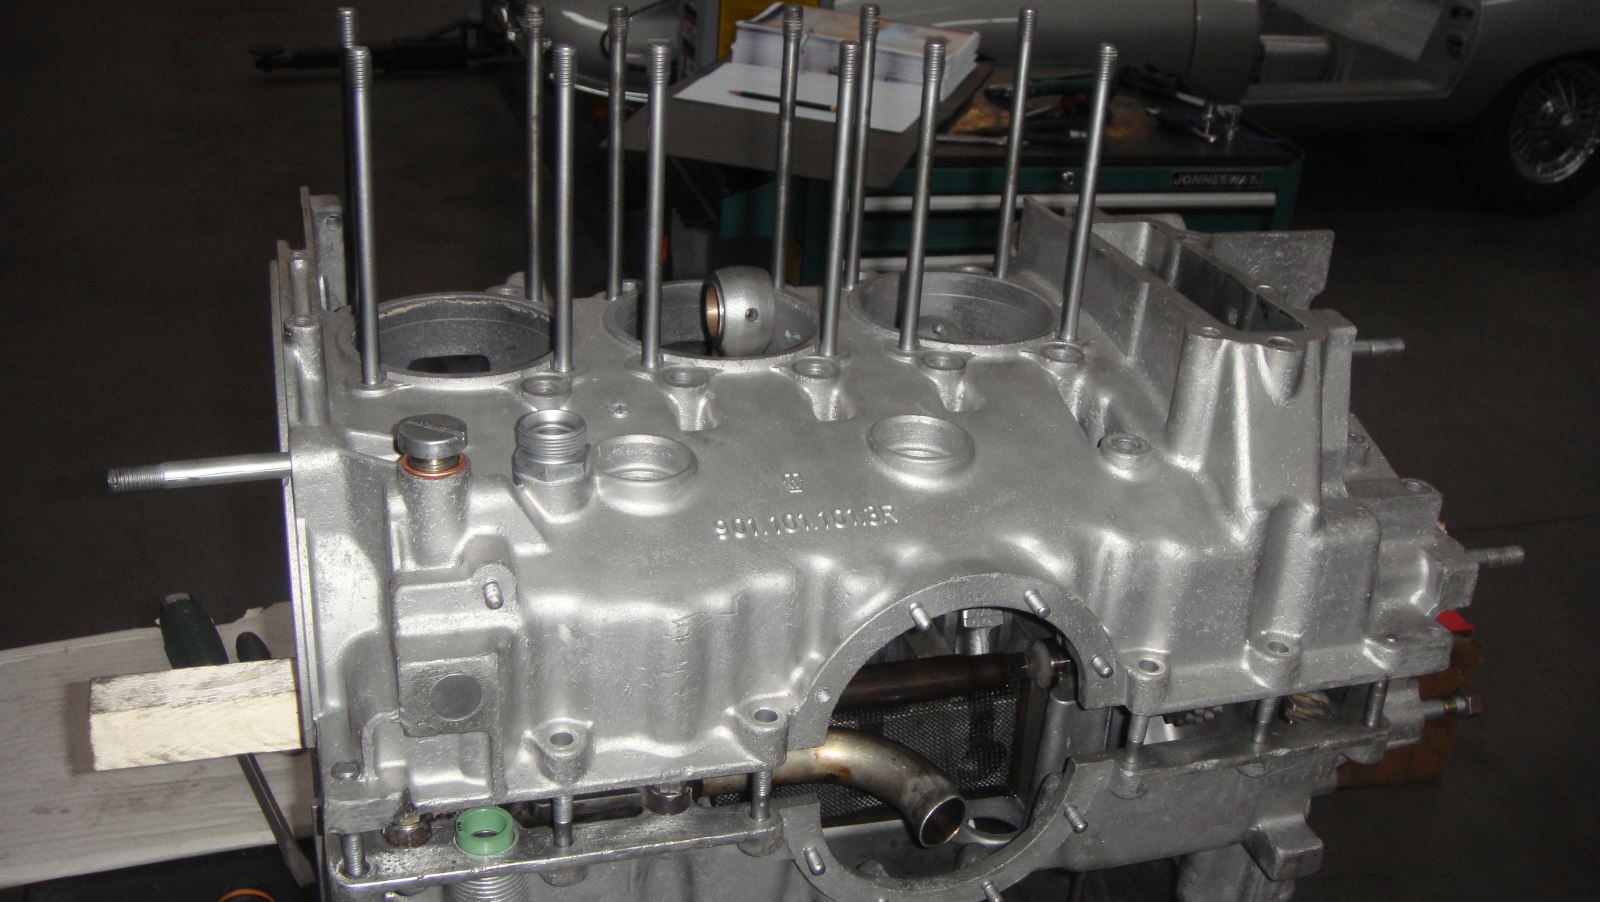
Another view of the assembly of the engine
Another rpicture
New gaskets
New chains
New spark plugs, new engine gaskets
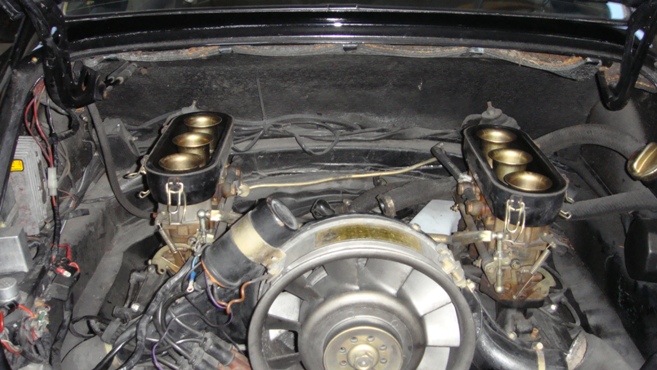
Assembly the engine
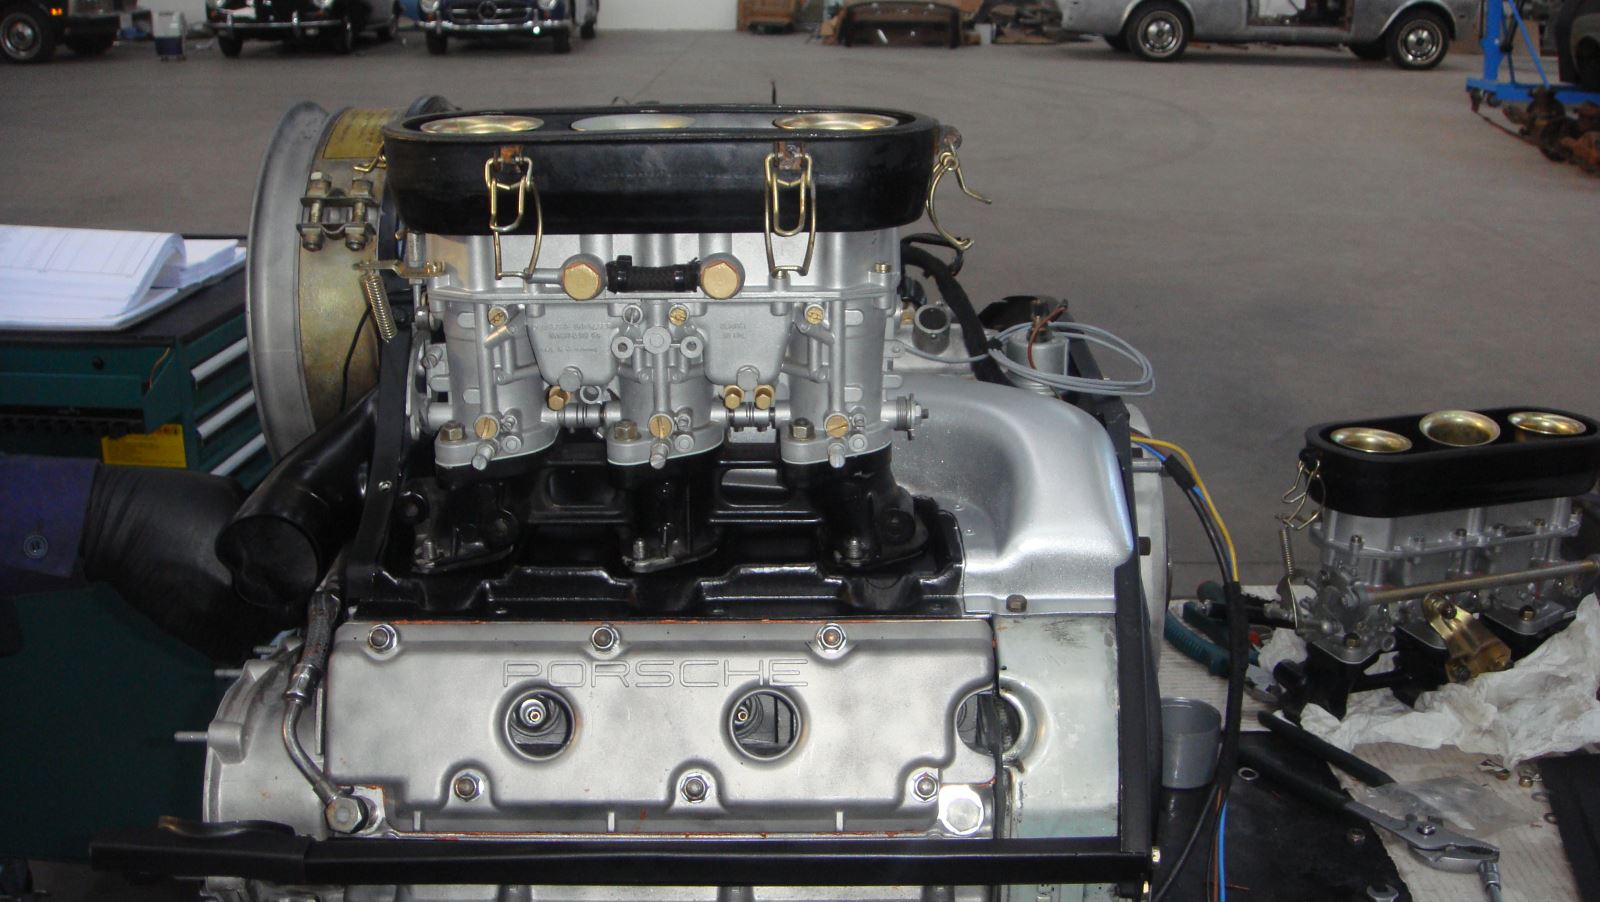
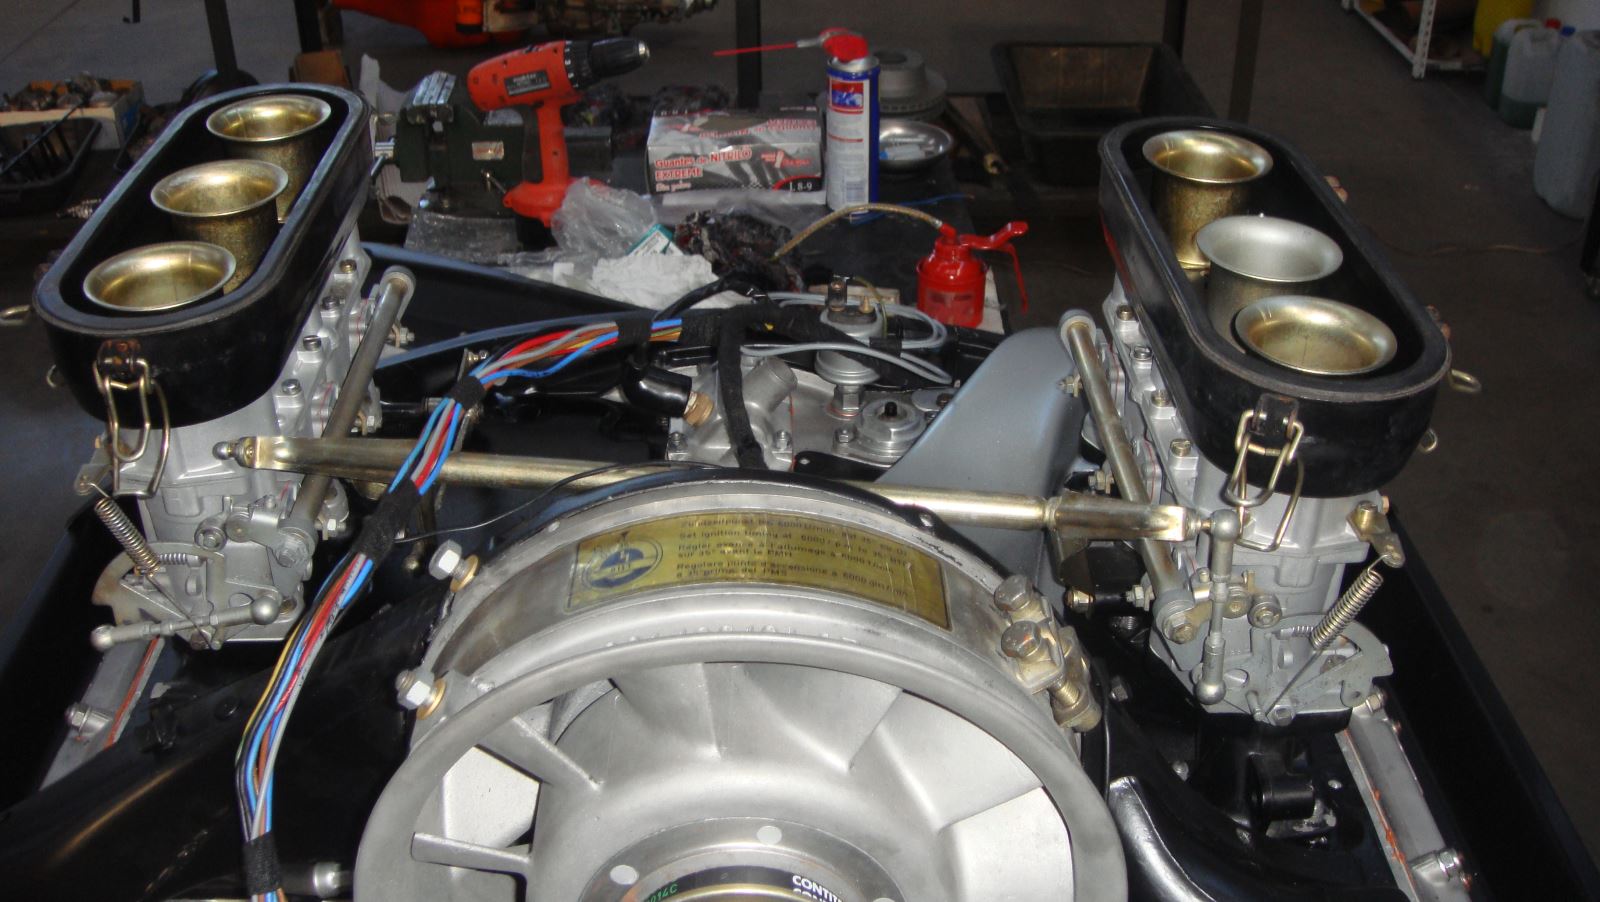
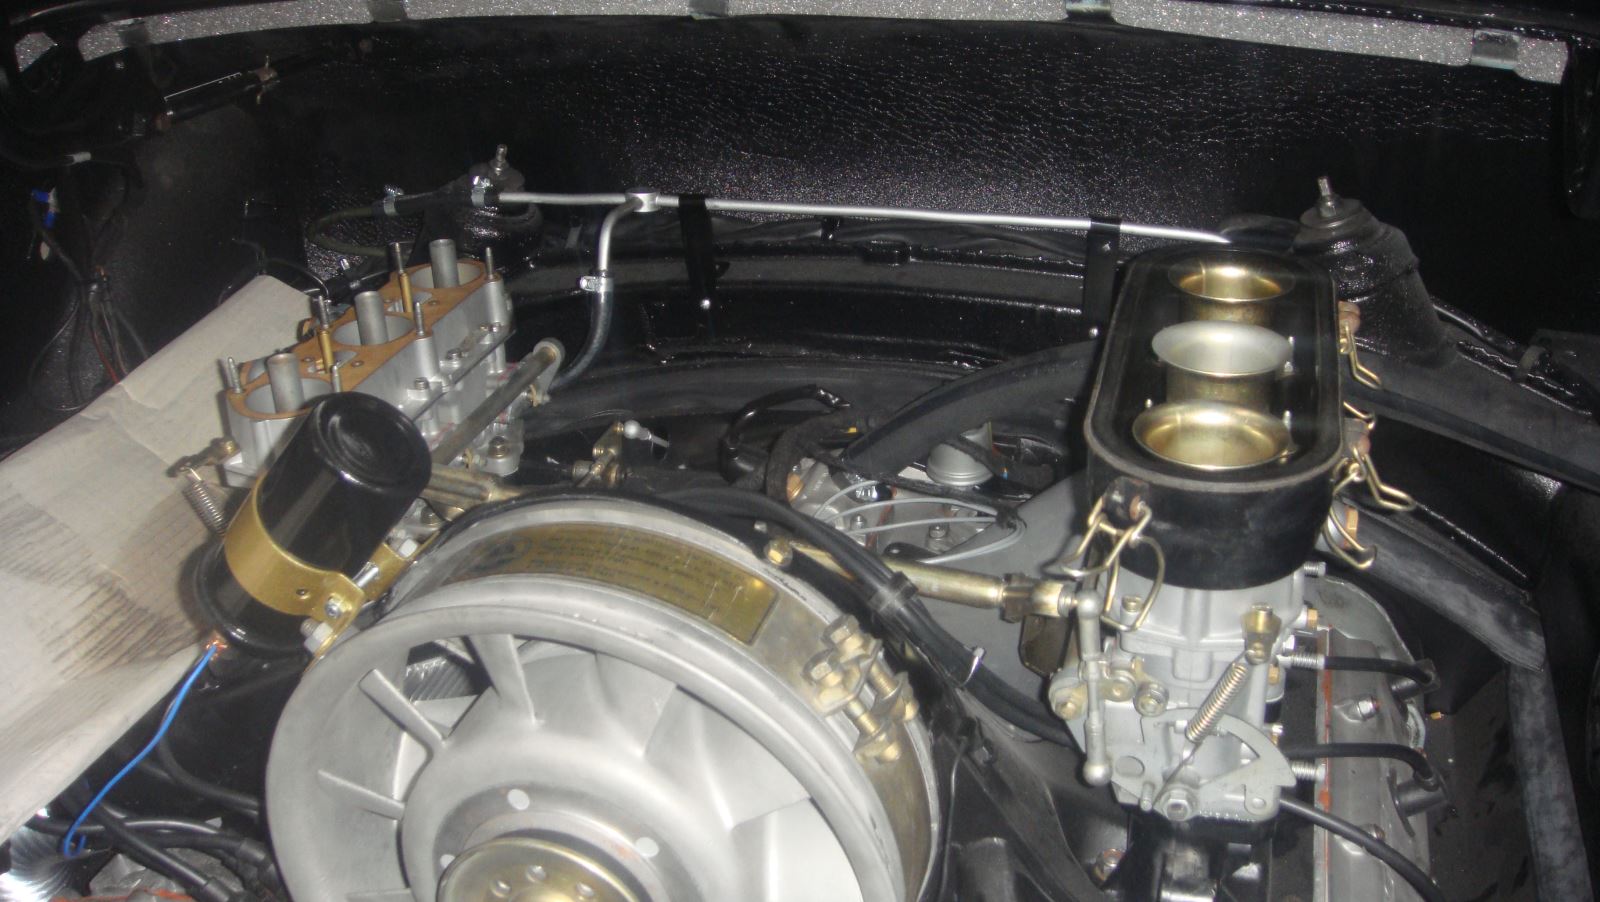
First carburator on place
Carburators on place
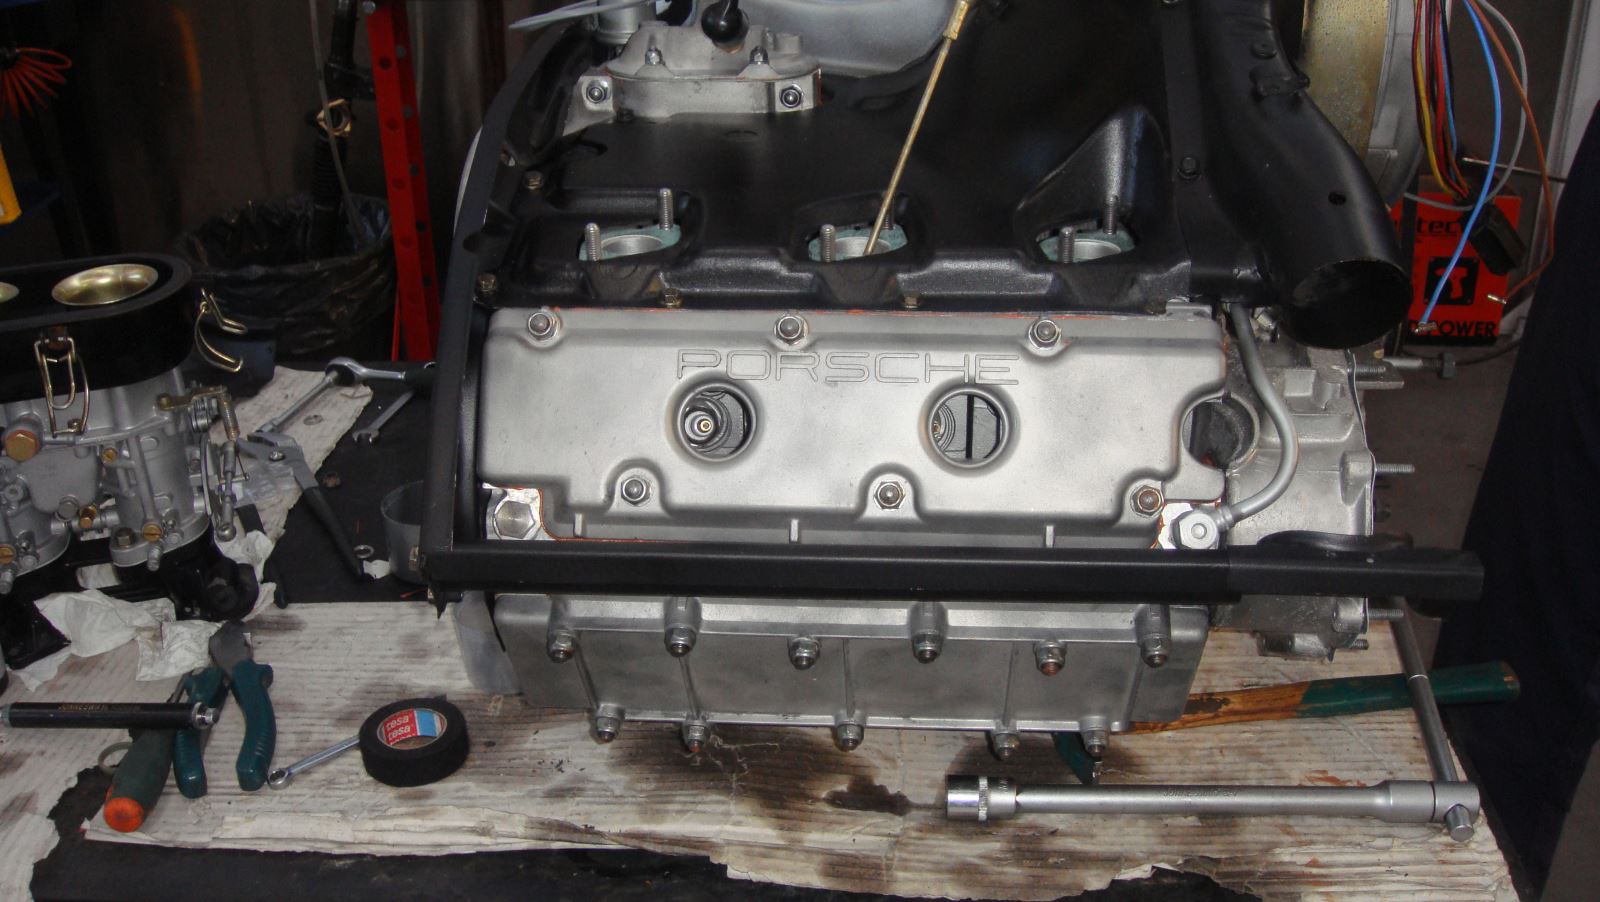
Engine almost complete
Waiting for the body
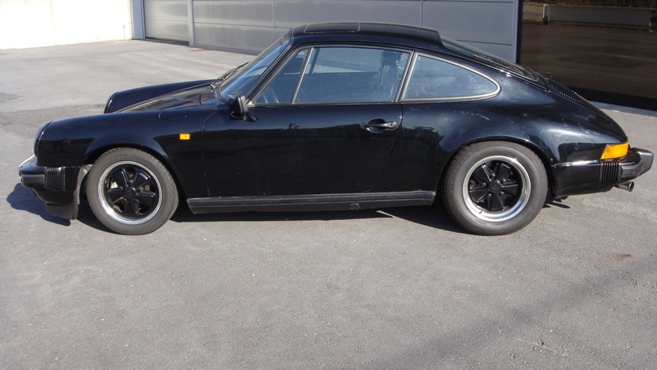
Already painted
Another view
Side view
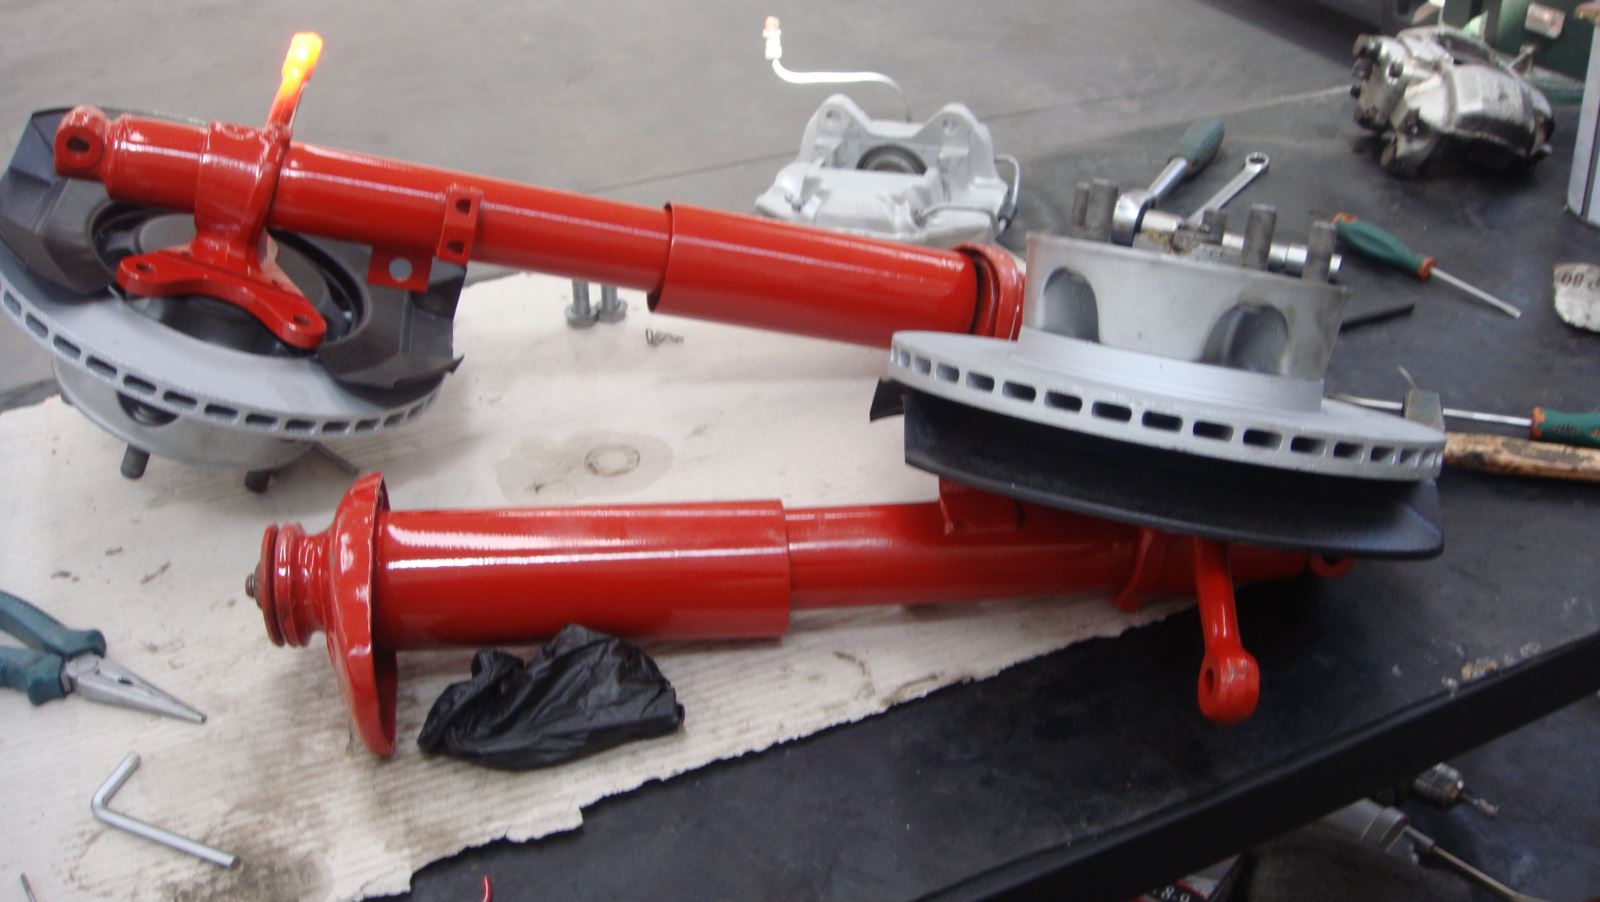
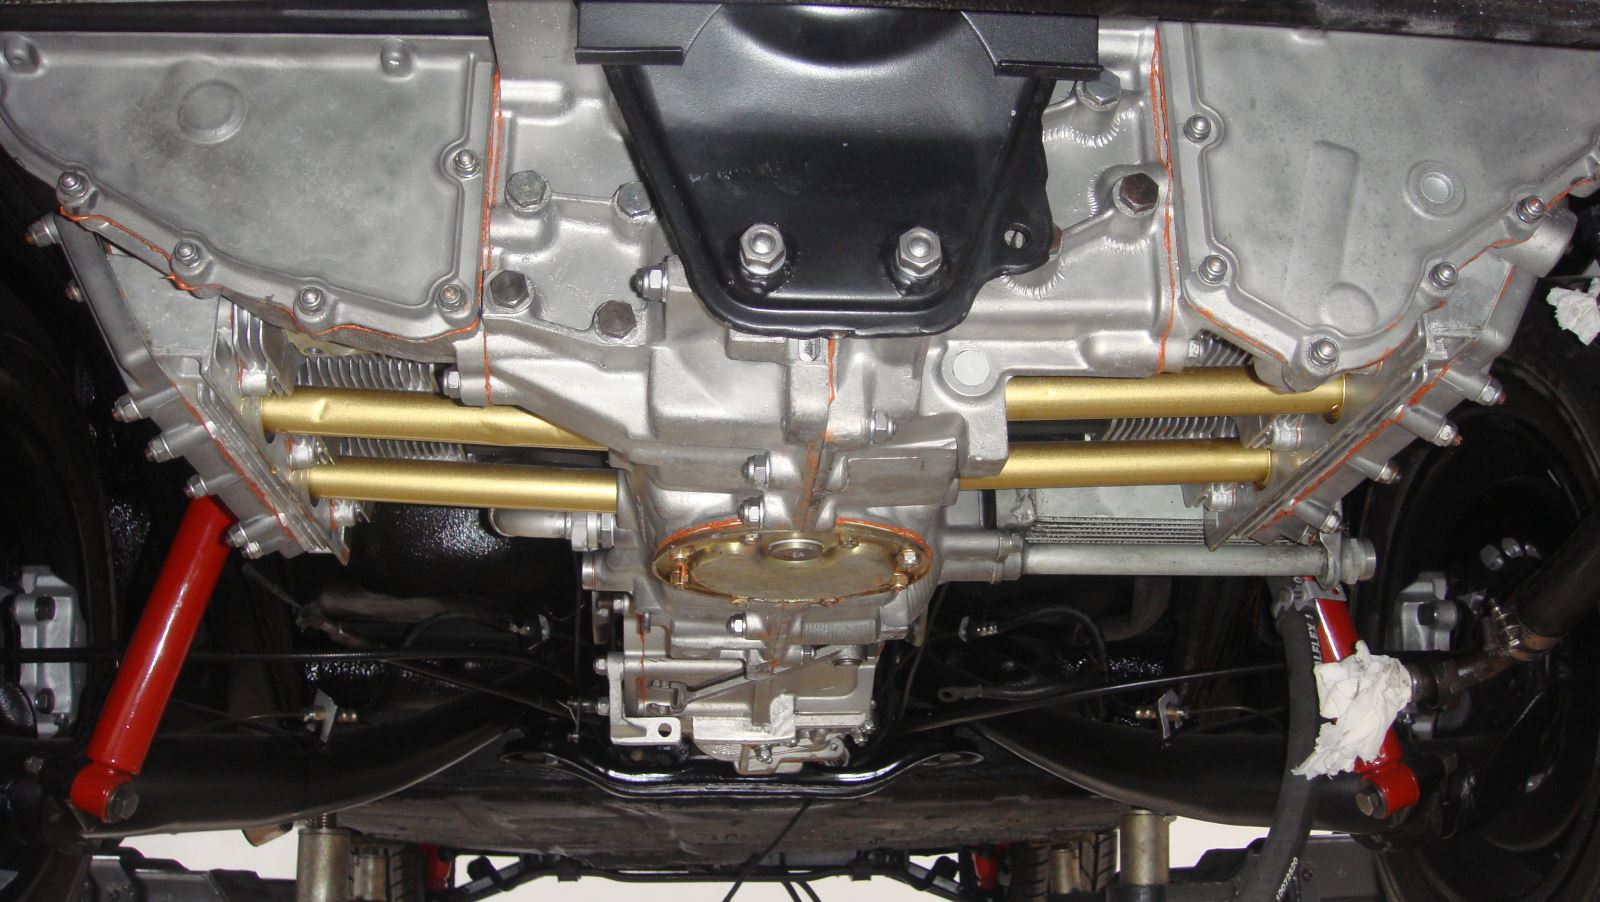
Front suspension
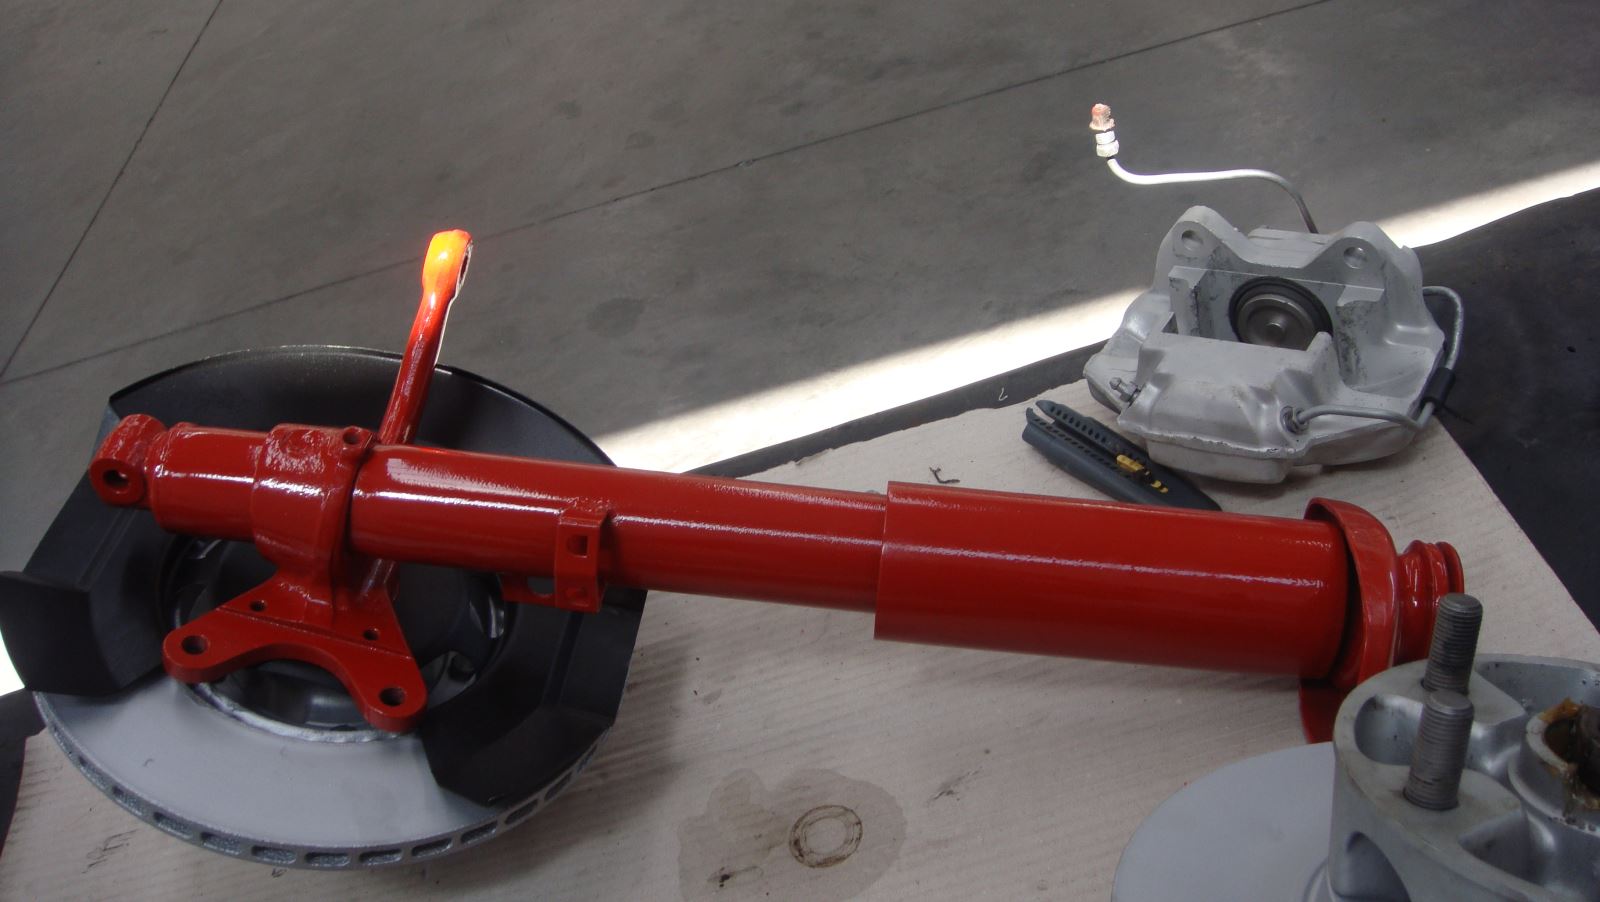
Assembly the brakes
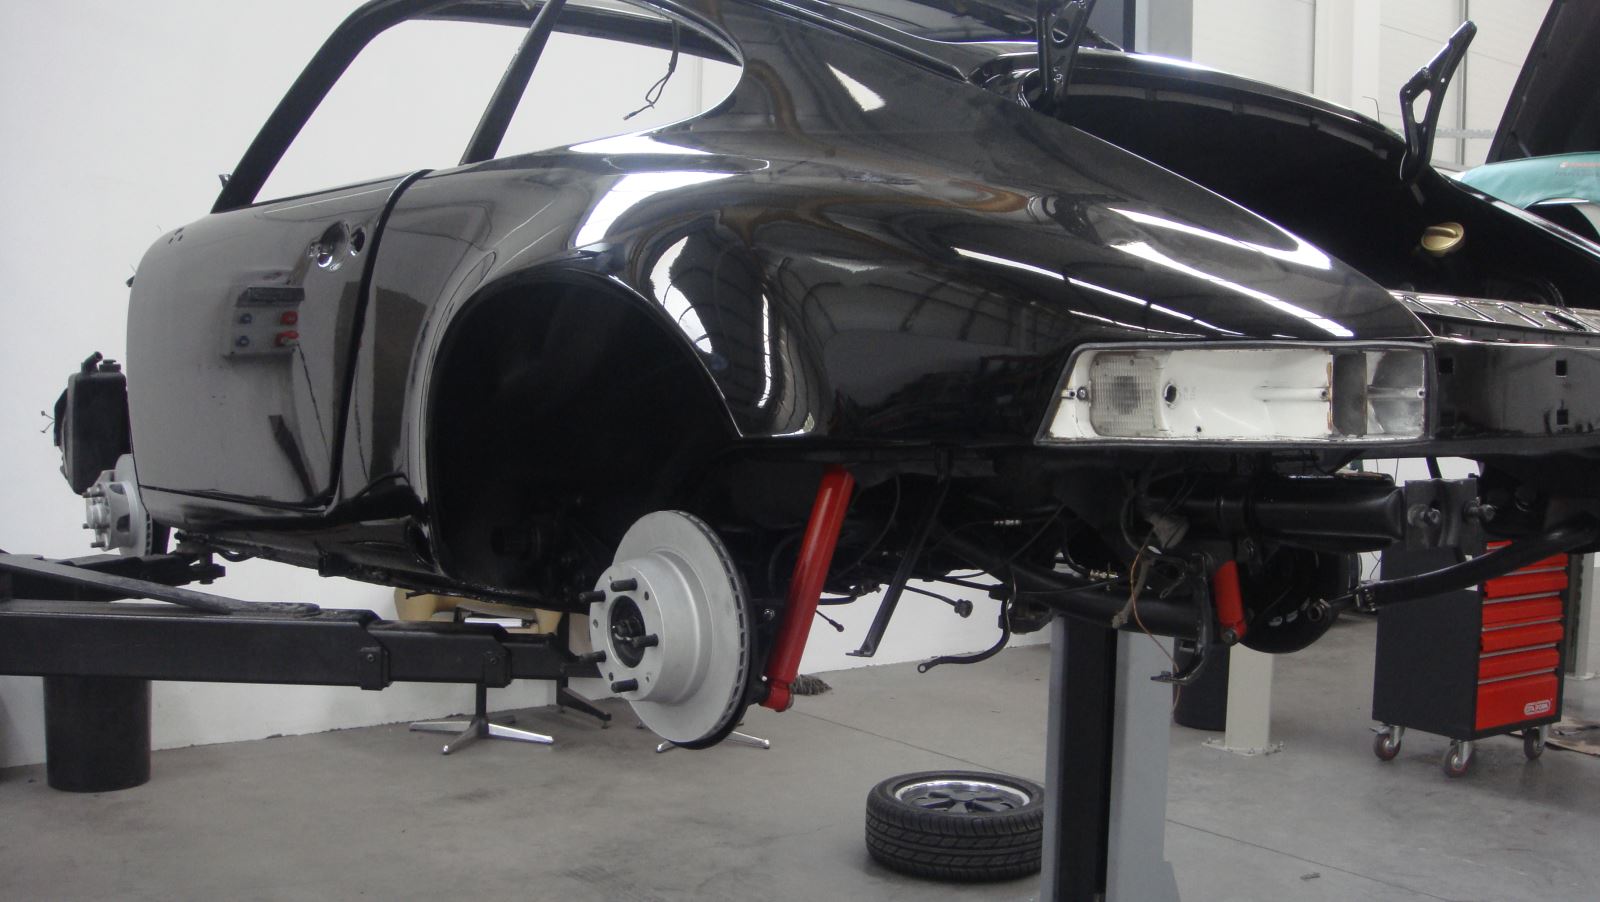
Assemble the axles
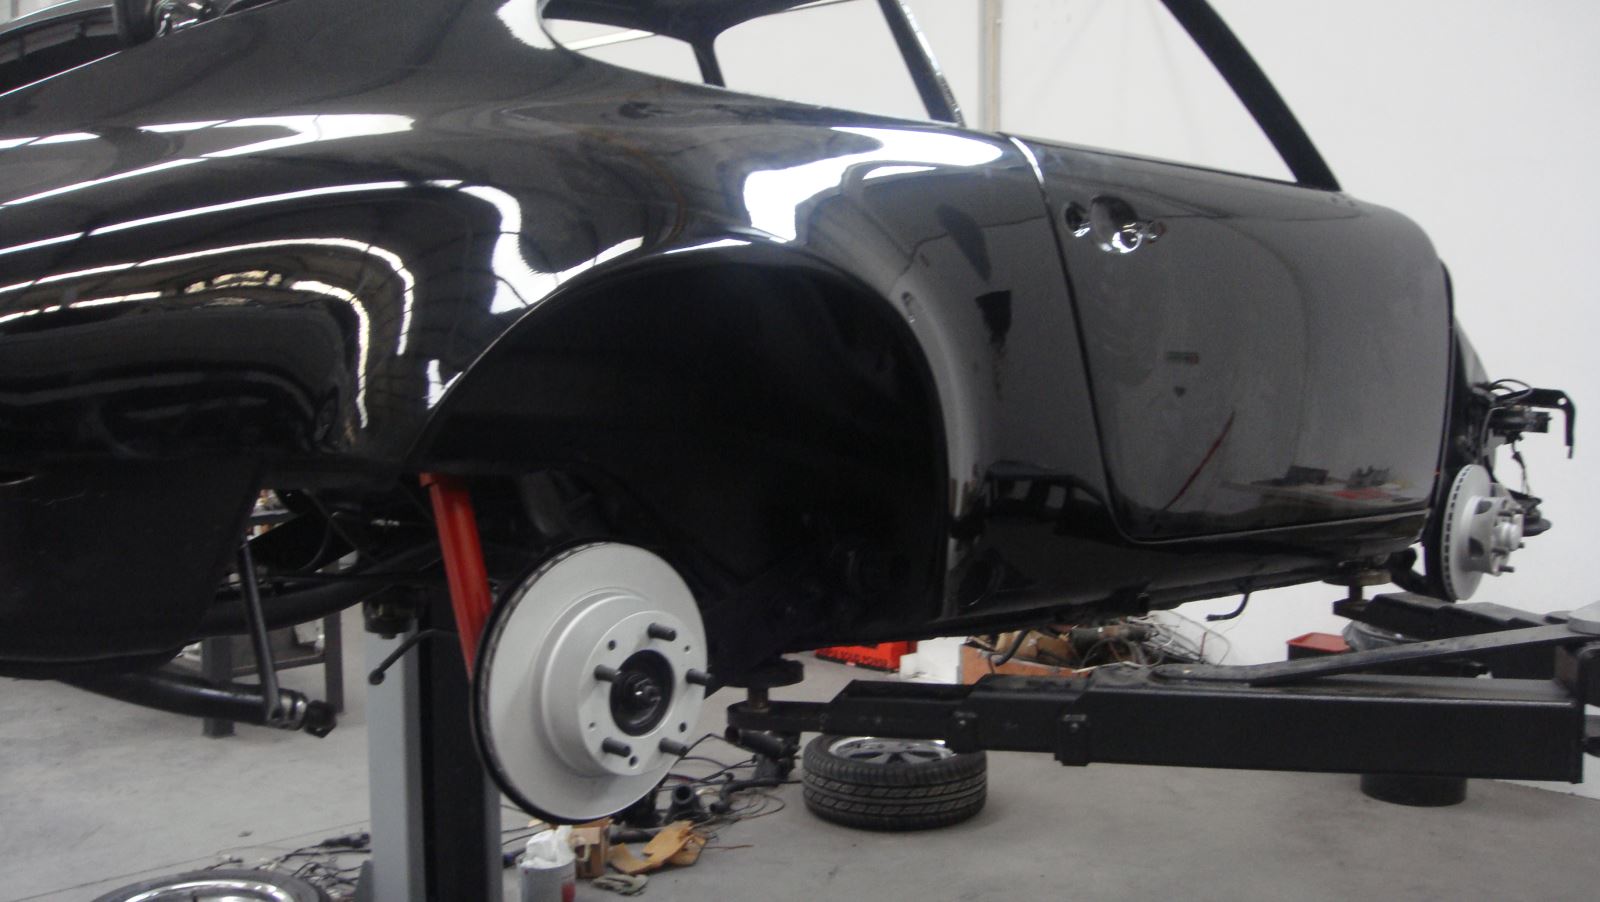
Another view
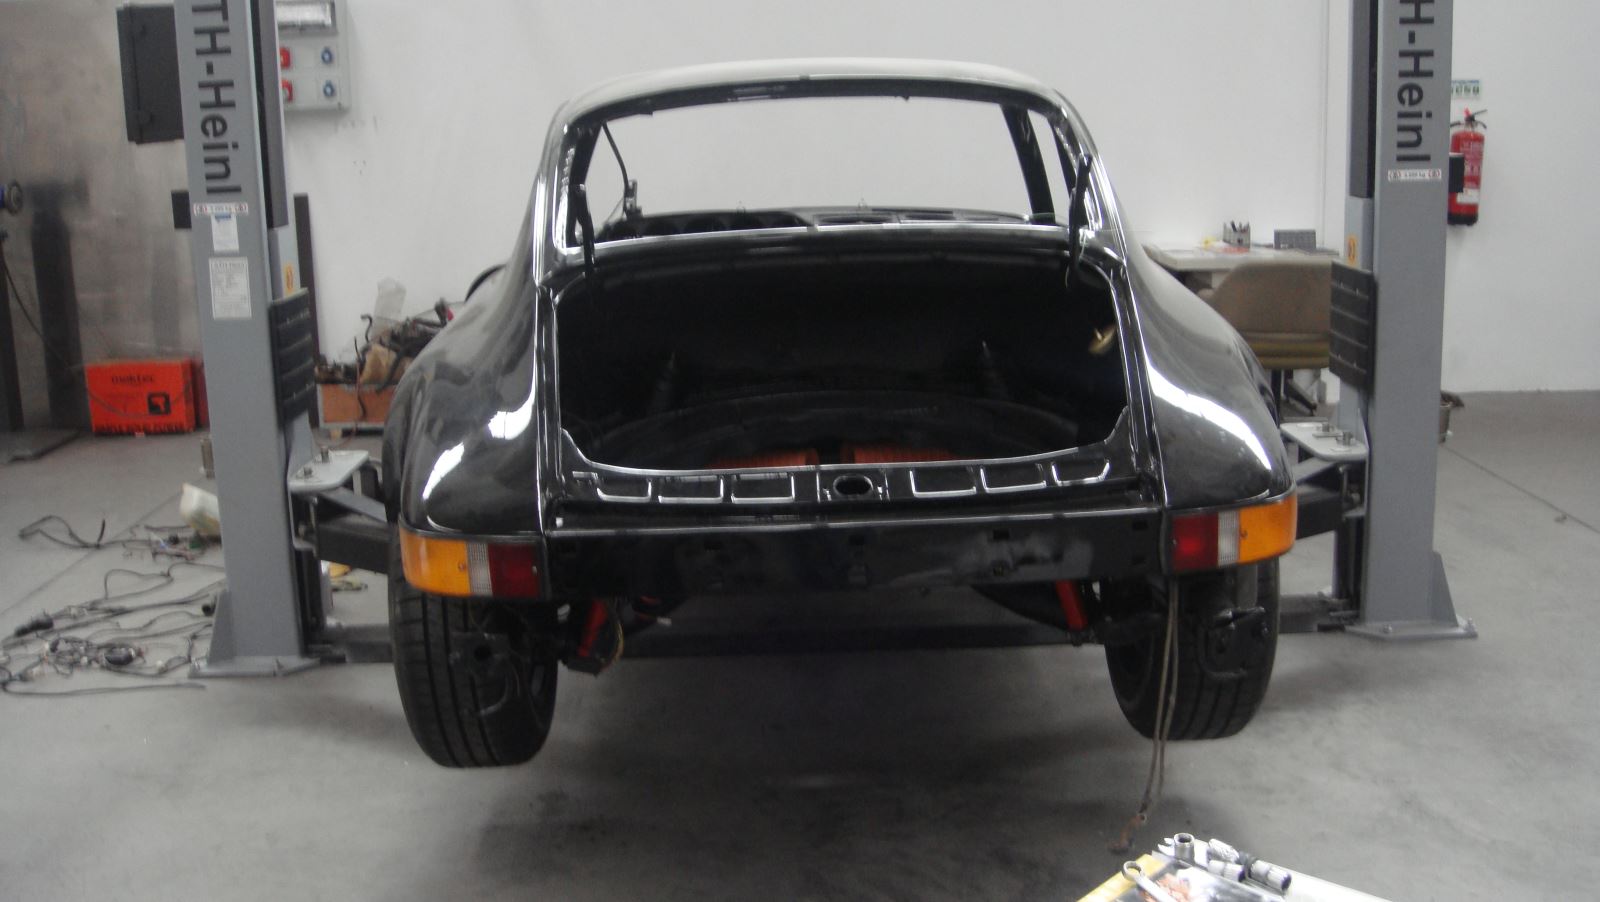
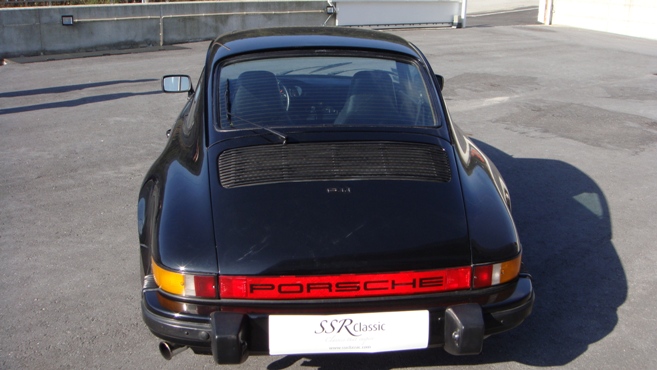
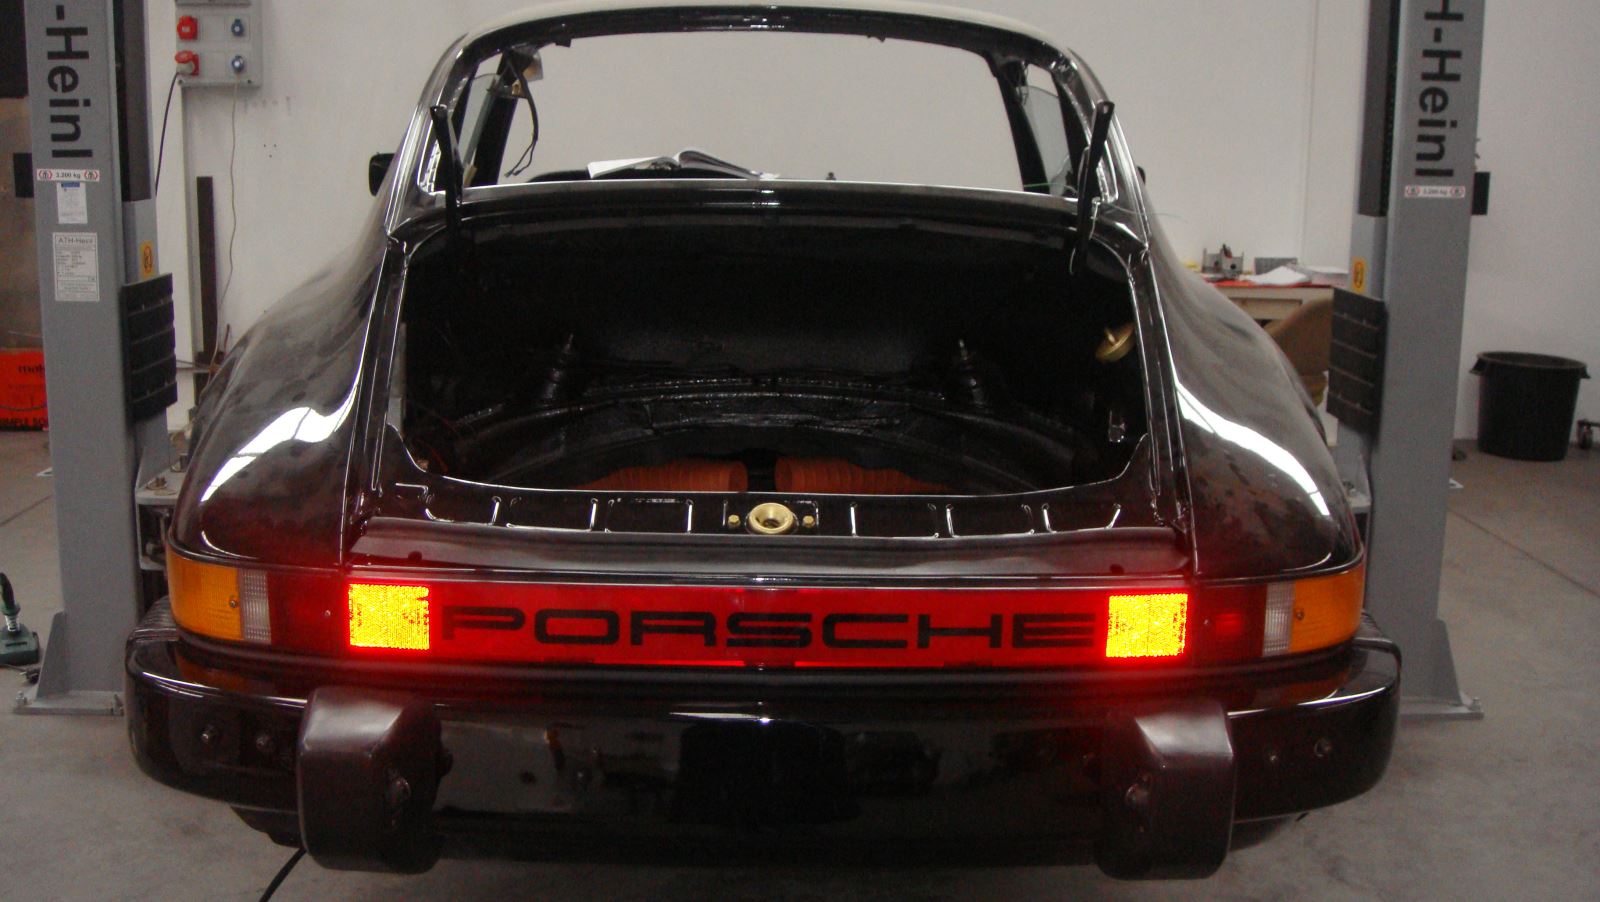
Rear tail lights already on place
Electric part and dashboard begin assembly
Begin assembly the front part
Rear almost ready for assembly the engine
Left side

Right side
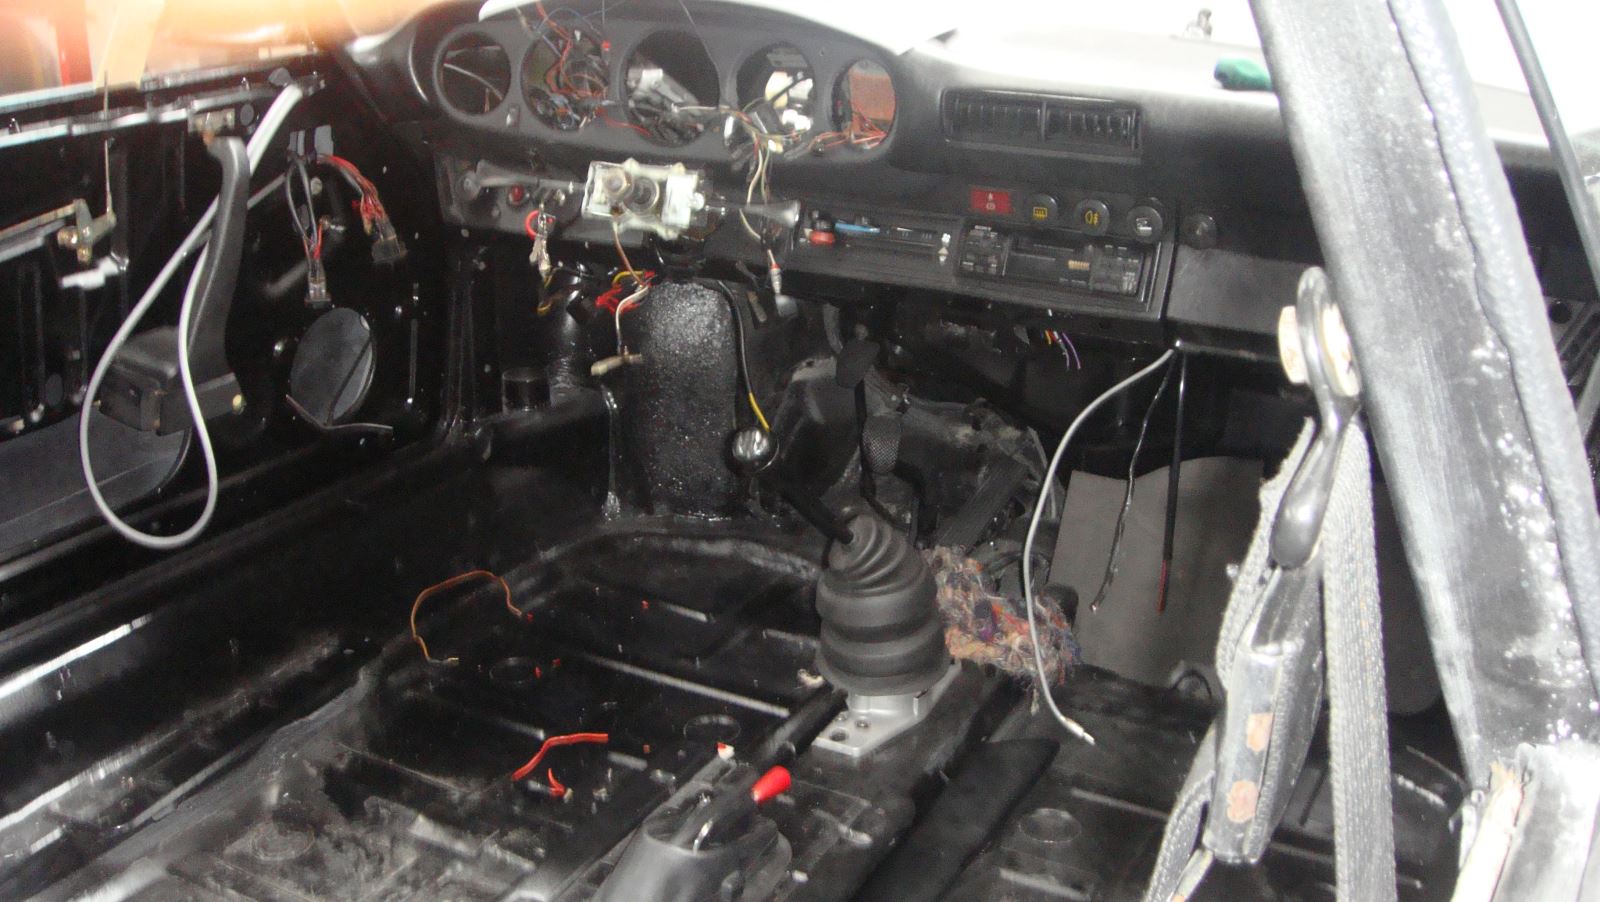
Working on the dashboard
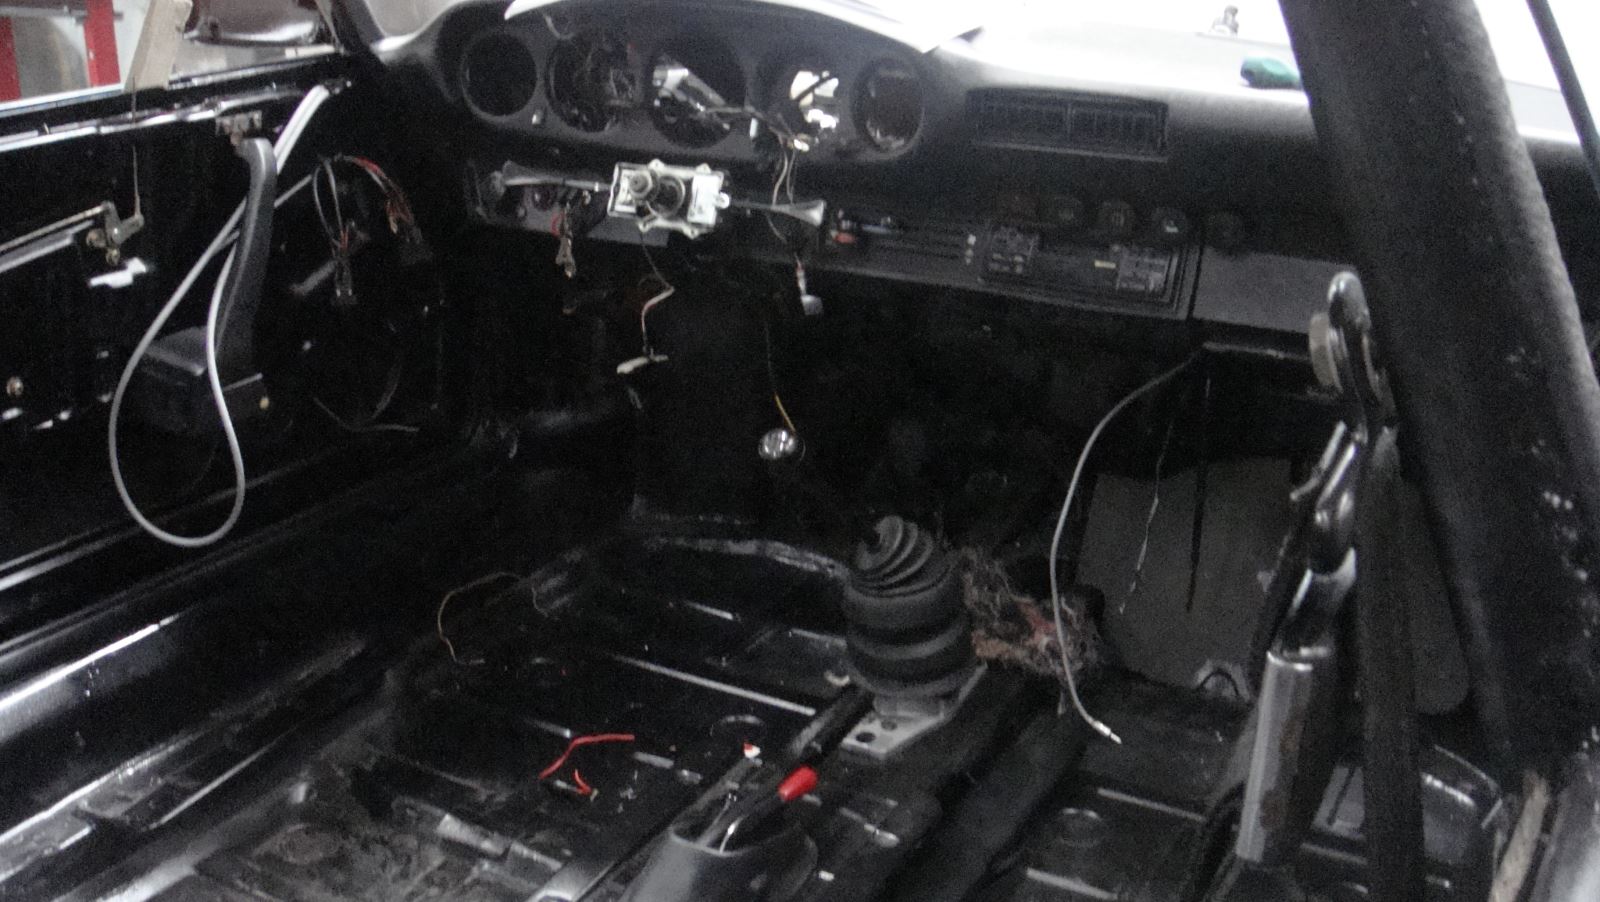
Another view

Front with headlights
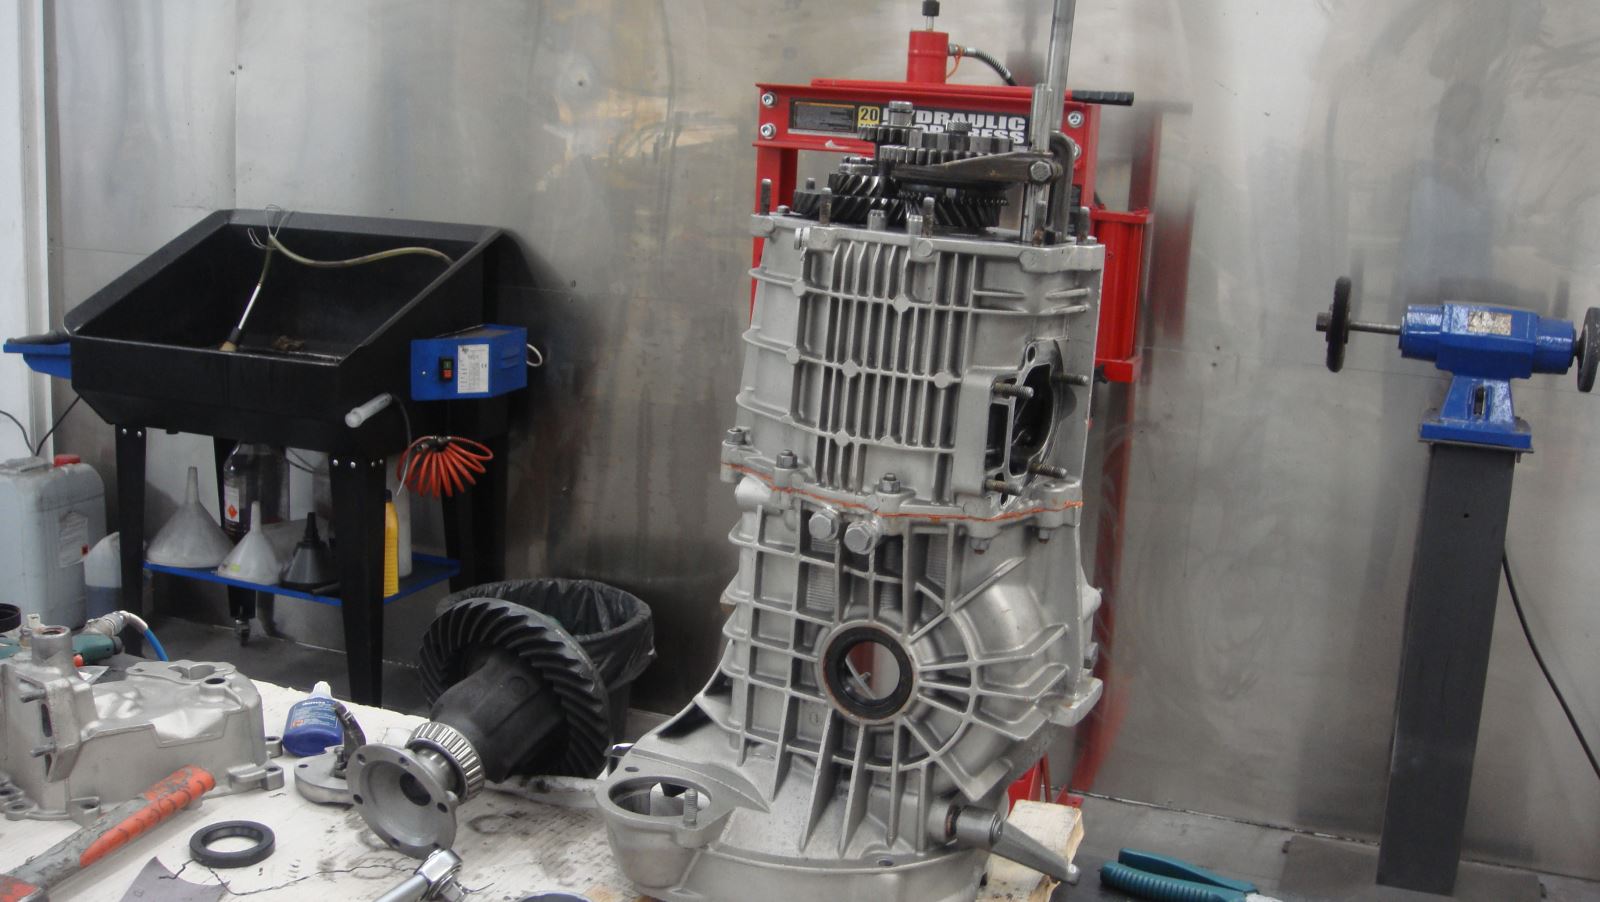
Rebuilt the gearbox
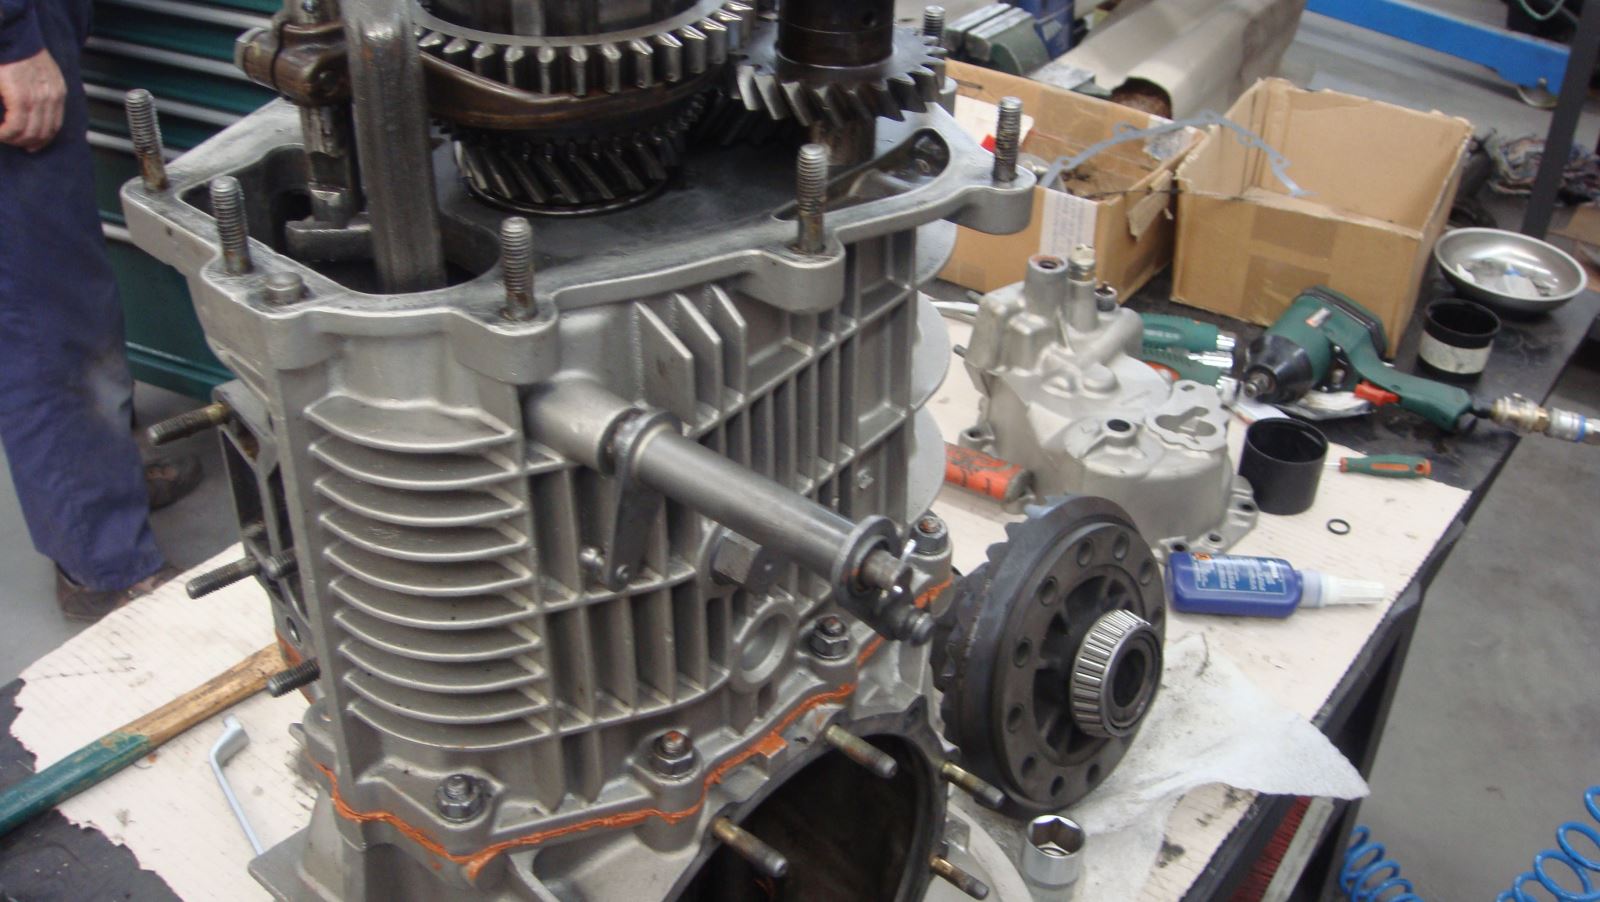
Another view from the work
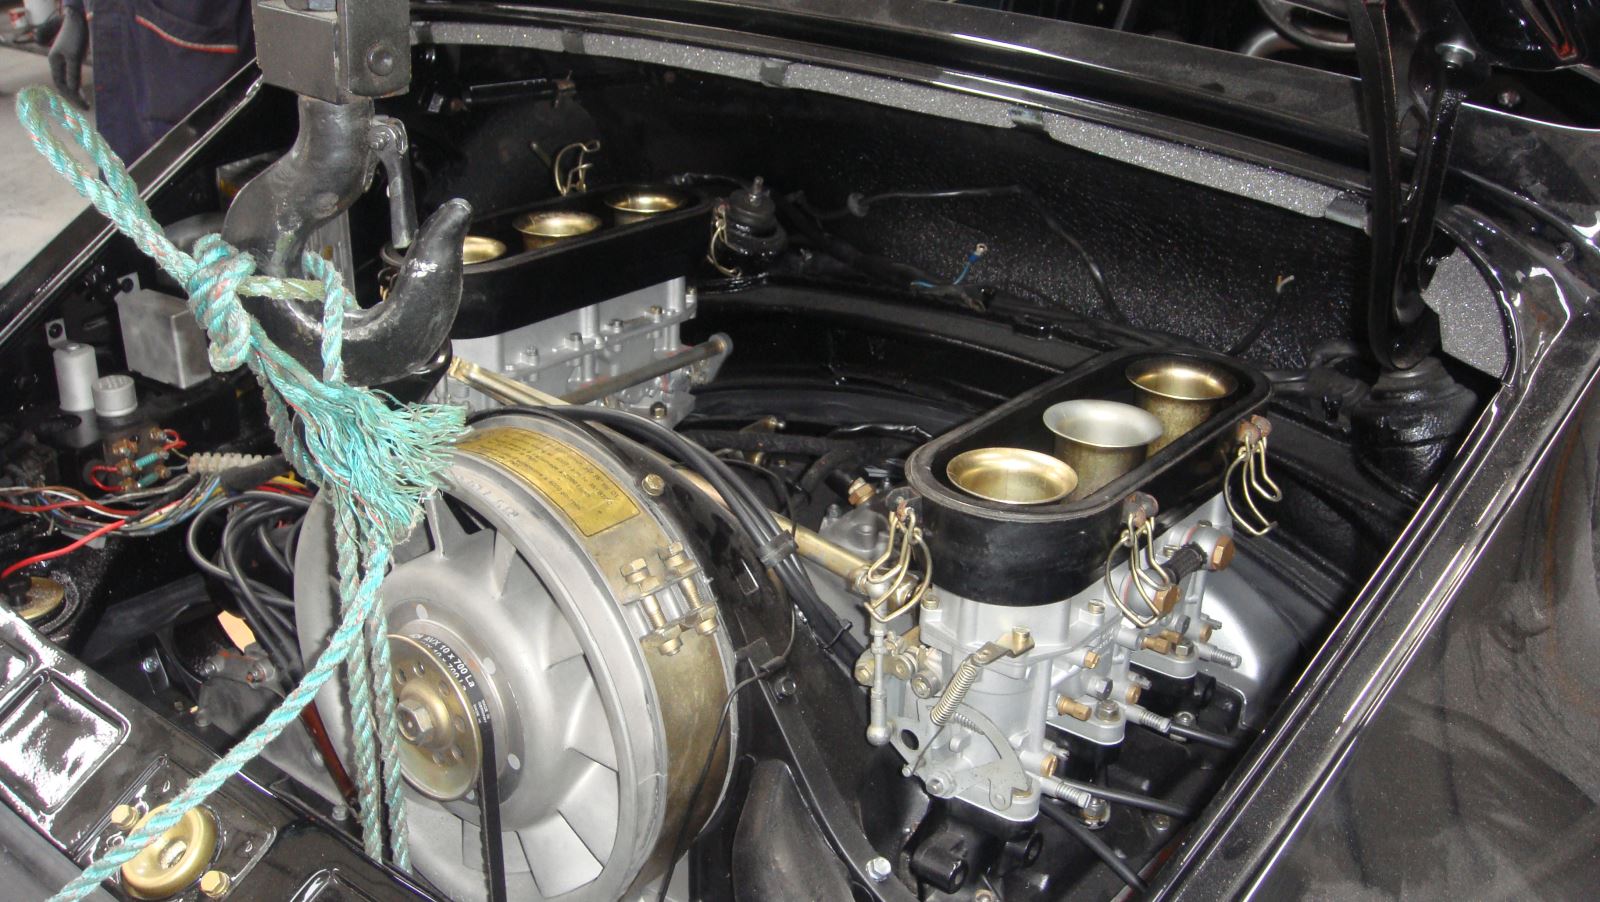
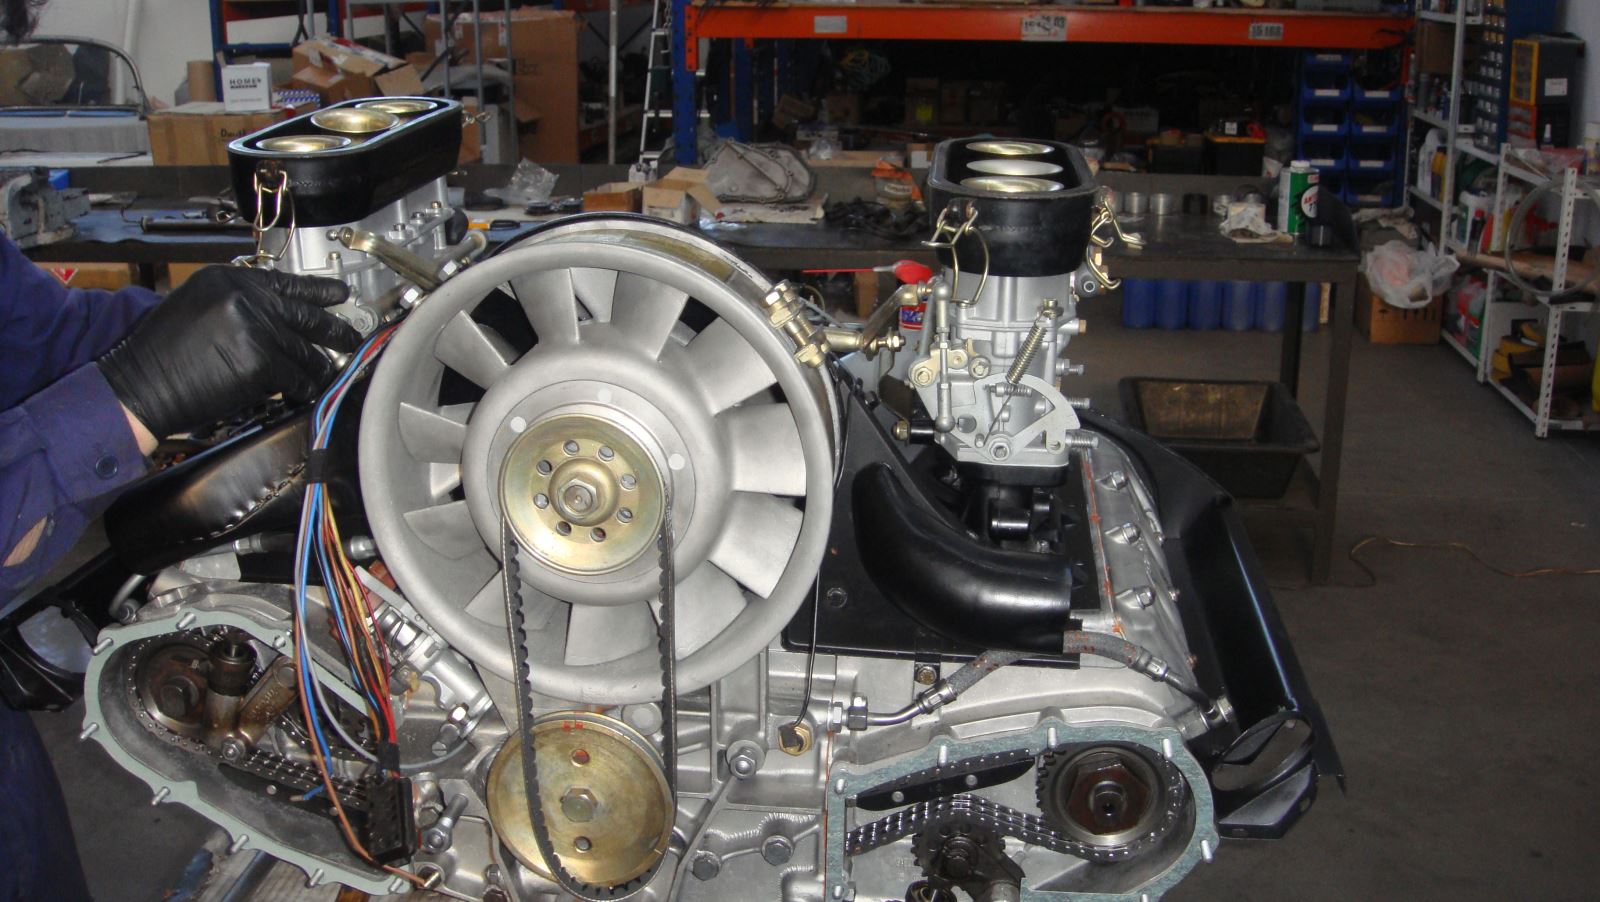
Engine and gearbox already on place
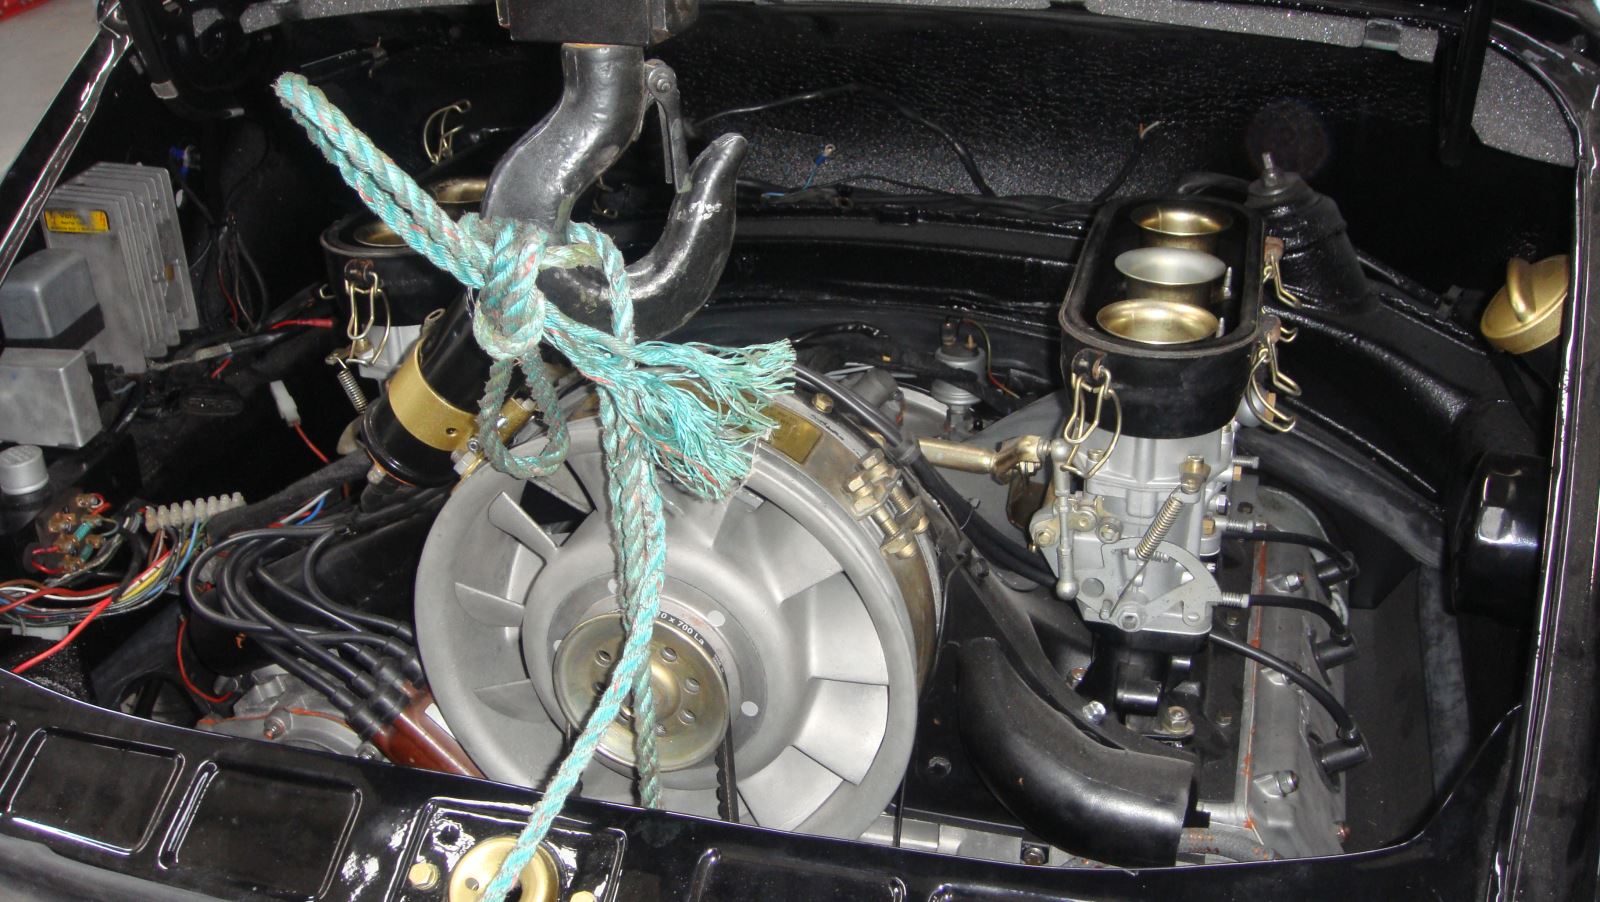
Another view
Another view from the engine
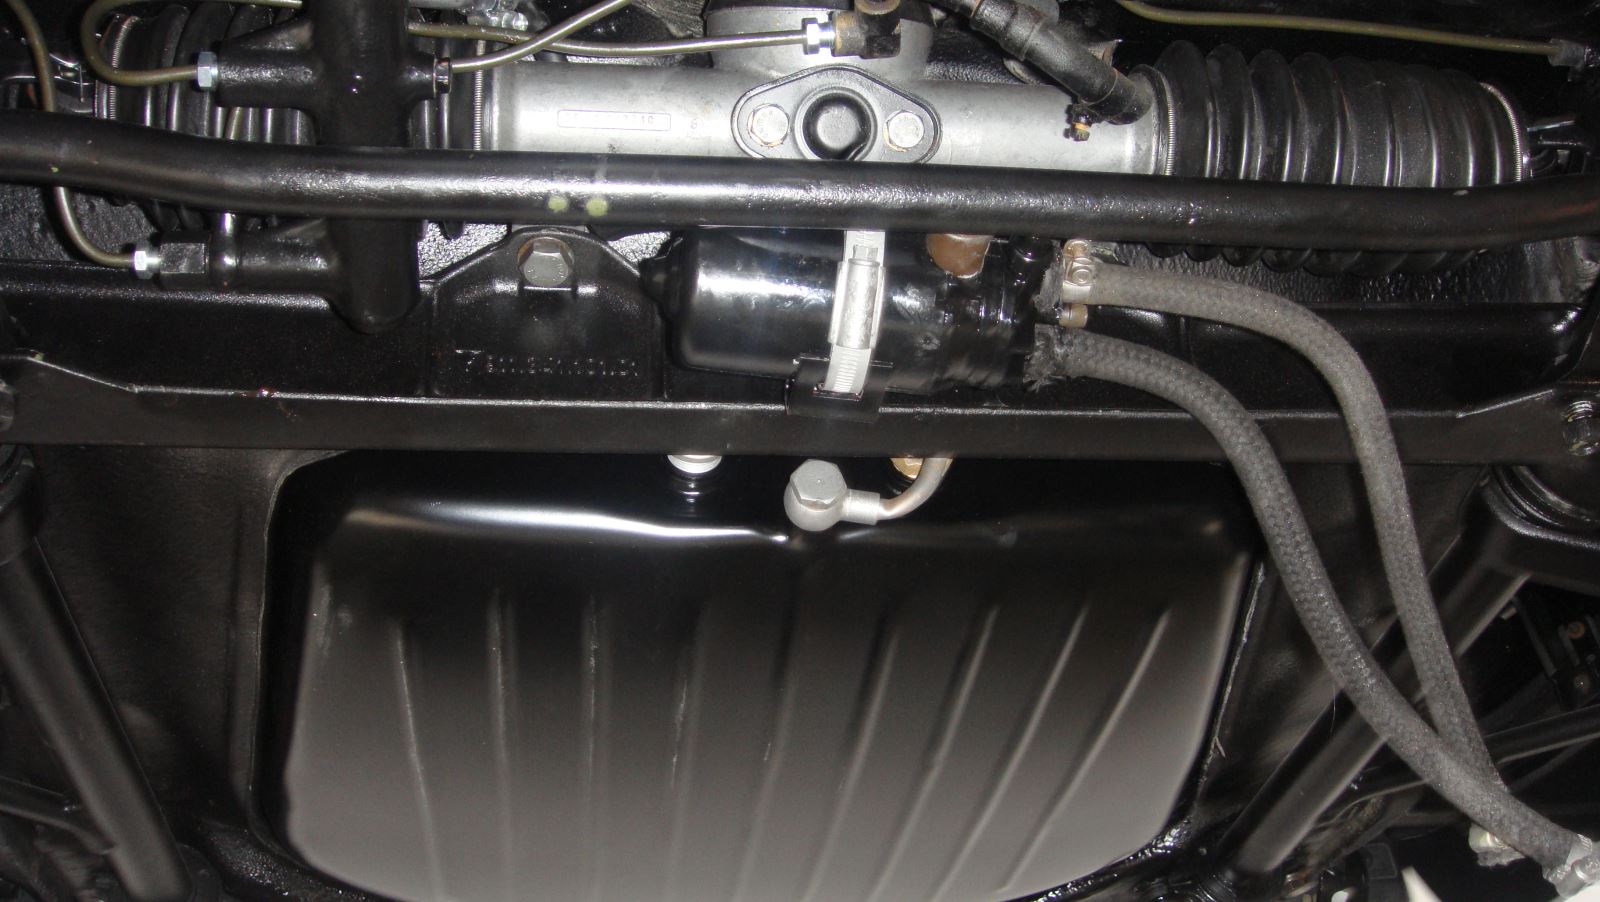
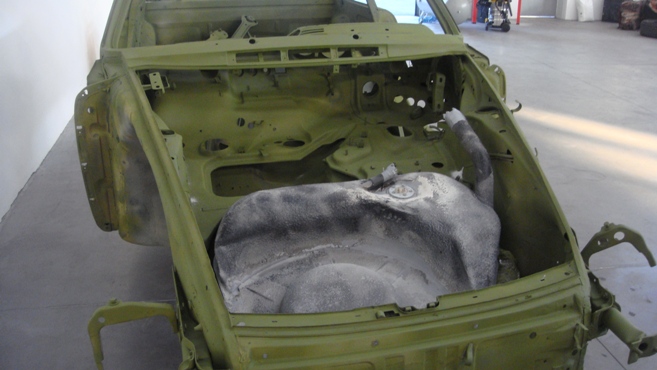
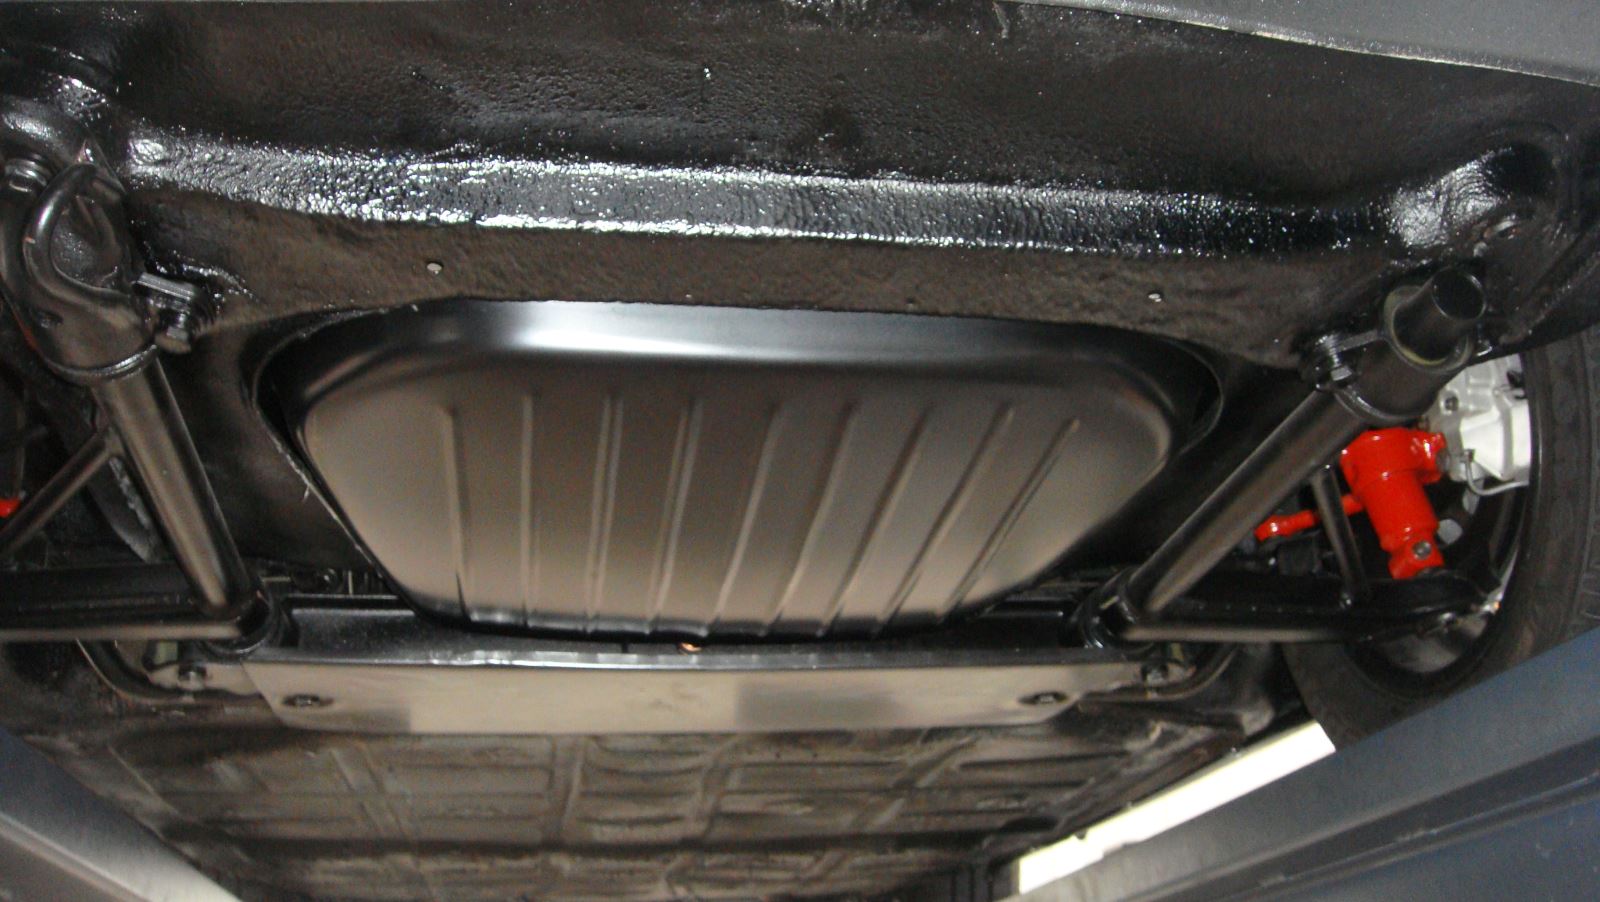
New fuel tank
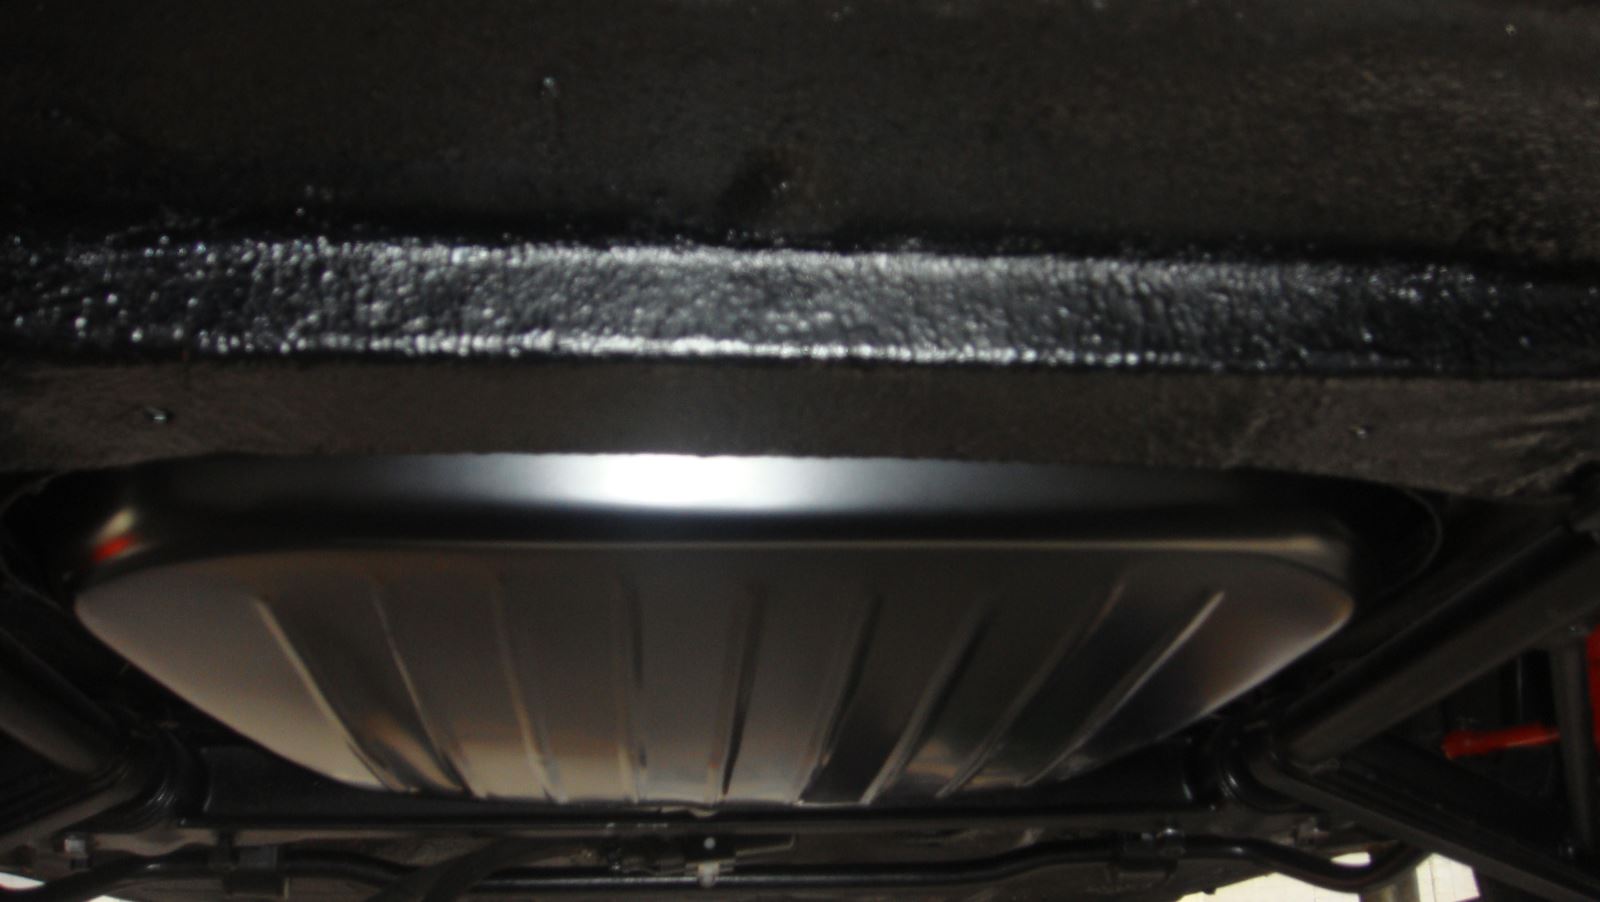
Another view from the fuel tank
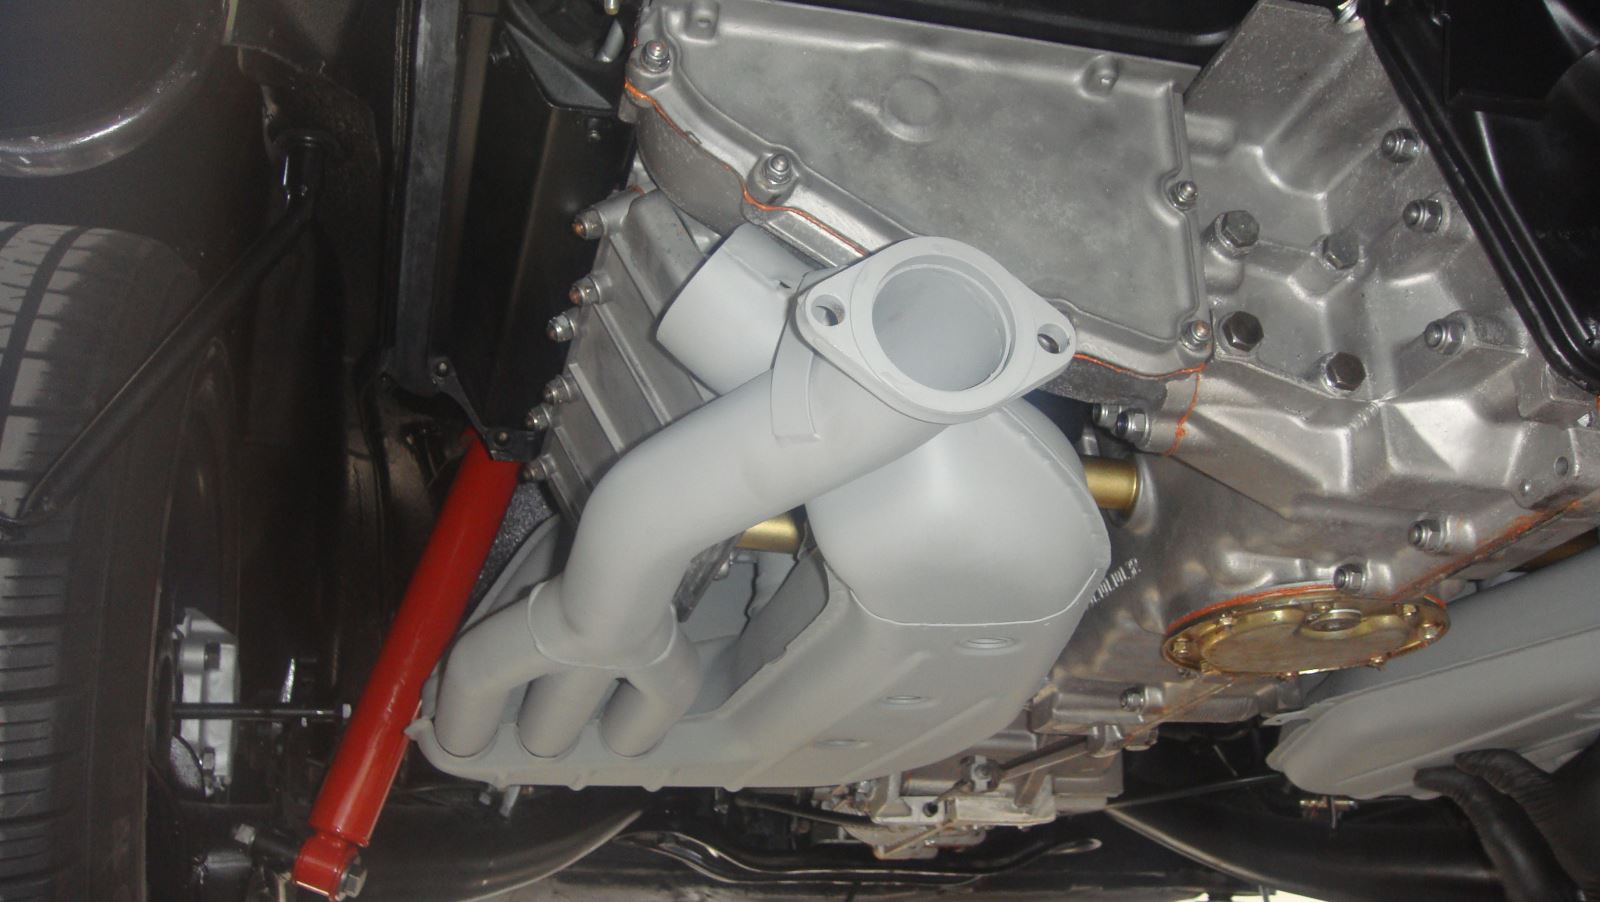
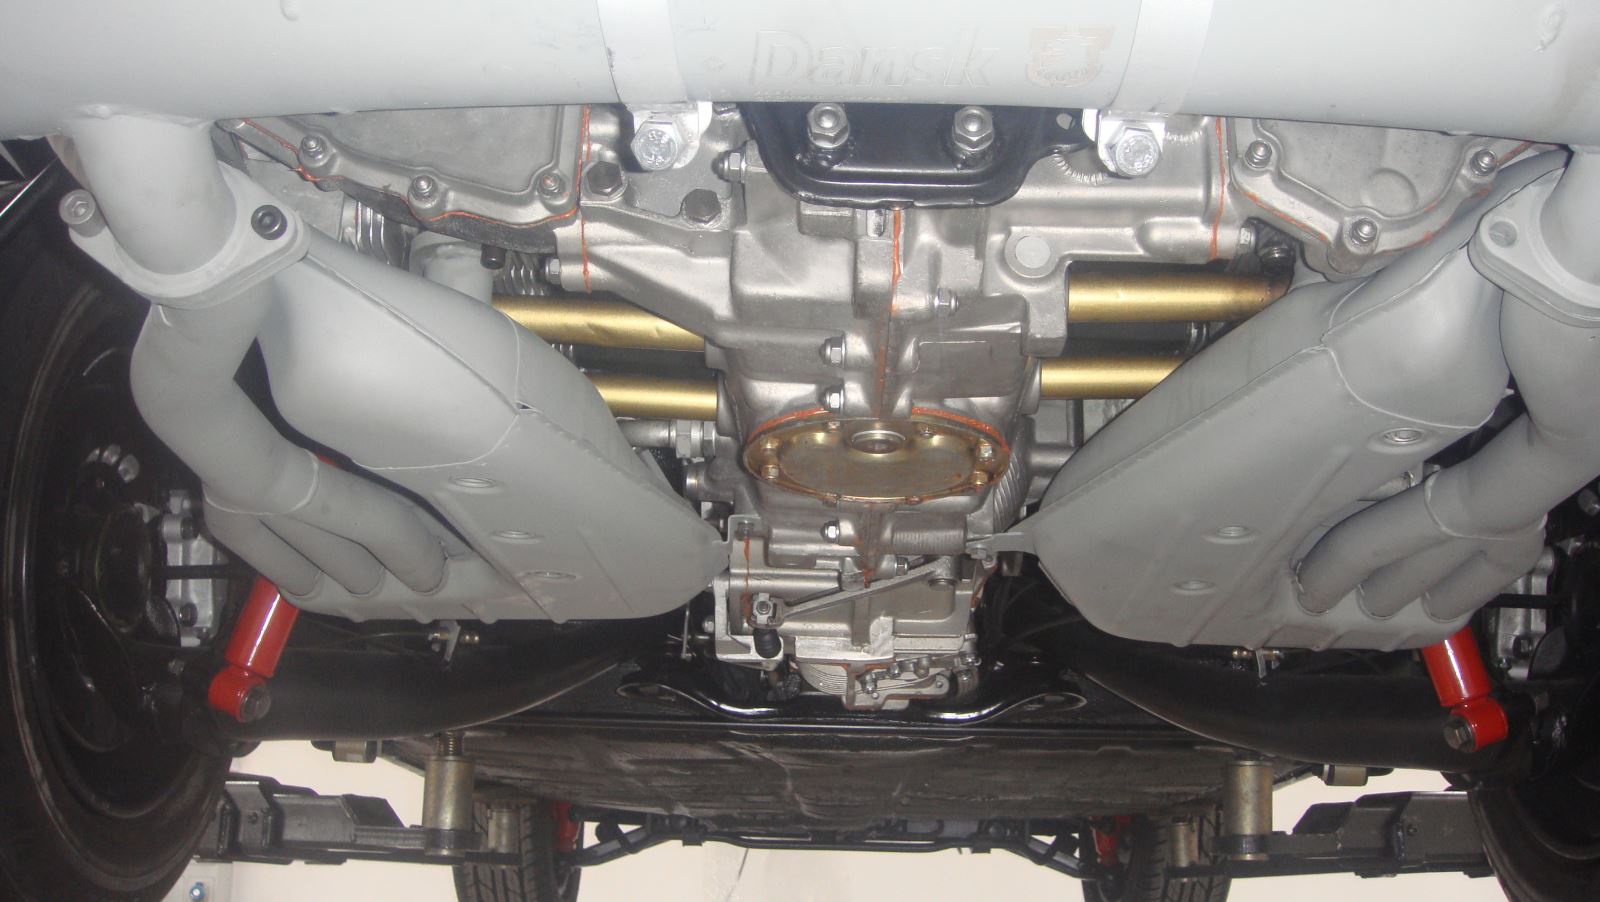
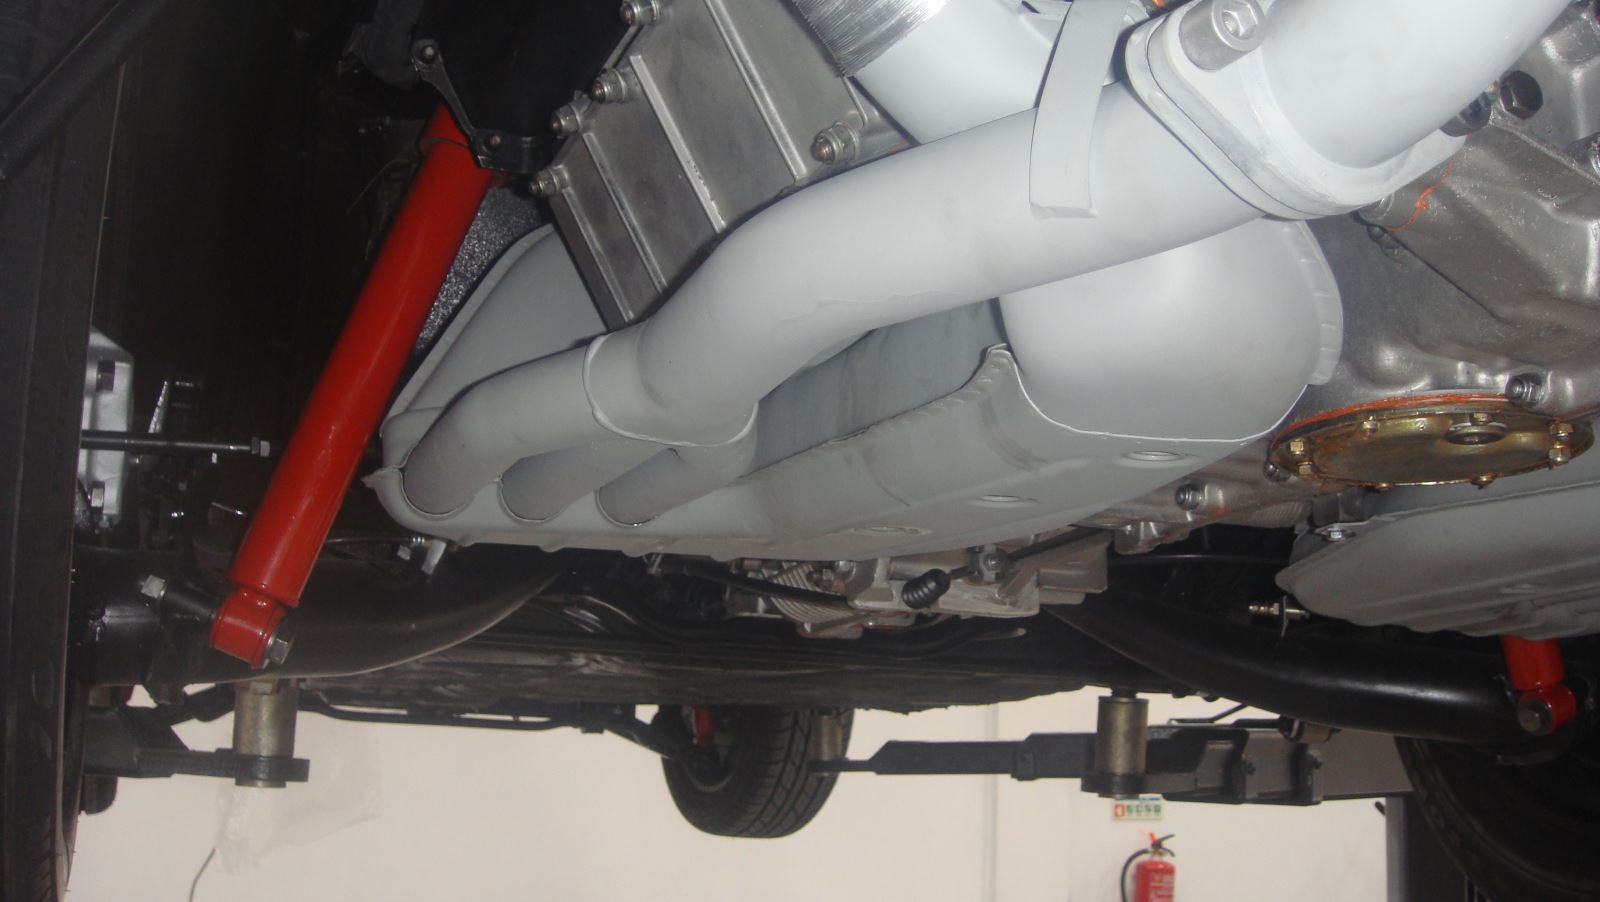
Assembly the exhaust
Assembly the exhaust
Testing the engine
Another view
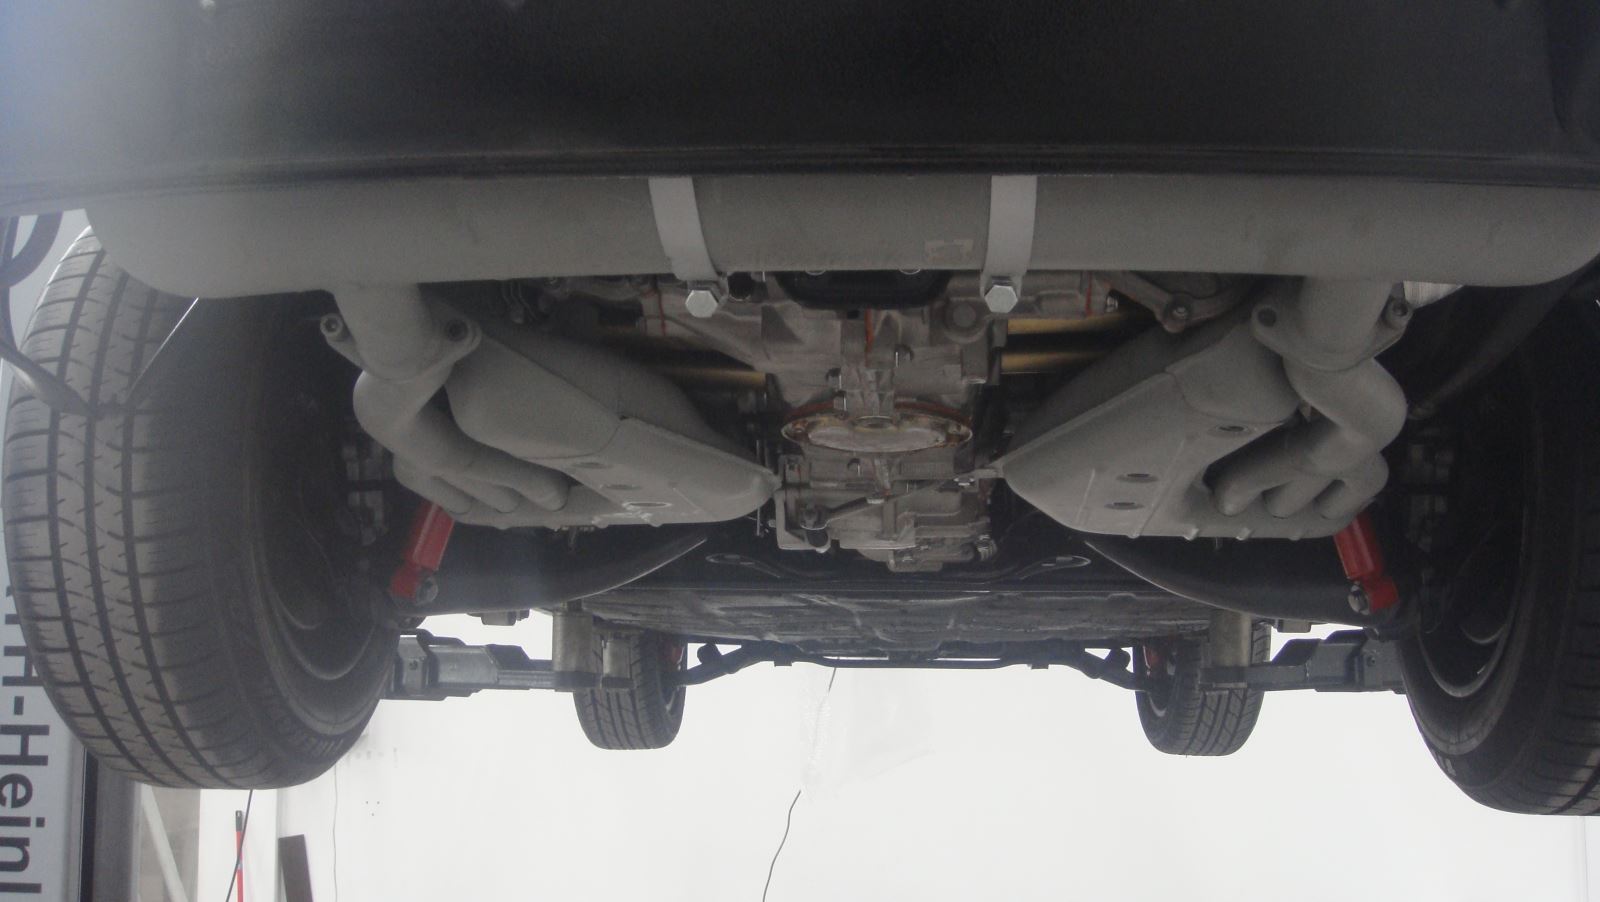
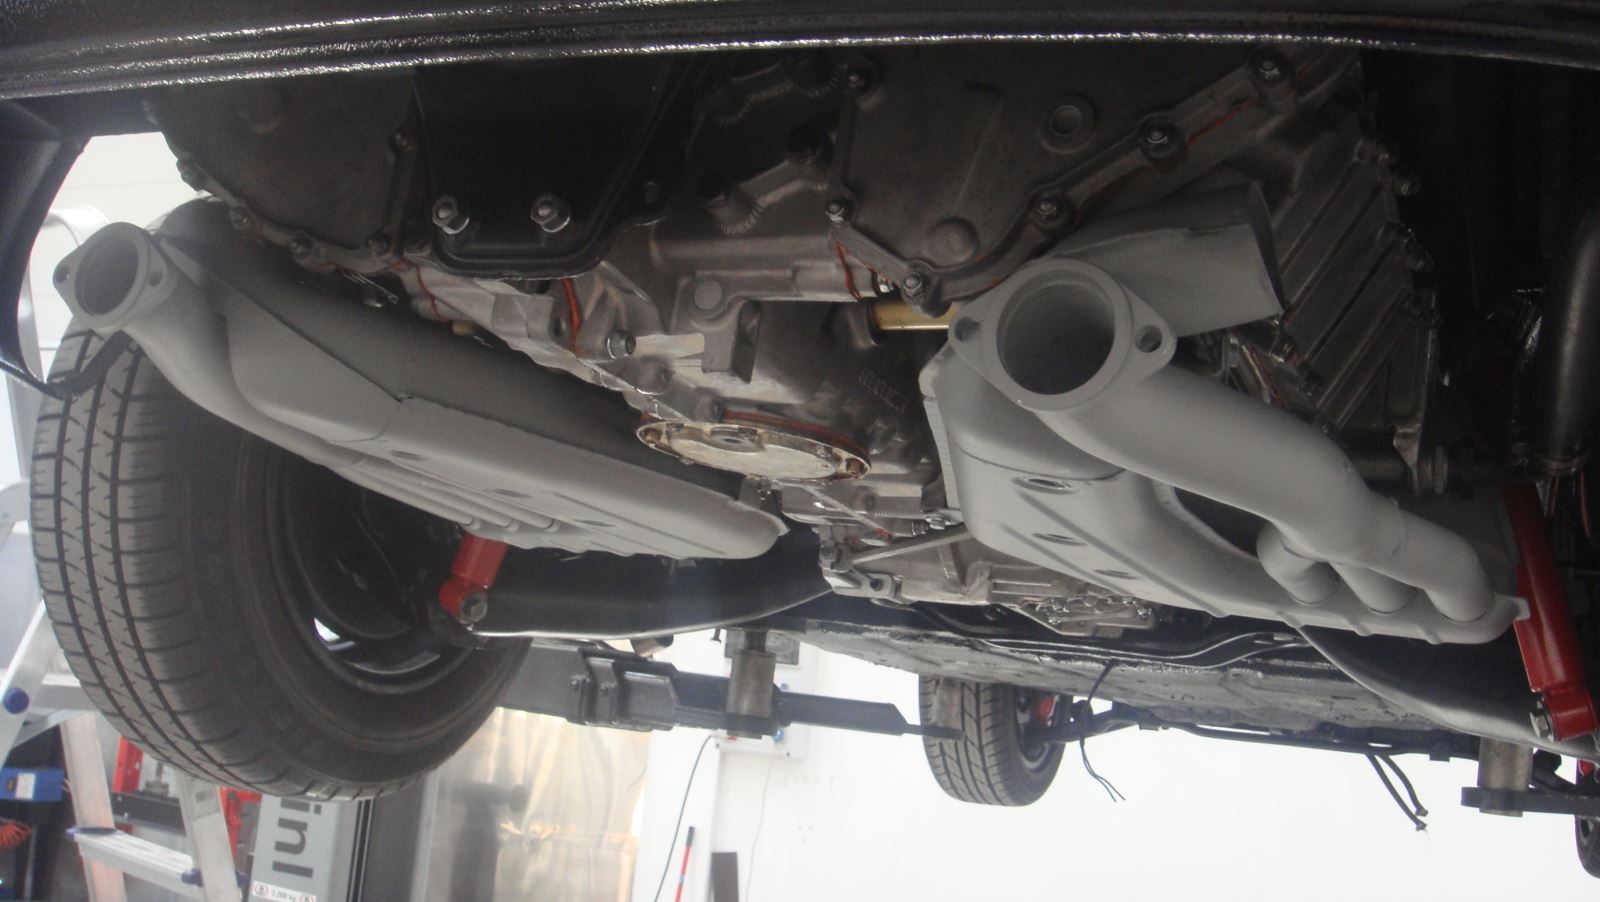
Exhaust on place
Another view
Another view
Almost ready
Another view
Left side
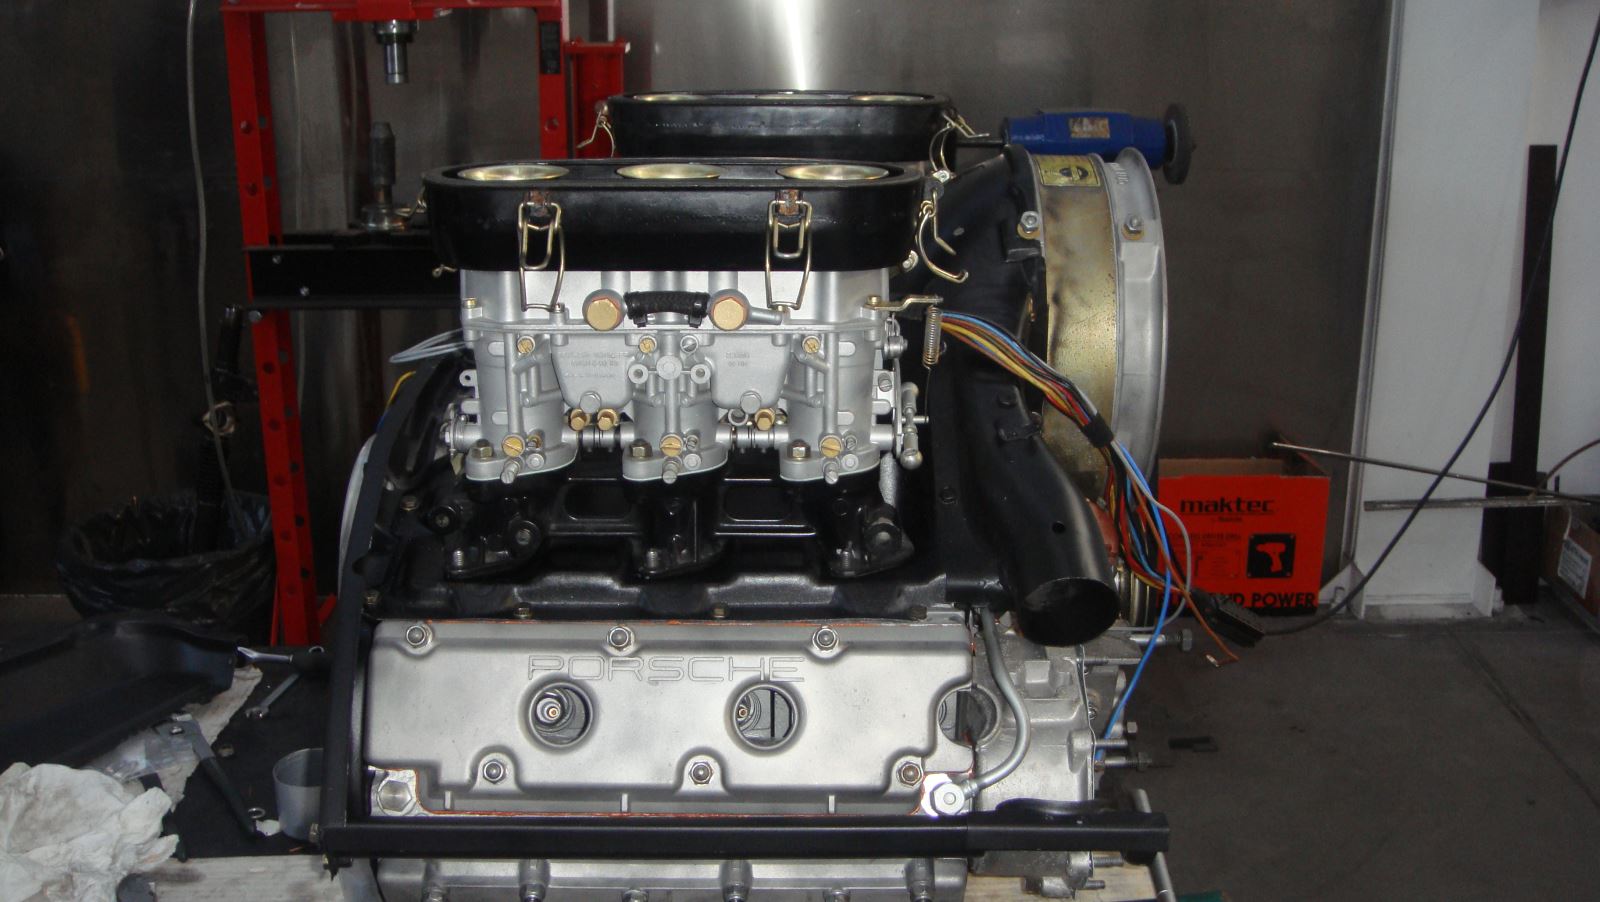
Engine testing
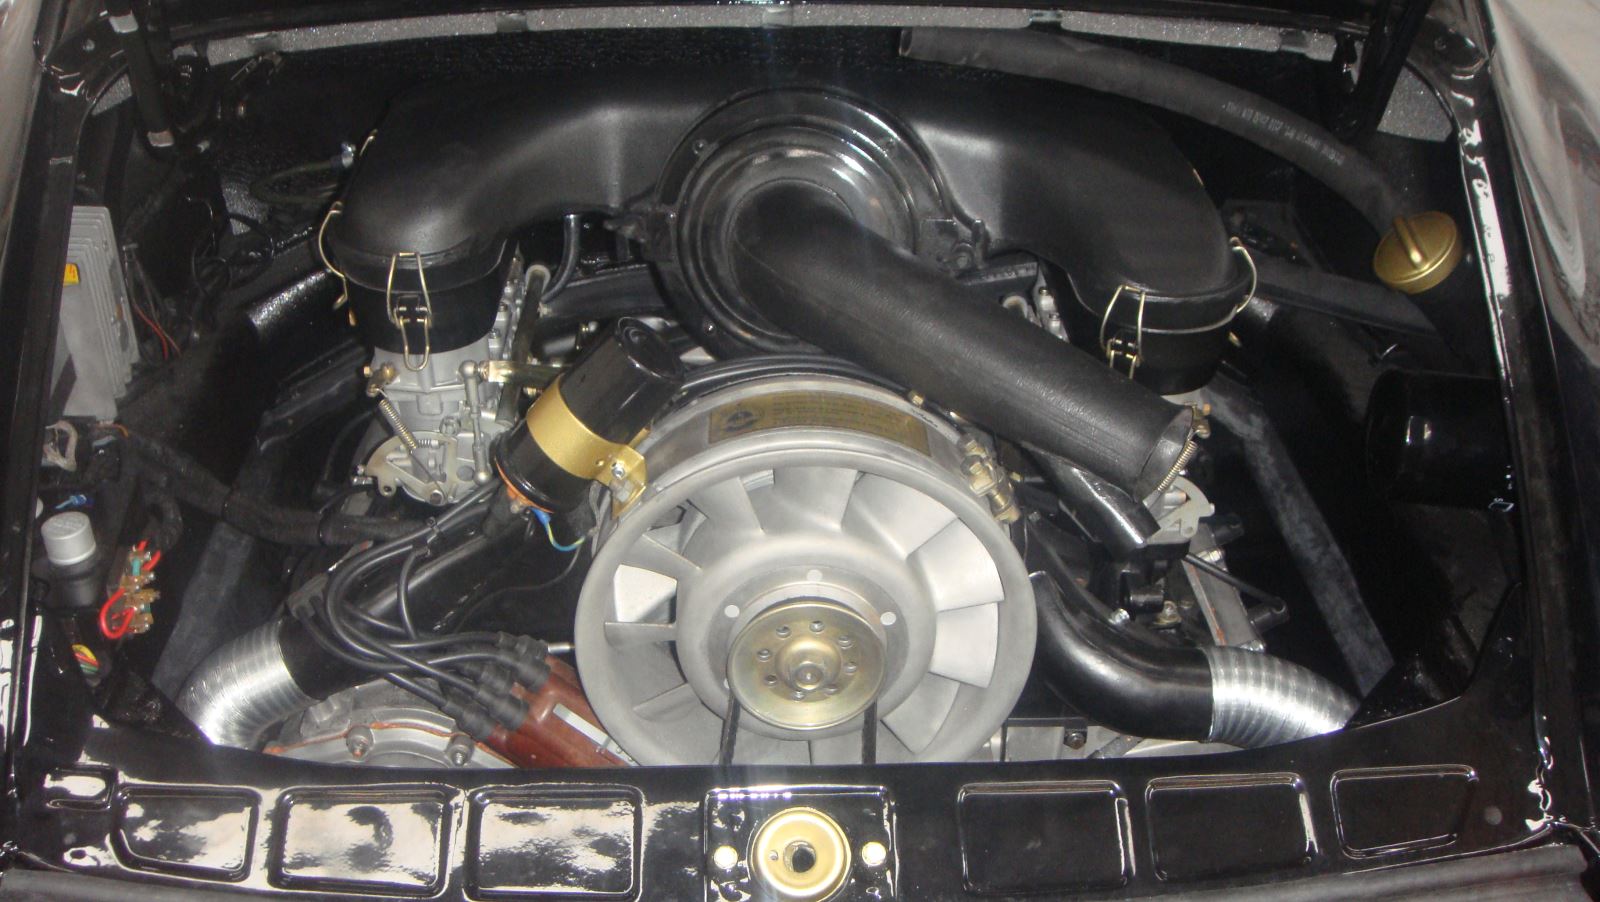
Engine compartment almost finished
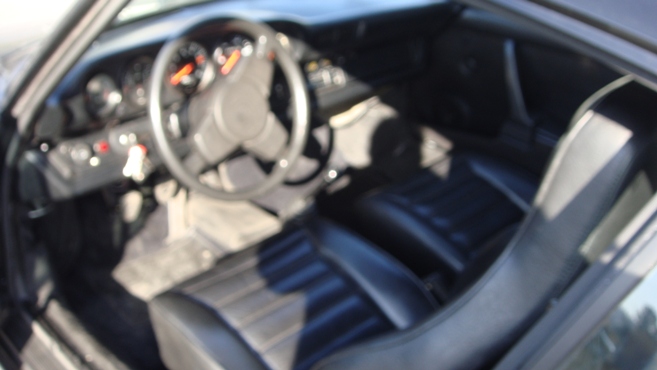
Ready for the new interior
Another view
Another view
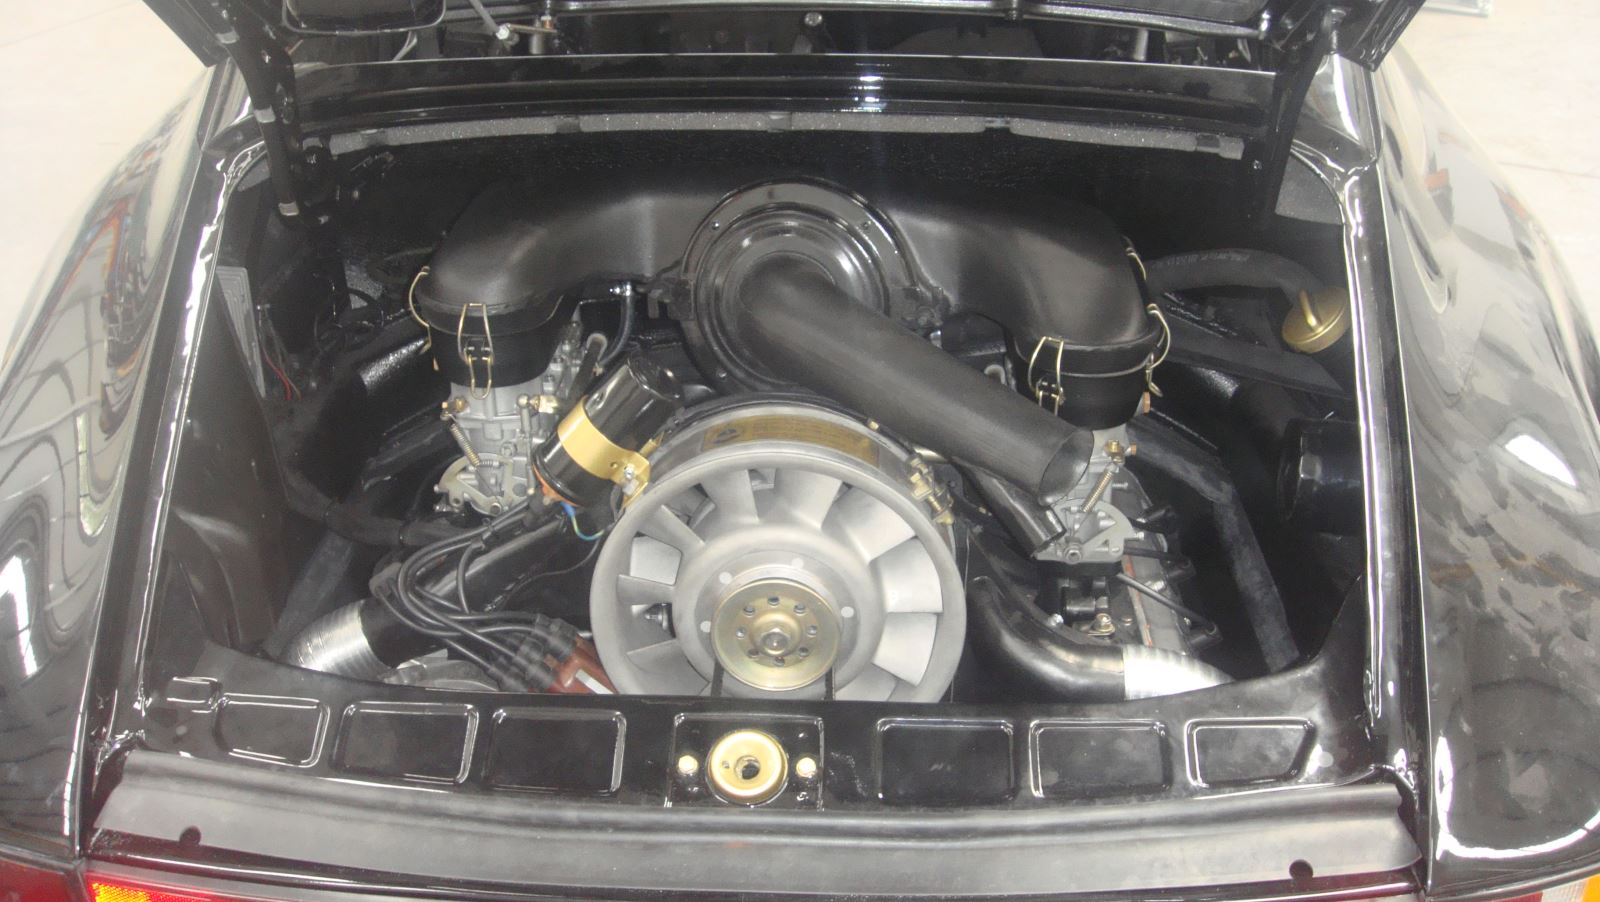
Engine compartment
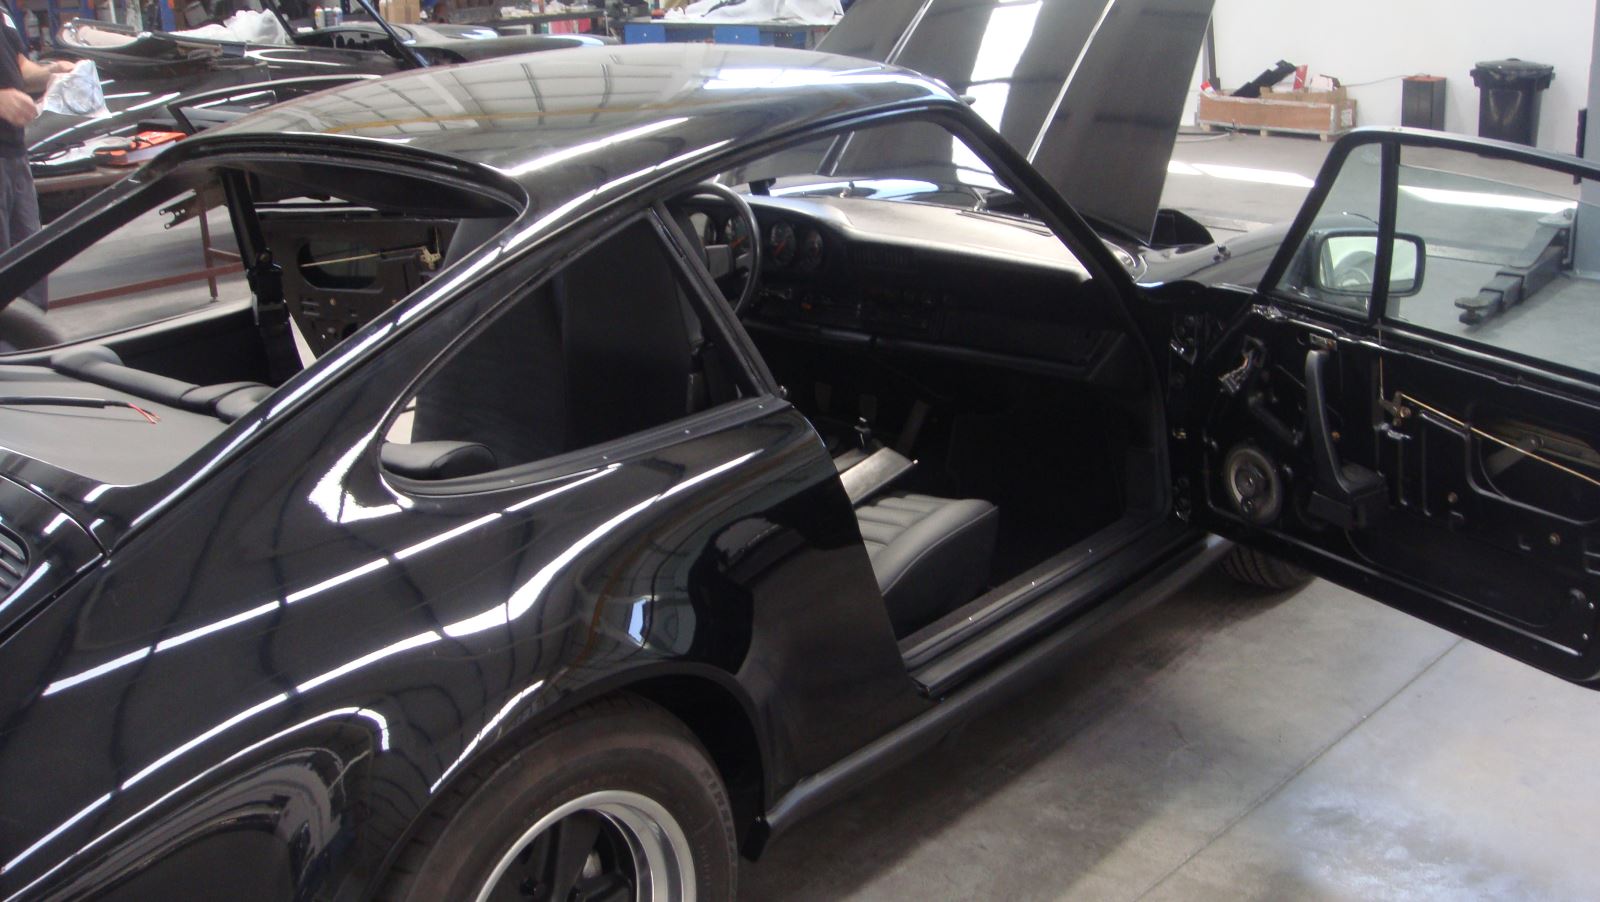
Assembly the interior
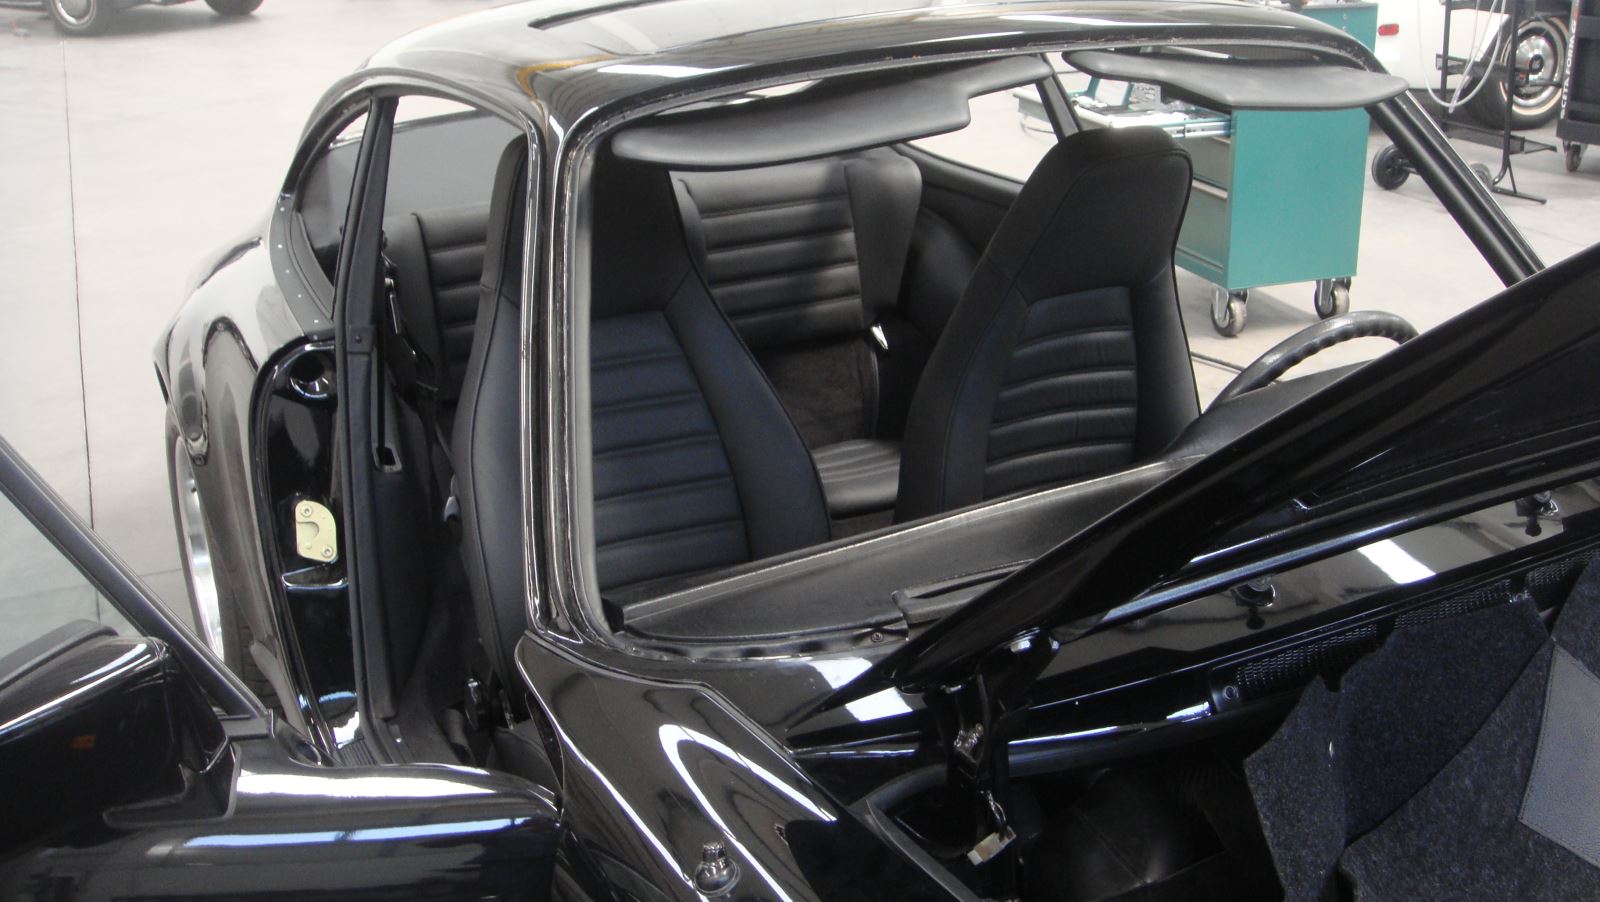
New interior leather

Testing the engine
Front bottom with new fuel tank
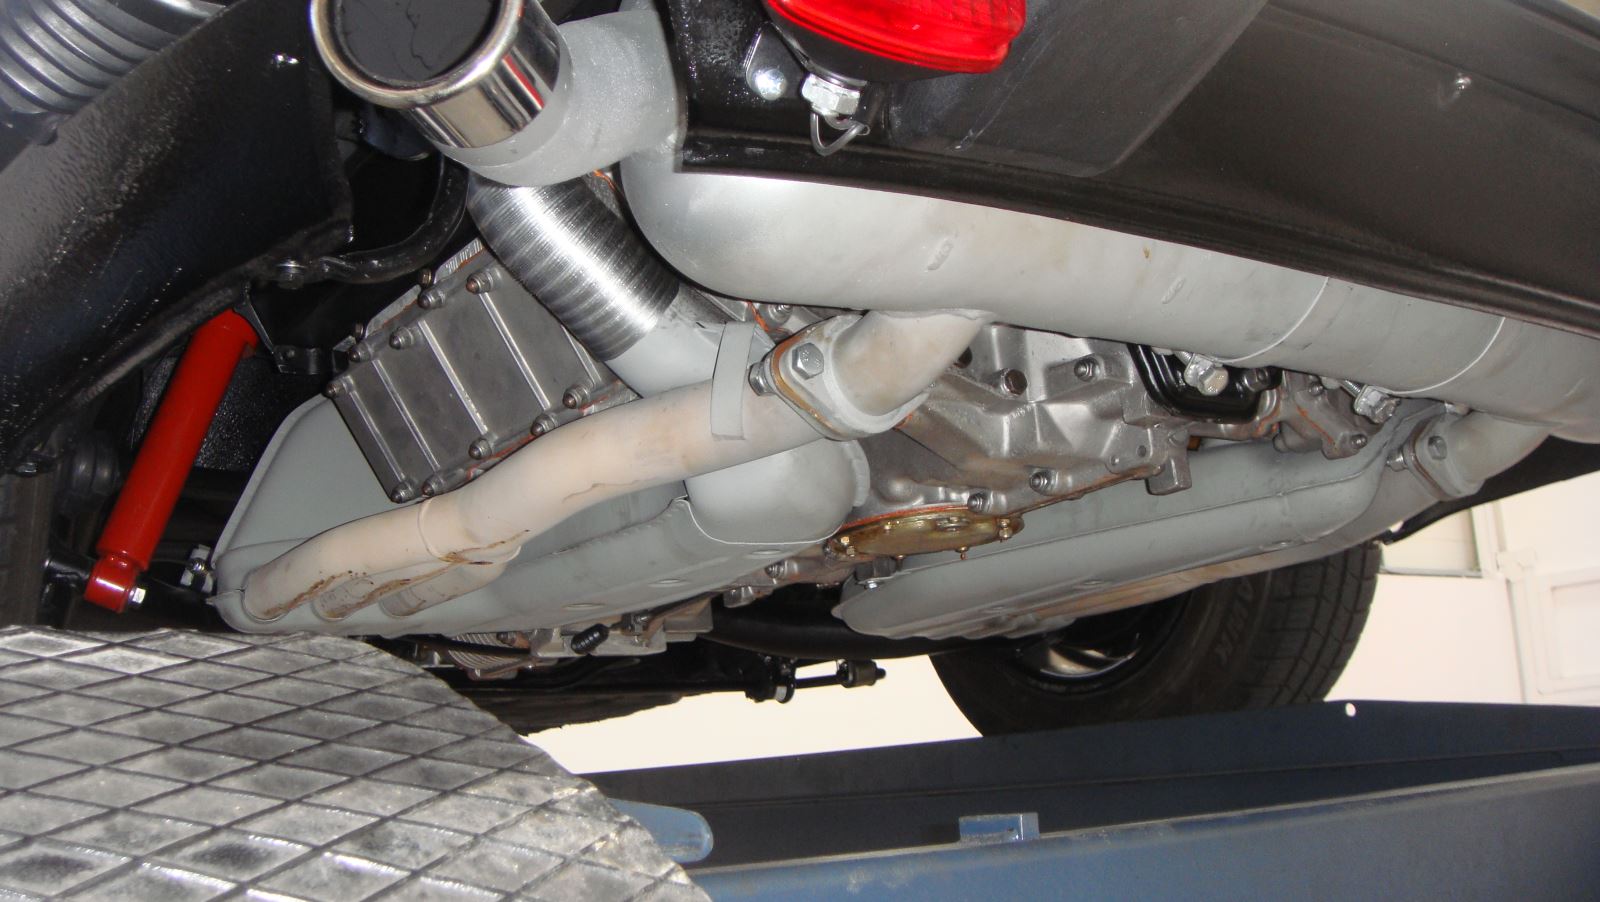
New complet exhaust

Ready for testing

Front
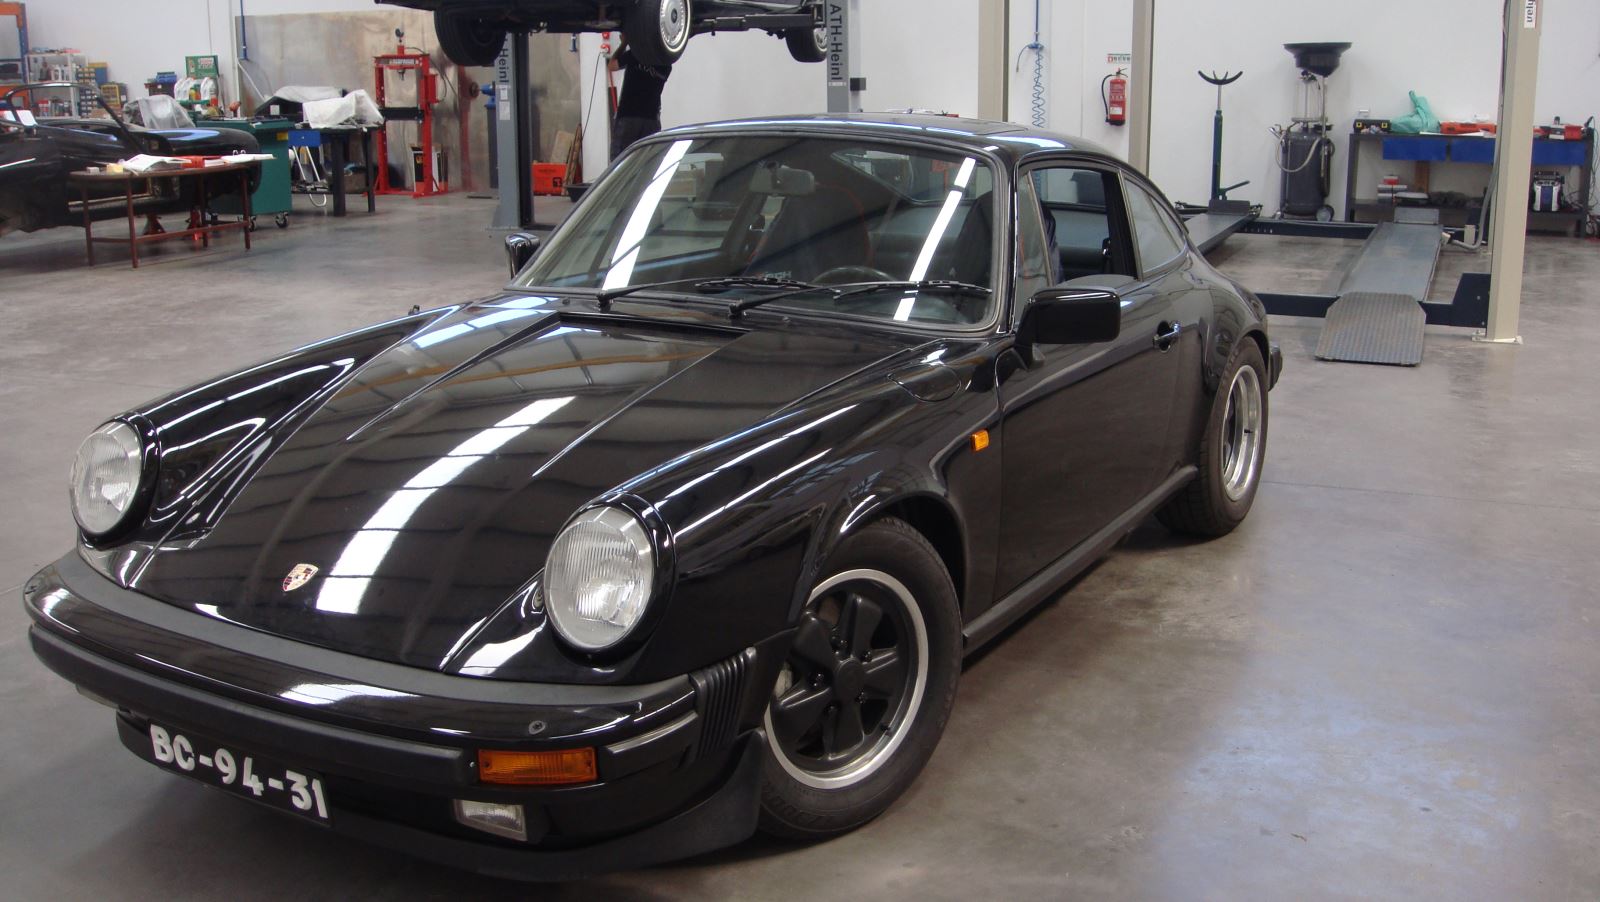
Looks like new
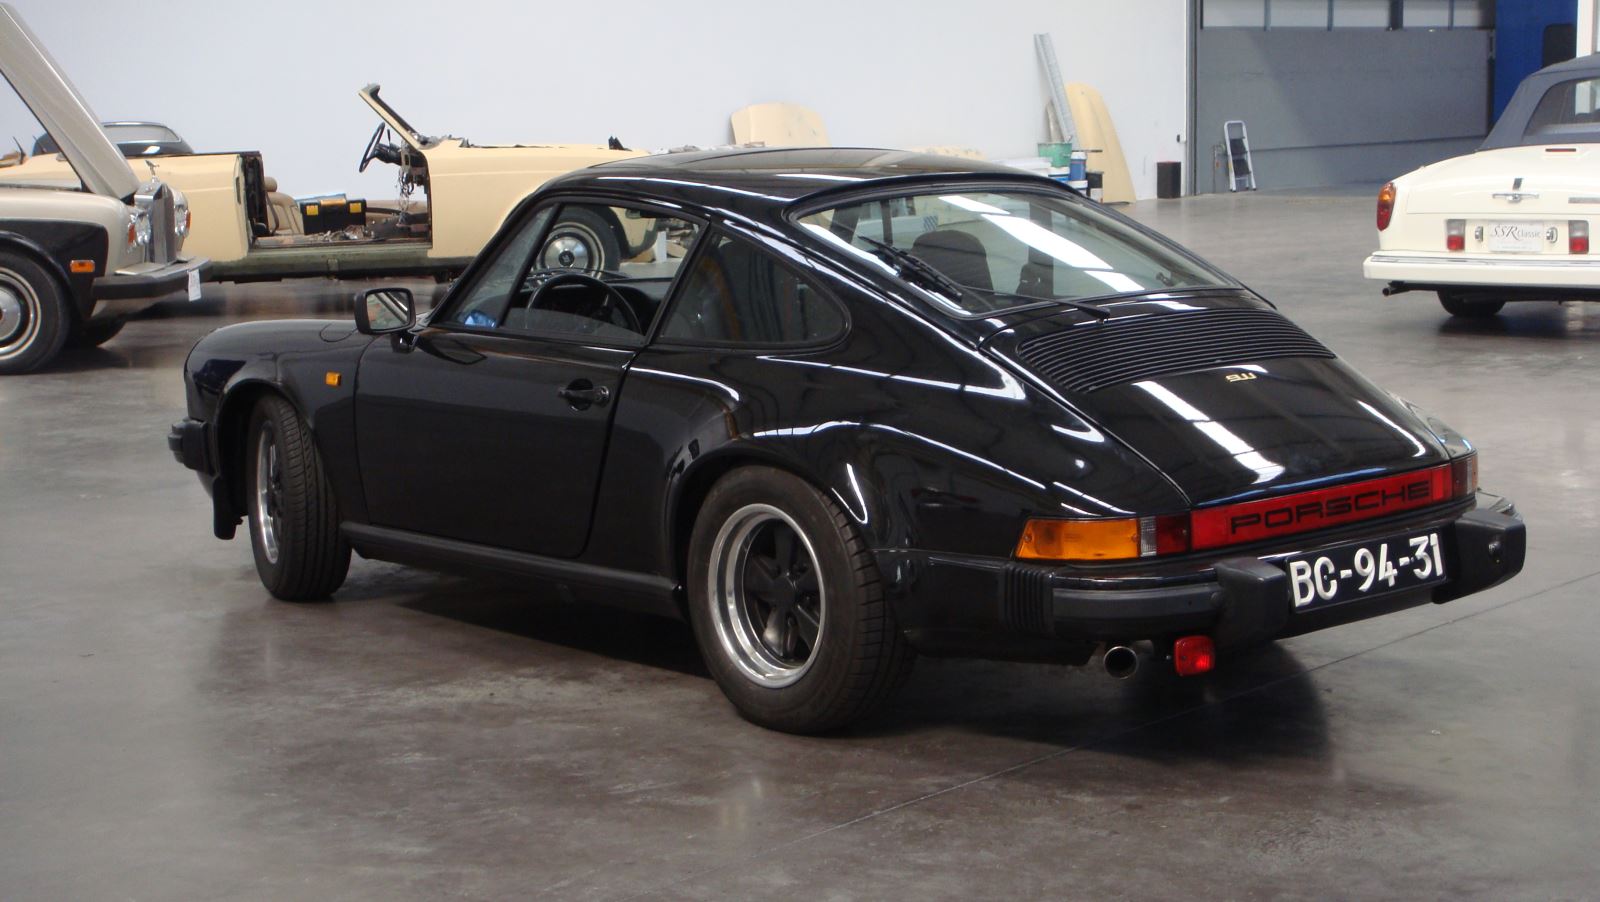
Another look
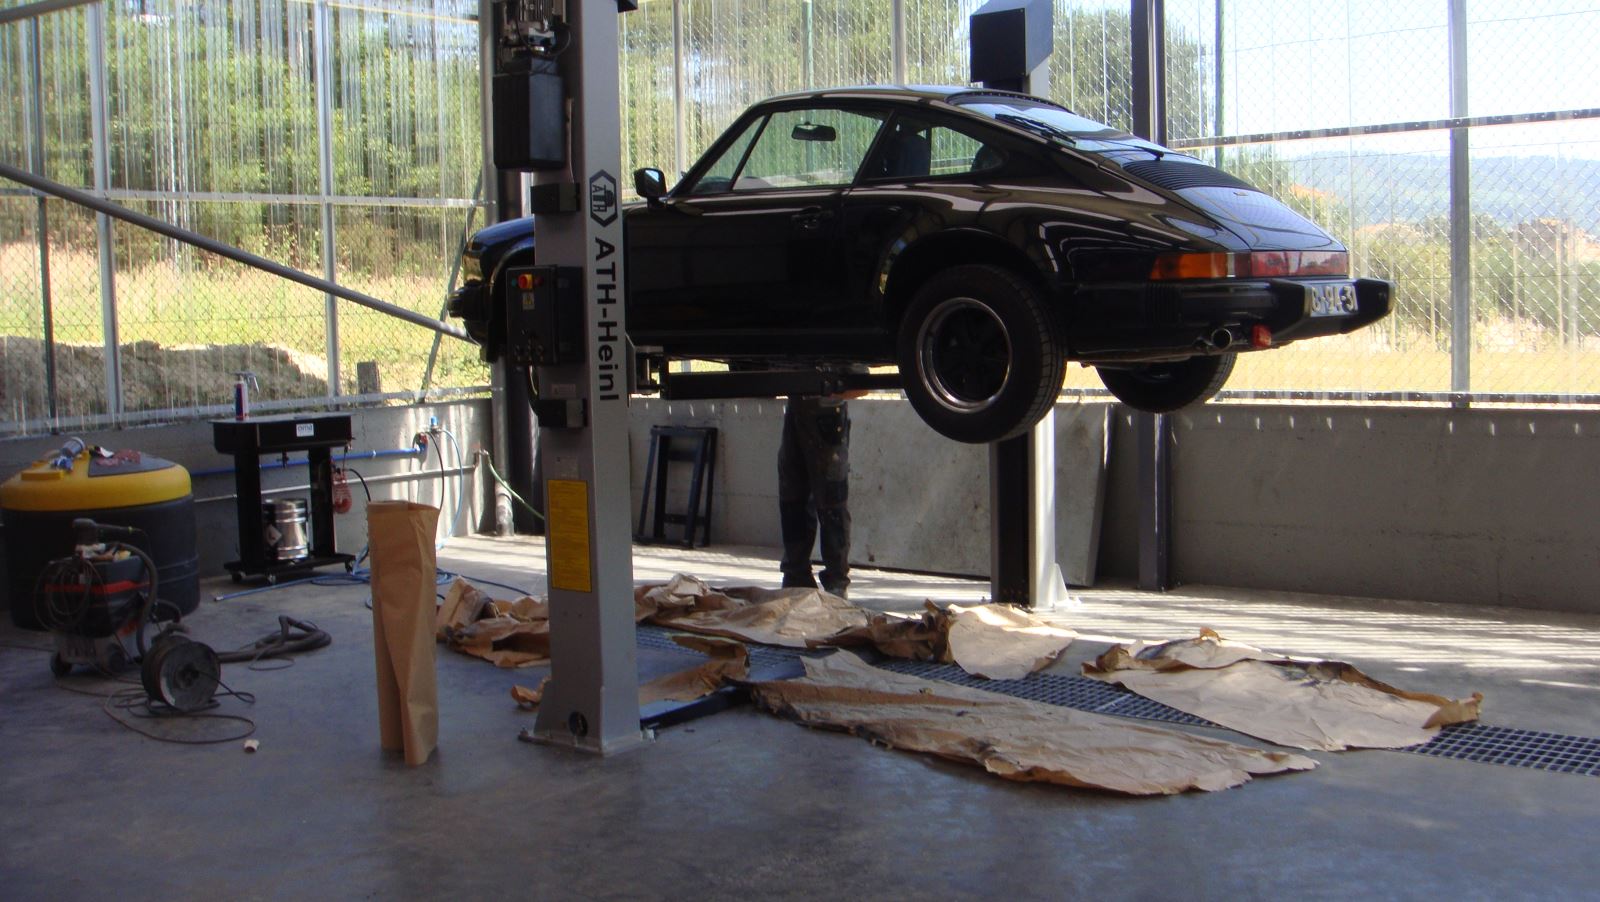
Applying cavity wax for protection
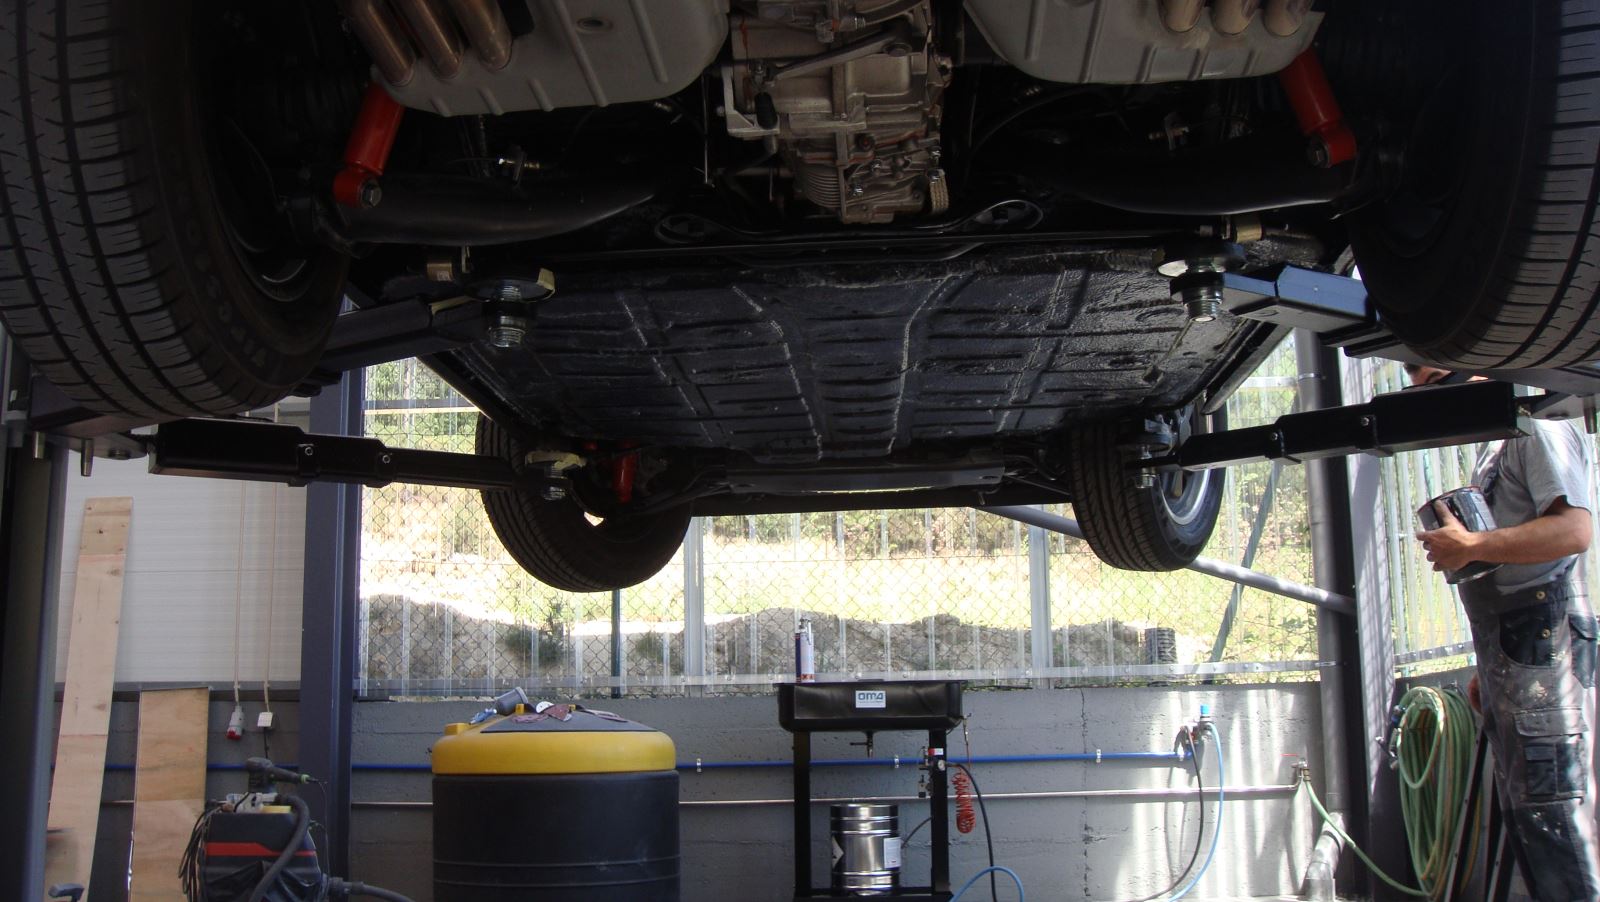
Applying in the underframe

After all wax
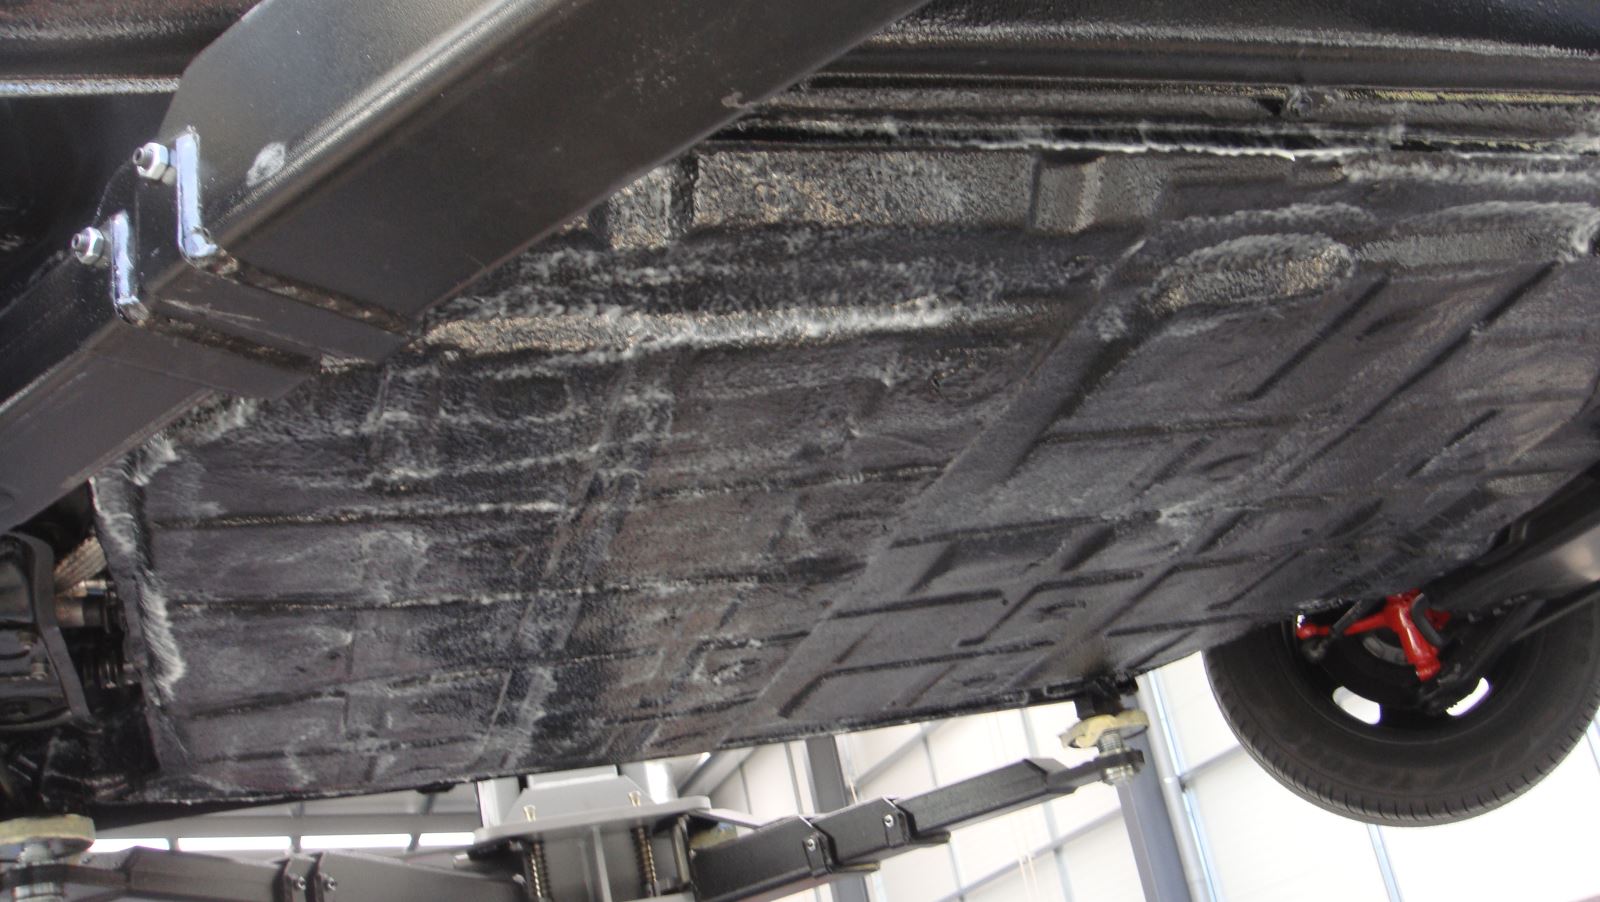
This is how it looks like after the cavity wax.
This how it looks like, now that is finished.
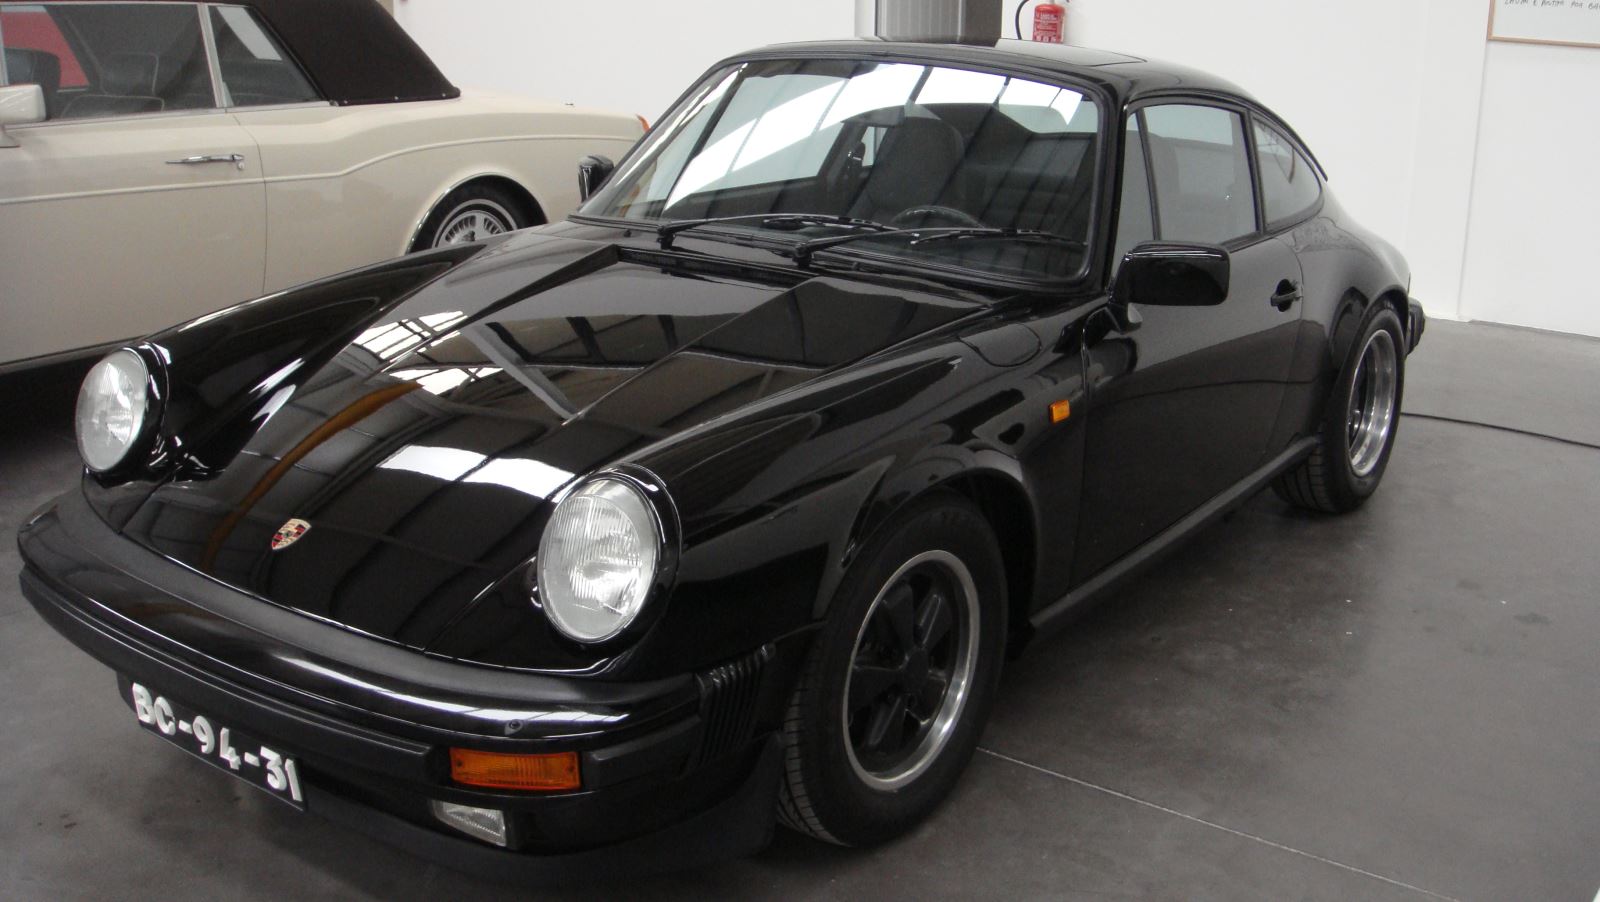
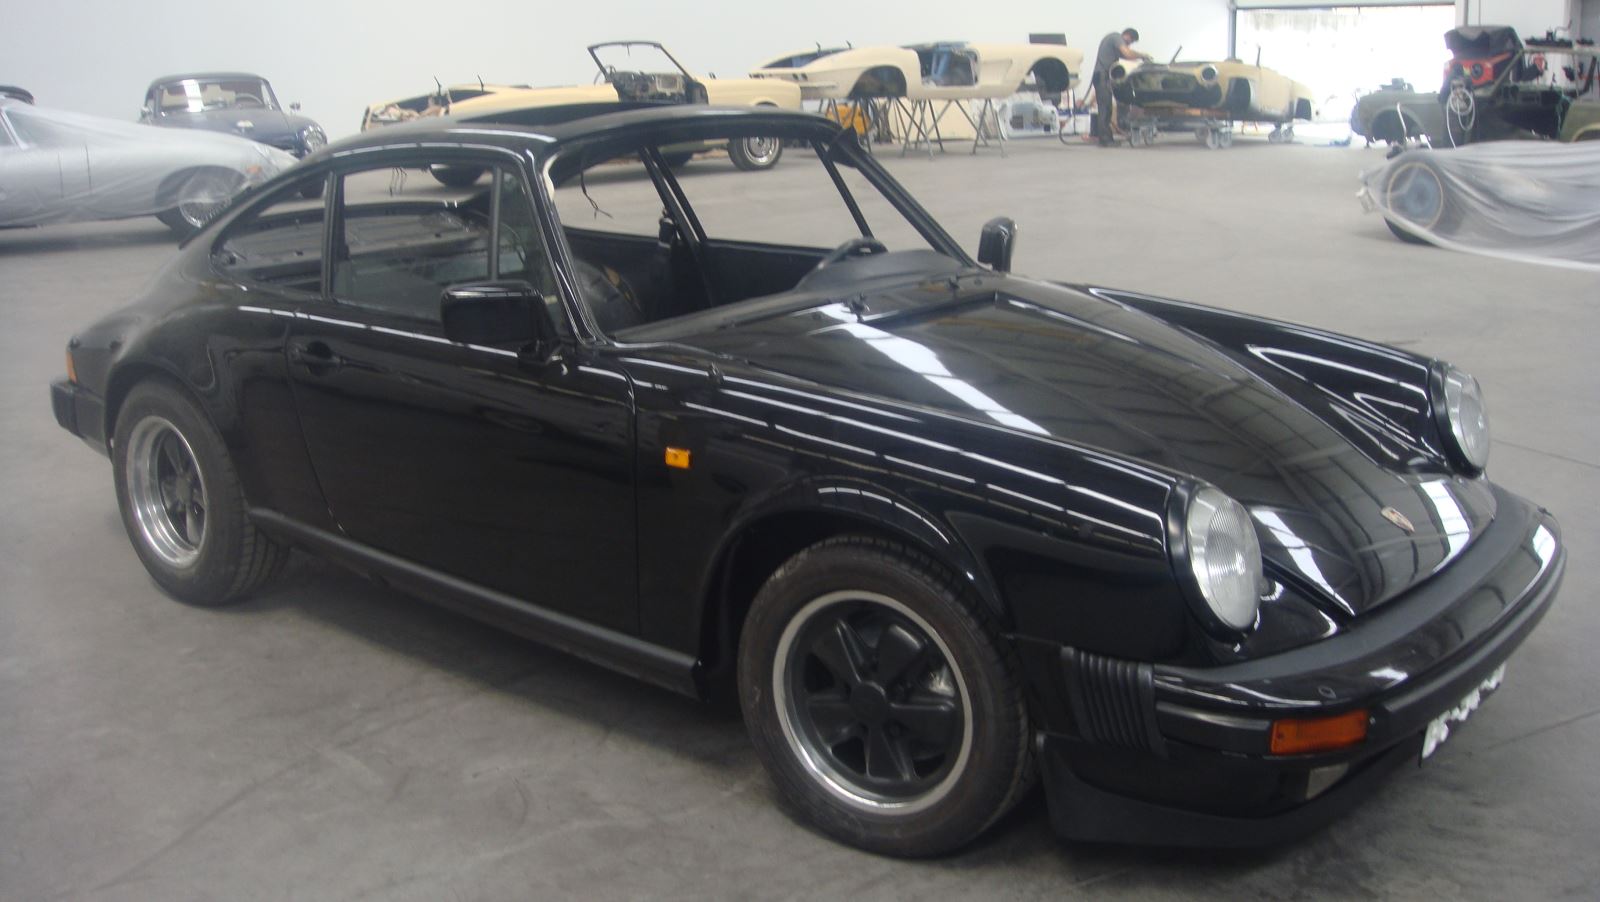
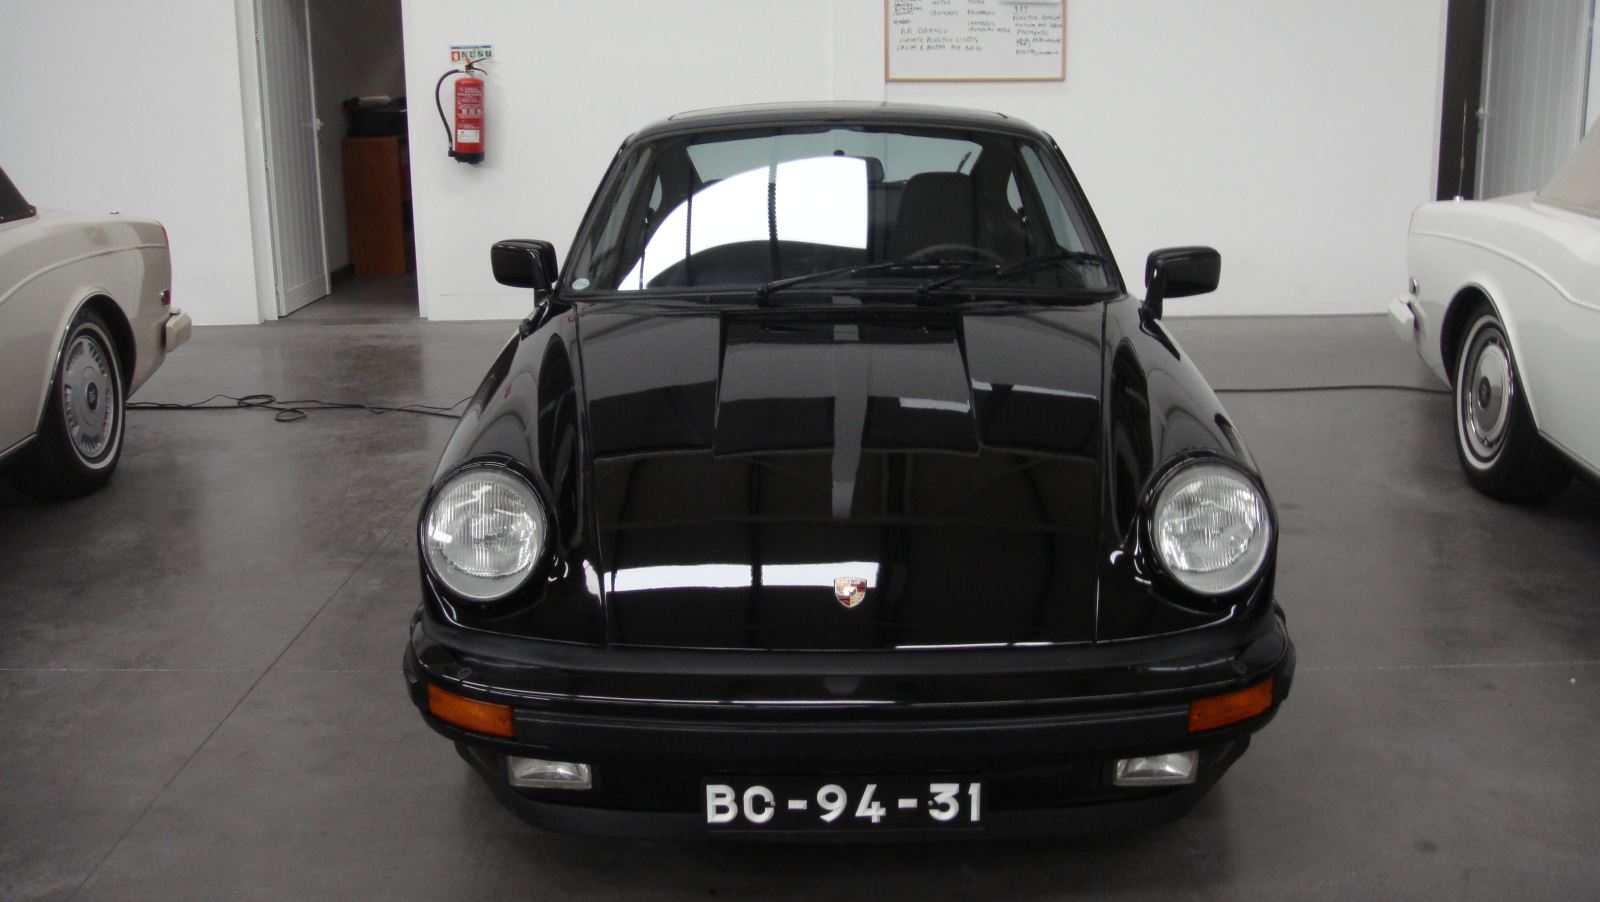
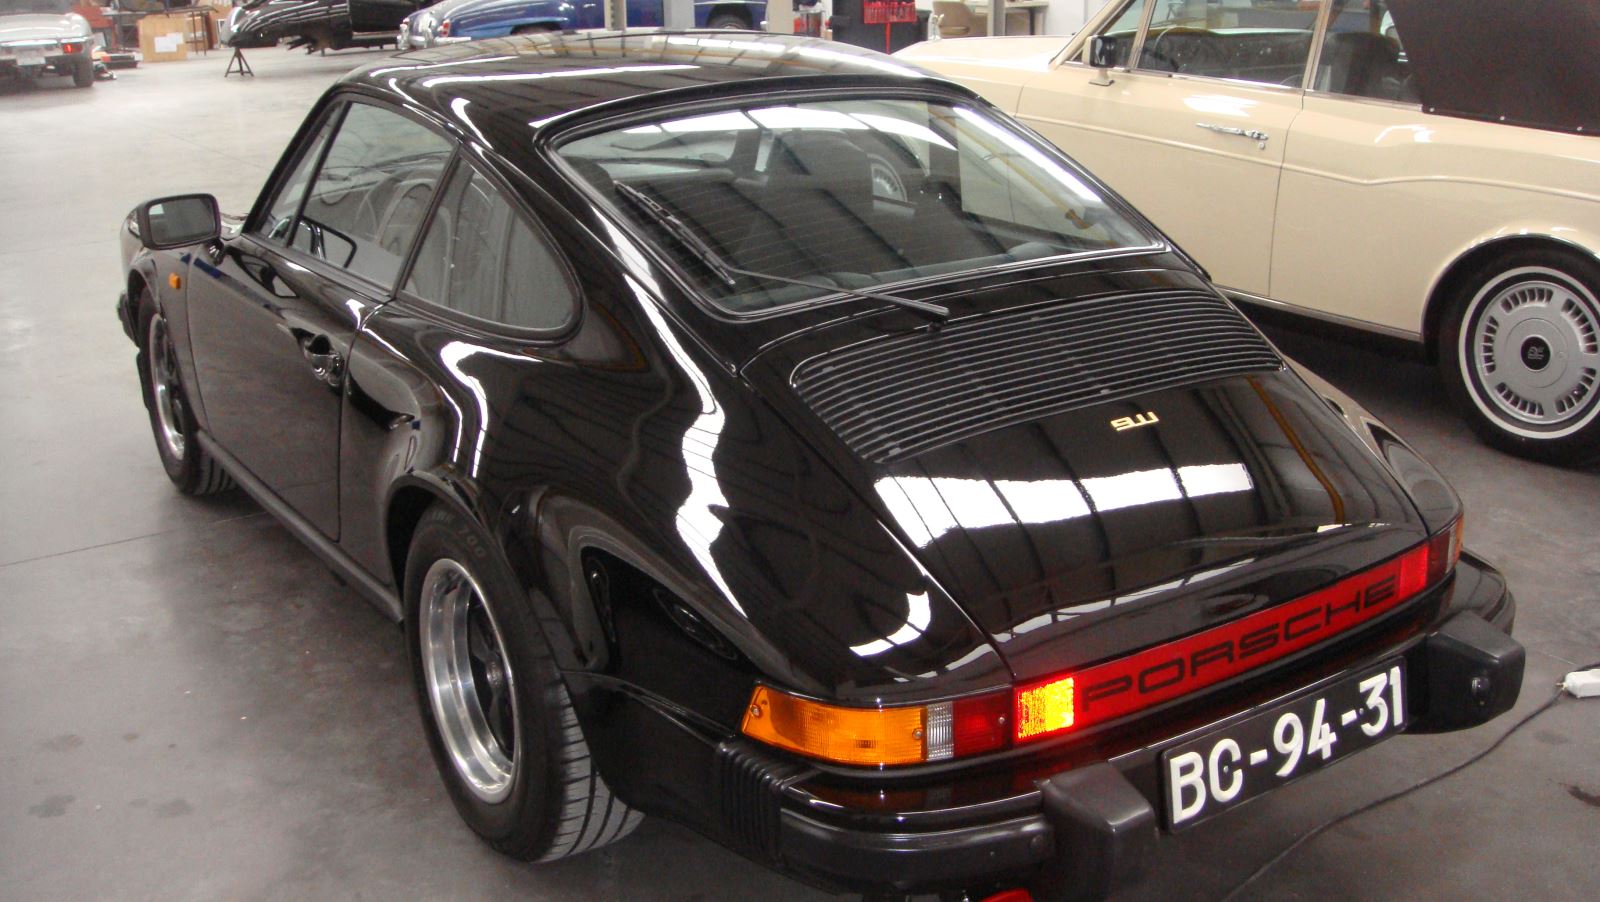
A reborn Porsche
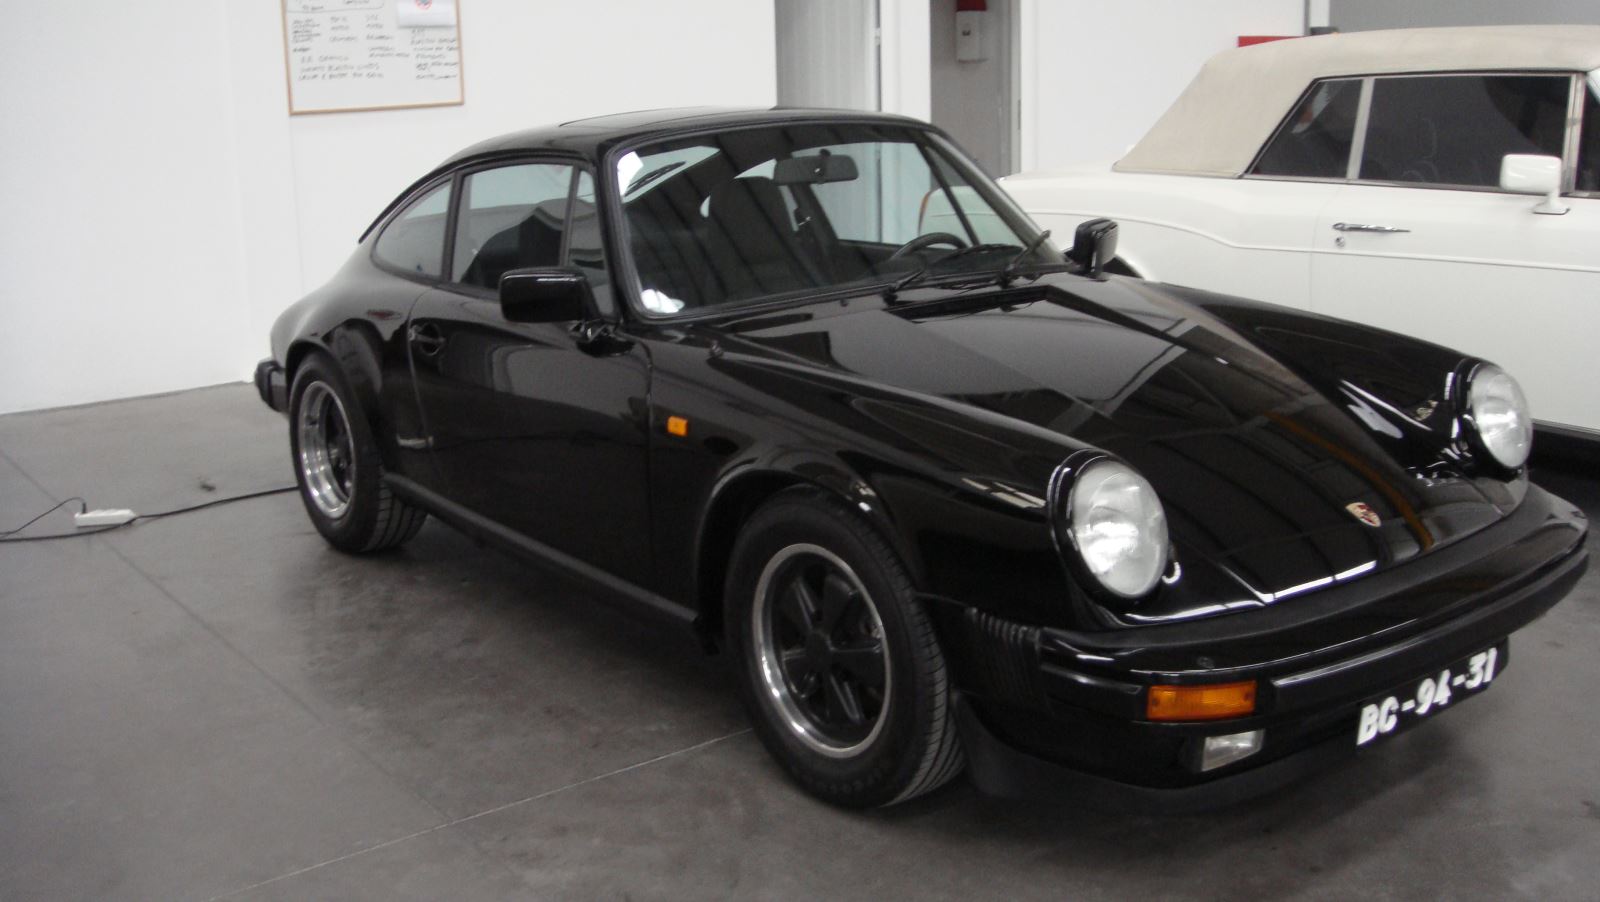
Like brand new
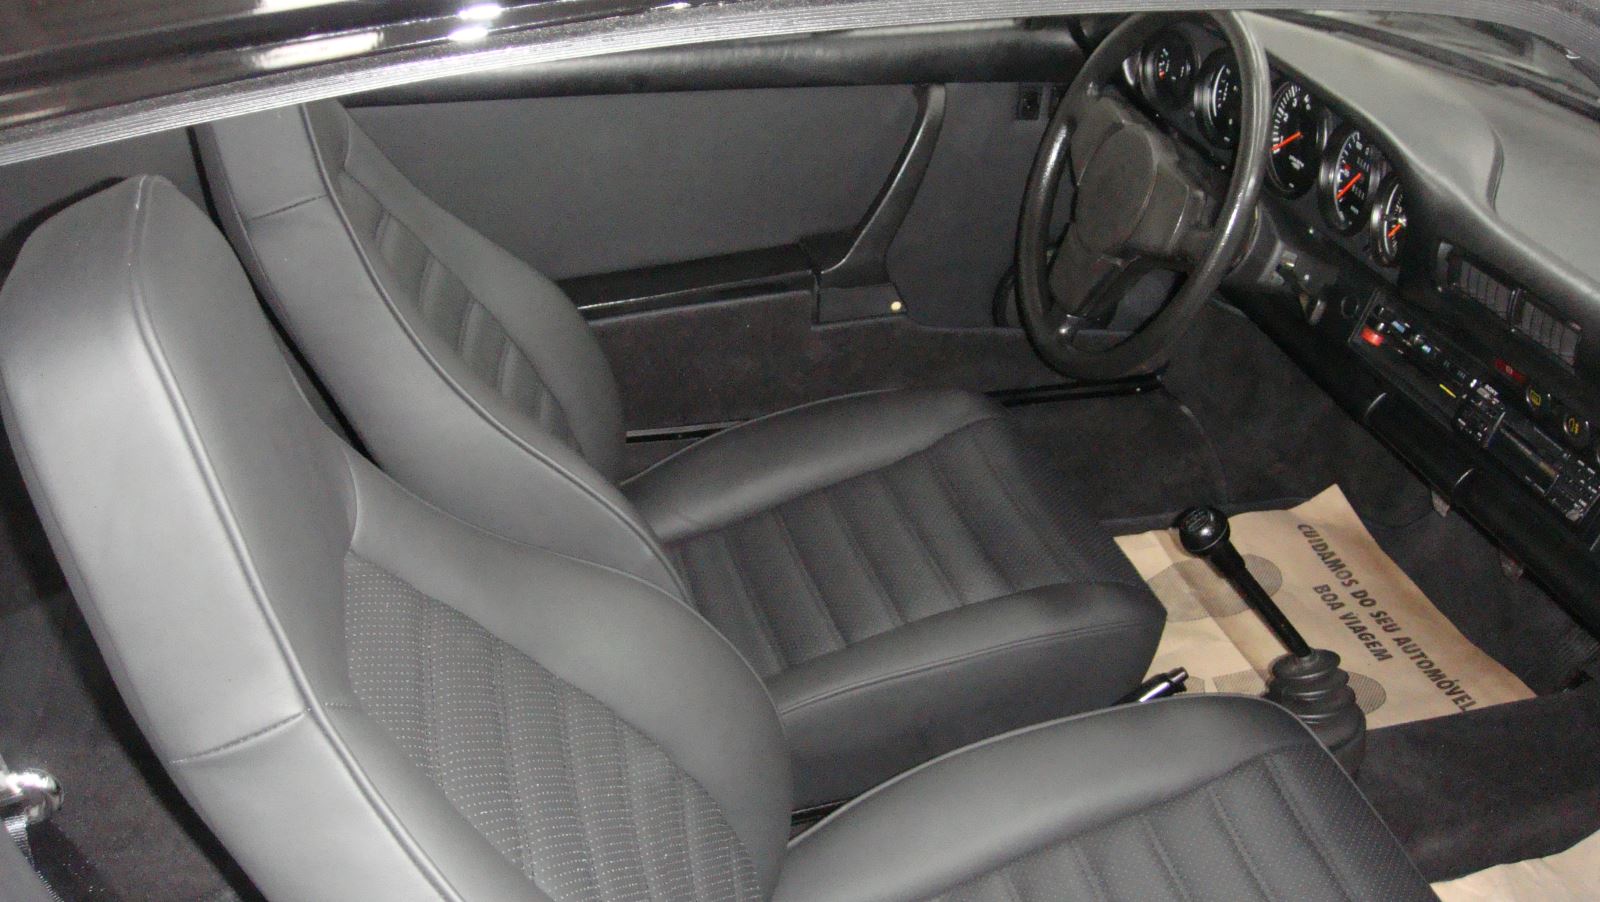
New leather
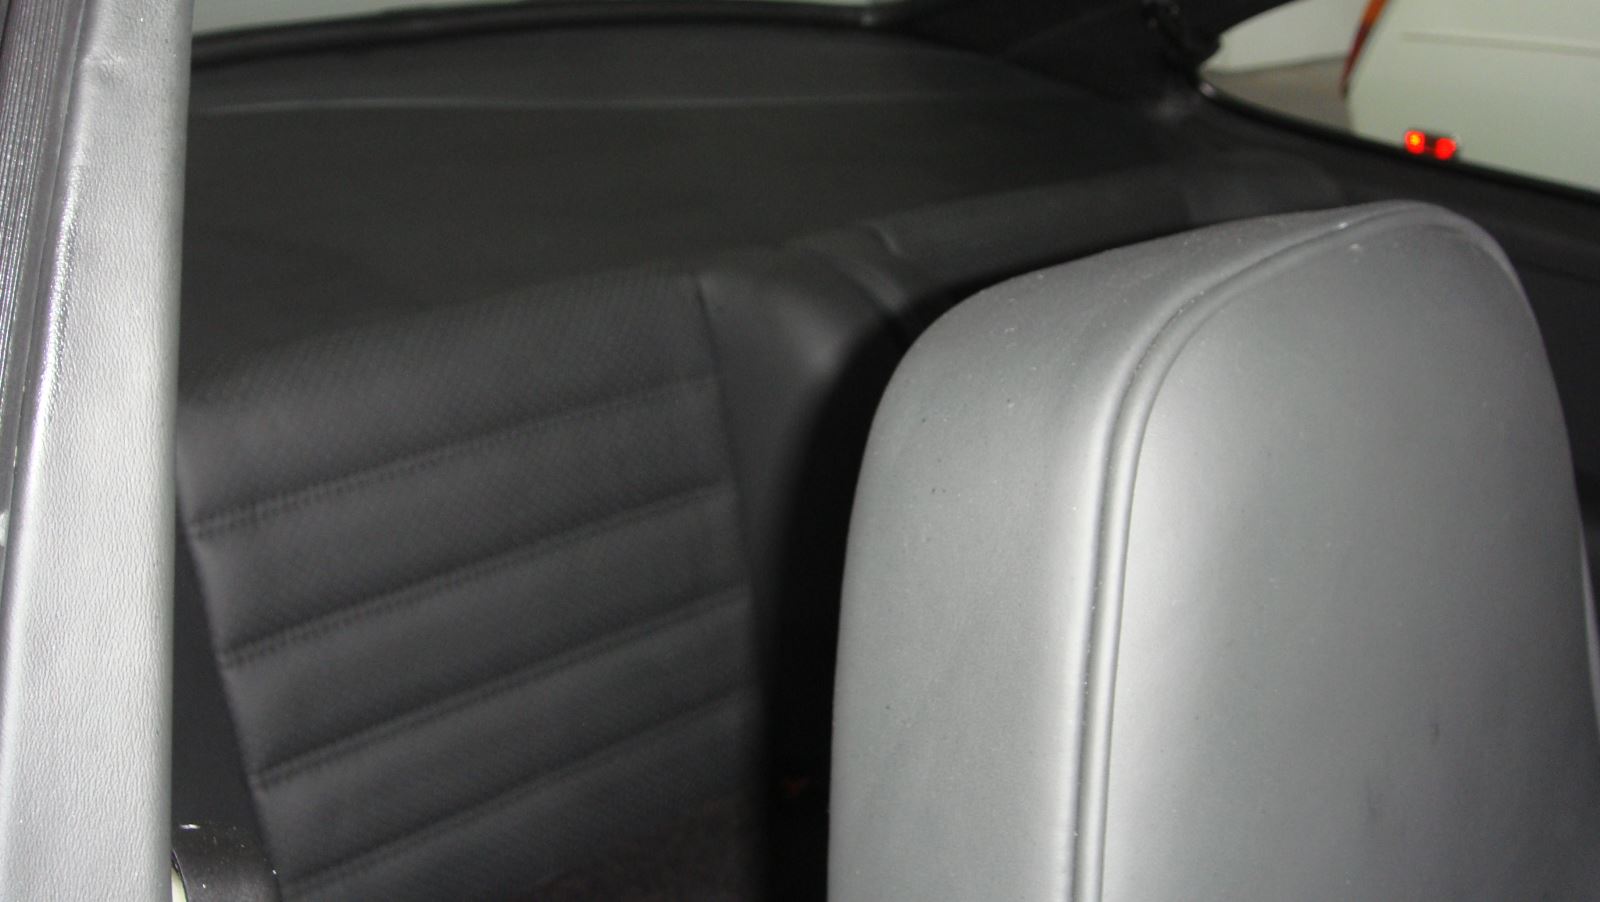
Another picture of the interior
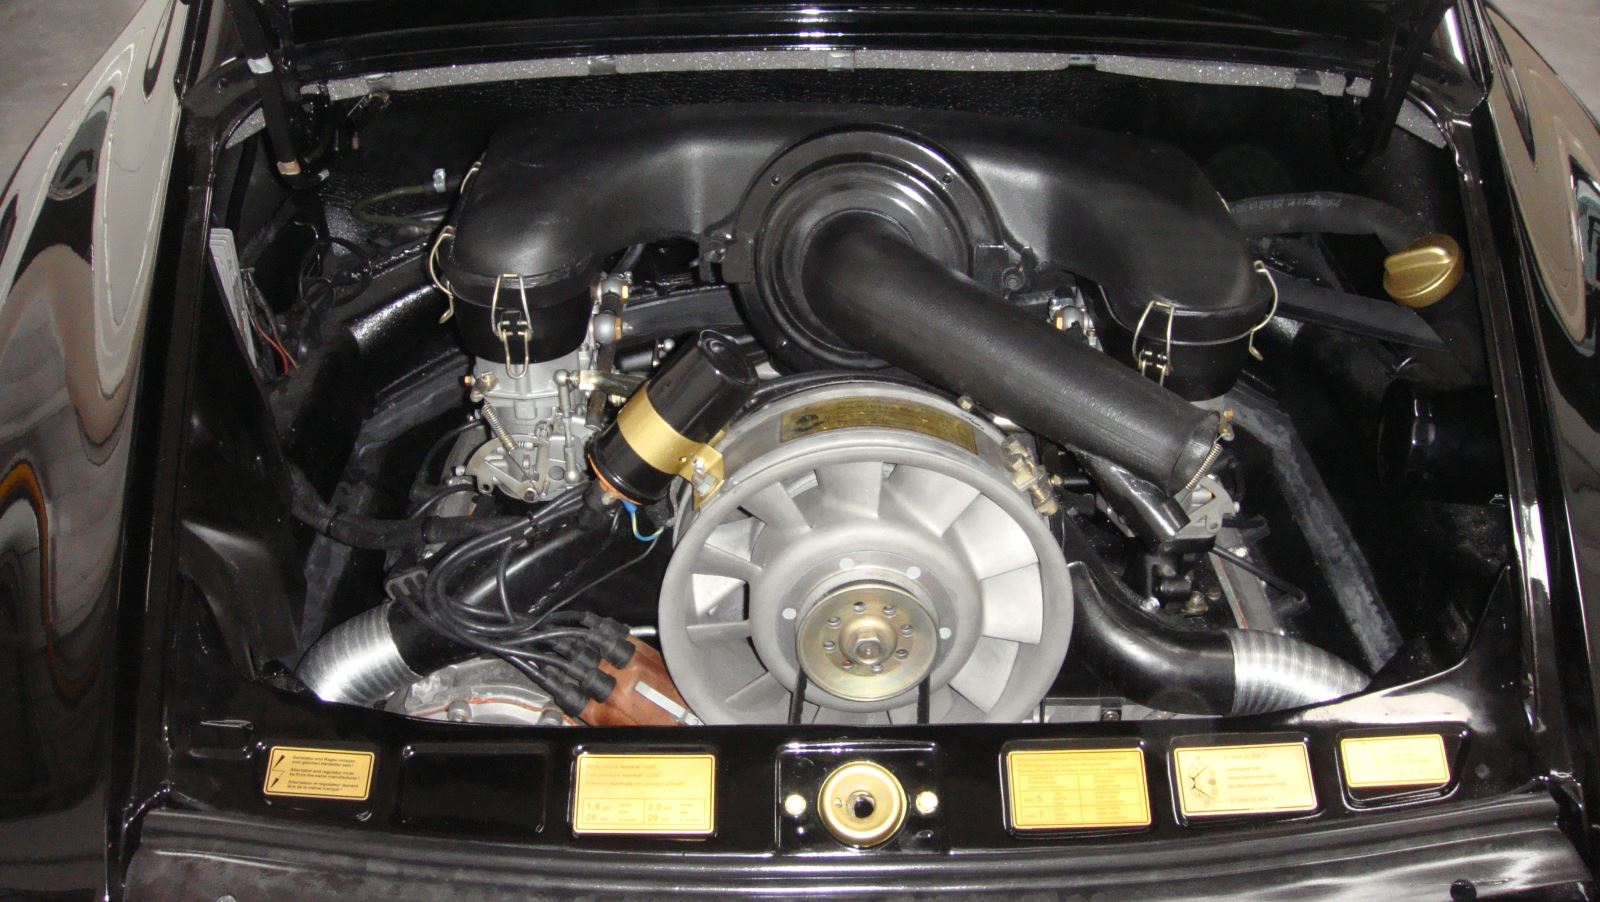
Engine totally rebuilt
Ready for the new owner
Return to posts »
Sérgio Rodrigues
email: sergio@ssrclassic.com